

|
|||||||
| 700/900 Series General Forum for the Volvo 740, 760, 780, 940, 960 & S/V90 cars |
 Information
|
|
Guide: de-upholstering 700 seatsViews : 2571 Replies : 16Users Viewing This Thread : |
 |
|
|
Thread Tools | Display Modes |
|
|
#11 |
|
Non VOC Member
Last Online: Yesterday 23:02
Join Date: Jun 2011
Location: Milton Keynes
|
When I removed the cover in my 940 to repair the back support I cut the rings securing the cover with a pair of side cutters and used cable ties to replace them when I put it back, worked OK for the couple of years I kept the car after that.
__________________
David V70 2.5 10v Torslanda Manual 98 Sreg |
|
|

|
| The Following 3 Users Say Thank You to DaveNP For This Useful Post: |
|
|
#12 |
|
VOC Member
Last Online: Apr 4th, 2023 18:13
Join Date: Apr 2010
Location: Oxford
|
Yes, cable ties are the widely-recommended solution for easy reconstruction - and that is indeed the method being employed here!
__________________
(Formerly) 1988 745 B230K (Phoenix) |
|
|

|
| The Following 2 Users Say Thank You to DWM For This Useful Post: |
|
|
#13 |
|
VOC Member
Last Online: Apr 4th, 2023 18:13
Join Date: Apr 2010
Location: Oxford
|
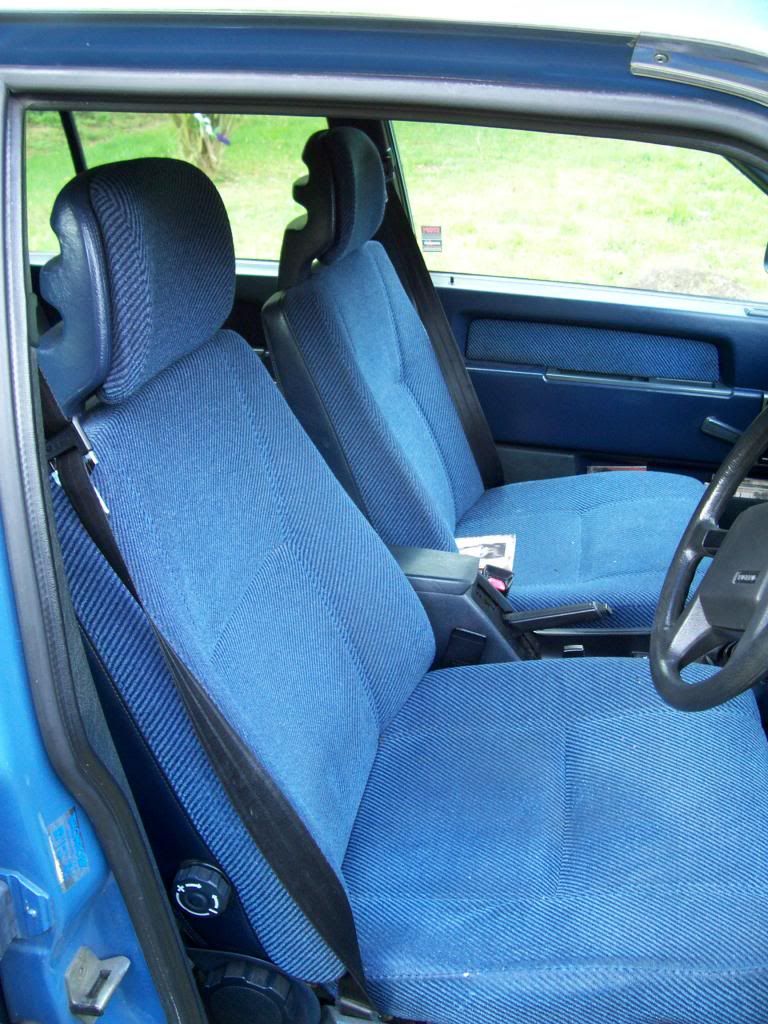
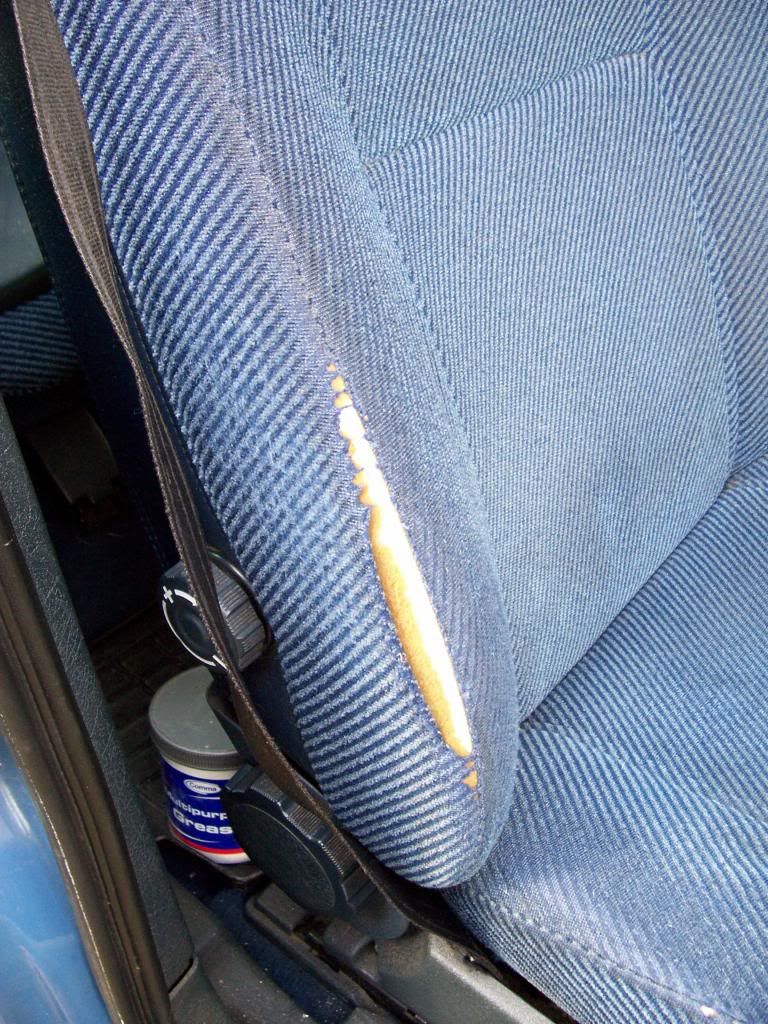
OK so here's what all the de-upholstering (I want to coin the term 'downholstering') was for. Yes, it's a change to leather from my old blue cloth seats, which were in generally good condition except for the driver's seat cover, which was worn very thin in places and had a few burn holes, as well as some classic wear on the outside edge - and its foam, which was pretty disgusting and crumbly underneath the cover.
  The leather seats that Brian so kindly gave me presented two immediate problems that I noticed – plus one that I didn't till later. The first issue was the colour, which just didn't (in my opinion) suit the general blue theme of my interior. A darker grey, or black, might have done – but not this particular shade of mid-grey. So I knew that I'd need to change that. The second thing was that the seatbelt buckles on the front seats were clearly different from mine – so to fit them in the car I'd have needed to change the front seatbelts for ones with different clips. So the seats went into the woodshed. And stayed there, as it turned out, for many months, gathering a bit of surface mould and making a happy home for a great number of spiders. Also preventing me from storing very much wood. From time to time they made me feel guilty, and I occasionally thought of selling them on, but then that was always too much trouble in itself. The fact that it seemed to be raining constantly all year didn't help. This summer I made up my mind to clean them up, at least, and think about what to do. So I did a lot of cleaning and conditioning. 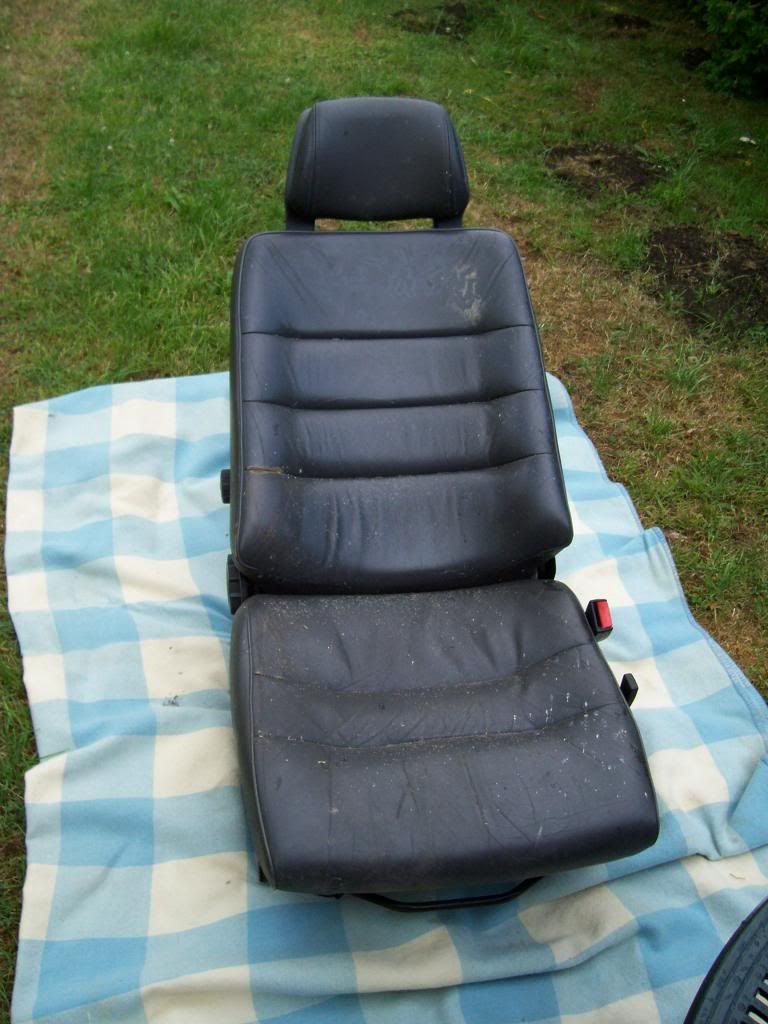 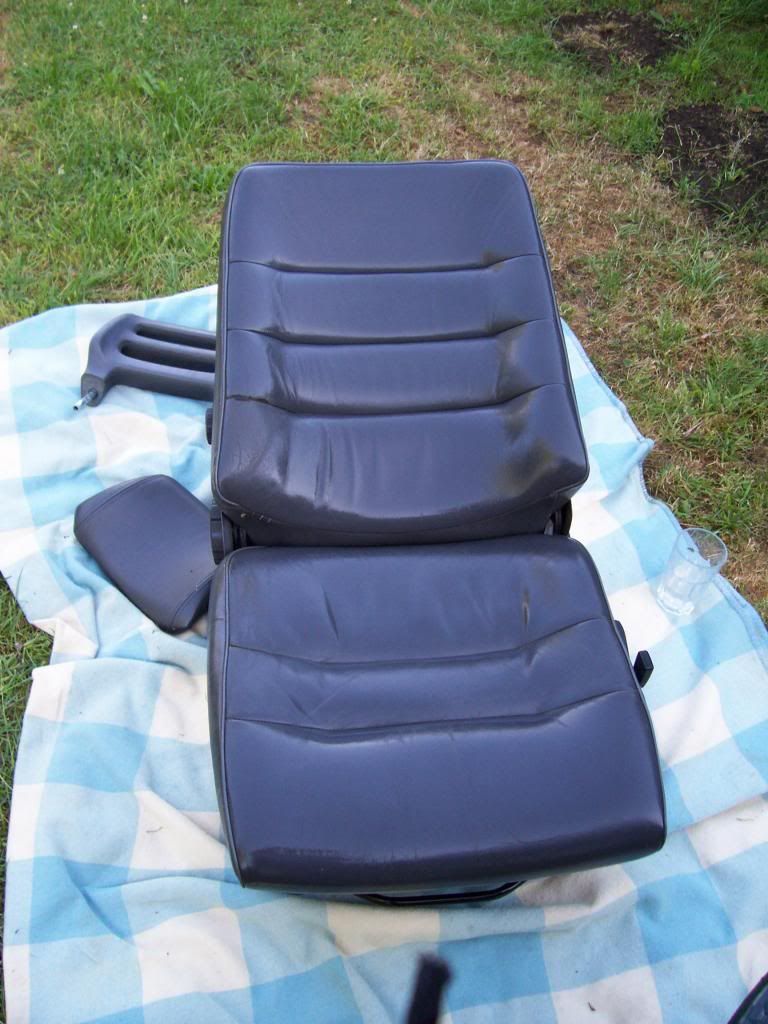 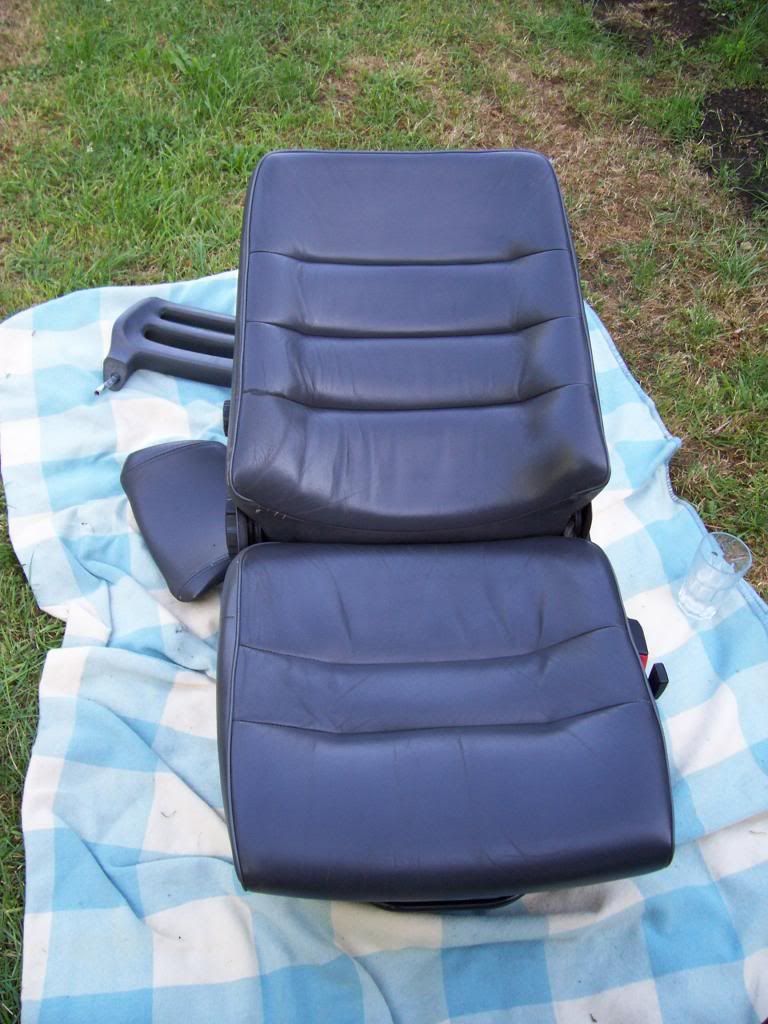 It was during this process that I first became aware of the existence of mechanical seatbelt pre-tensioners – and with it of the depressing new fact that one of the pre-tensioners on my 'new' seats had been activated already (quite possibly by my being careless with it in my previous ignorance of the things – I'll never know). I suppose that these things can be replaced, but it's obviously not the kind of job that I could do myself or that I was willing to pay someone else to do. Eventually it dawned on me that if the soft bits of the new seats could be transferred to the frames of my existing seats, I'd have solved the seatbelt issues at a stroke – I'd be using the old buckles that fit my seatbelt clips; so there'd be no need for new belts, and I'd also never have to worry about the pre-tensioners. I had little confidence when I started that I wasn't going to run into some insuperable (by me) problem. I had no reason to think that the swap couldn't be done, but for all I knew there might turn out to be slight differences in construction that would put the whole thing beyond my abilities. So I approached the exercise with some trepidation. Only after I'd begun dismantling did I realise that the project of swapping the new soft stuff to the old seat-frames actually gave me the positive opportunity to switch things around a bit to my advantage: I could put what had been the driver's foam and seat cover on the passenger seat and vice versa. Obviously this gives the driver's seat the benefit of the less-used leather that used to be on passenger seat, and it puts the relatively worn areas on what used to be the driver's seat covers on to the inboard side of the passenger seat, where they will be subject to much less wear in future. Ah, but surely doing this means cutting a new hole for the lumbar adjustment knob in each seat cover, and involves leaving a gaping hole on the other side of the cover of each seat? Well, not necessarily: not if you can undo and redo three screws on each seat and thereby fit the lumbar support mechanisms the other way around. Then you can install the adjustment knob on the other (inboard) side of each seat, where it will go through the relevant hole in the swapped-over seat cover. (Thousands of people must, of course, have realised this before me, but I still felt like running naked through the streets shouting 'Eureka' when my tired old brain stumbled to this thought.) So that is what I did. Otherwise, I just rebuilt the seats using the best bits of what I had. A good tip (and another eureka moment for me) for re-attaching the difficult springs on the backrest is to hook another spring over the end of the one that you are trying to stretch, then hook the other end of this extra spring over a spanner which you use as grip as you pull. Pulling the two connected springs seems (though I don't know whether this is supported by science) to 'gear' the operation so that although you pull further overall to get the target spring to stretch as much as you need, it's less effort to do it. The colour issue was solved courtesy of half a litre of Gliptone dye. (My cheap camera seems to handle blues very badly but they are now a tasteful shade of dark blue which matches the rest of the interior.) 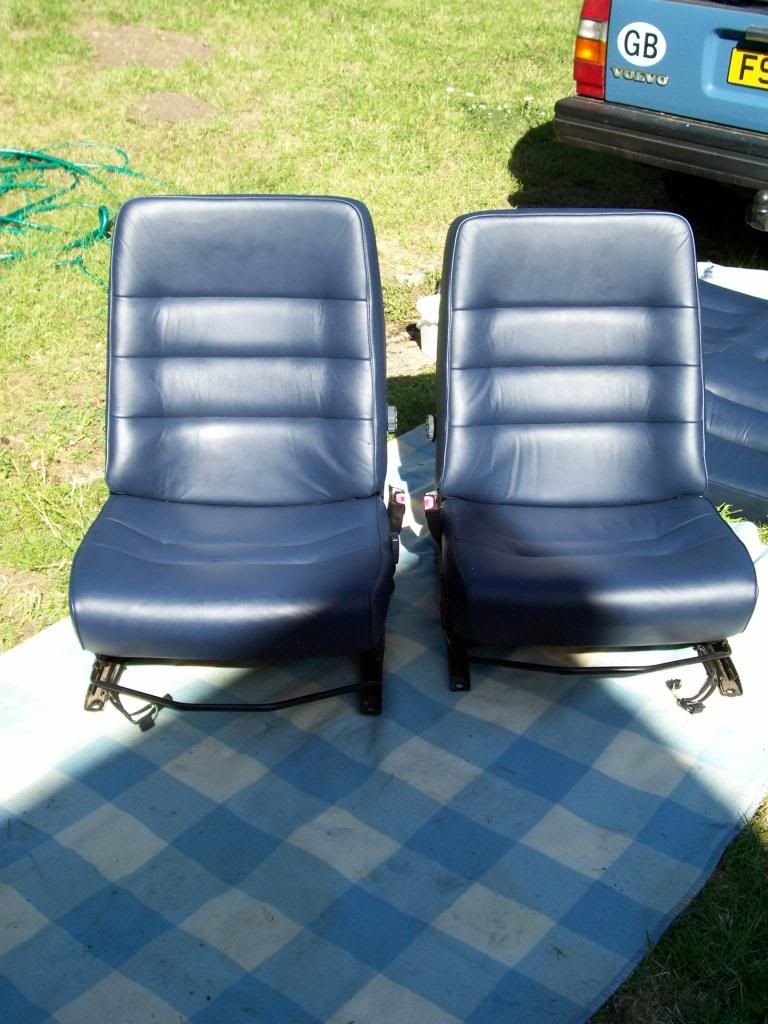 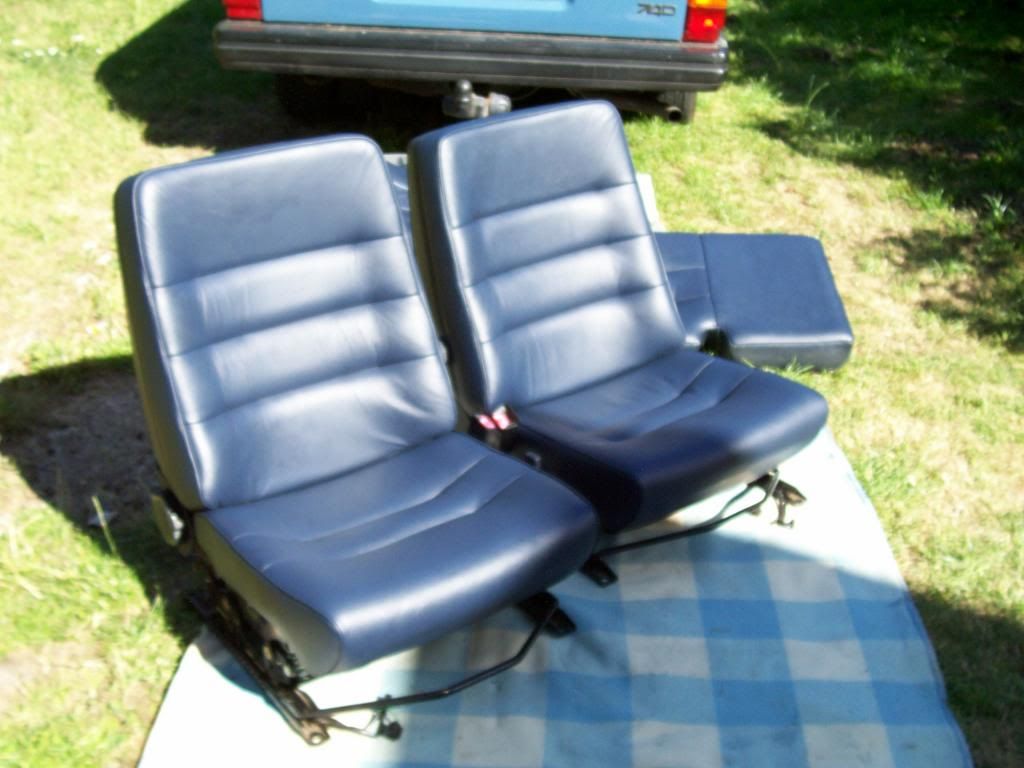 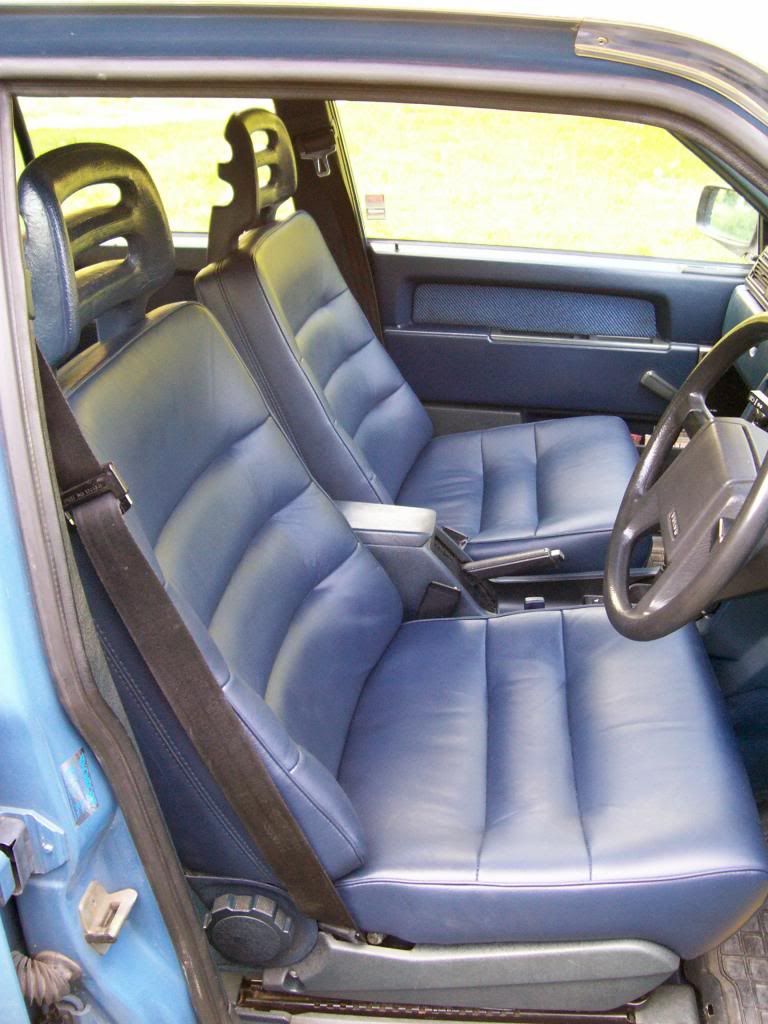 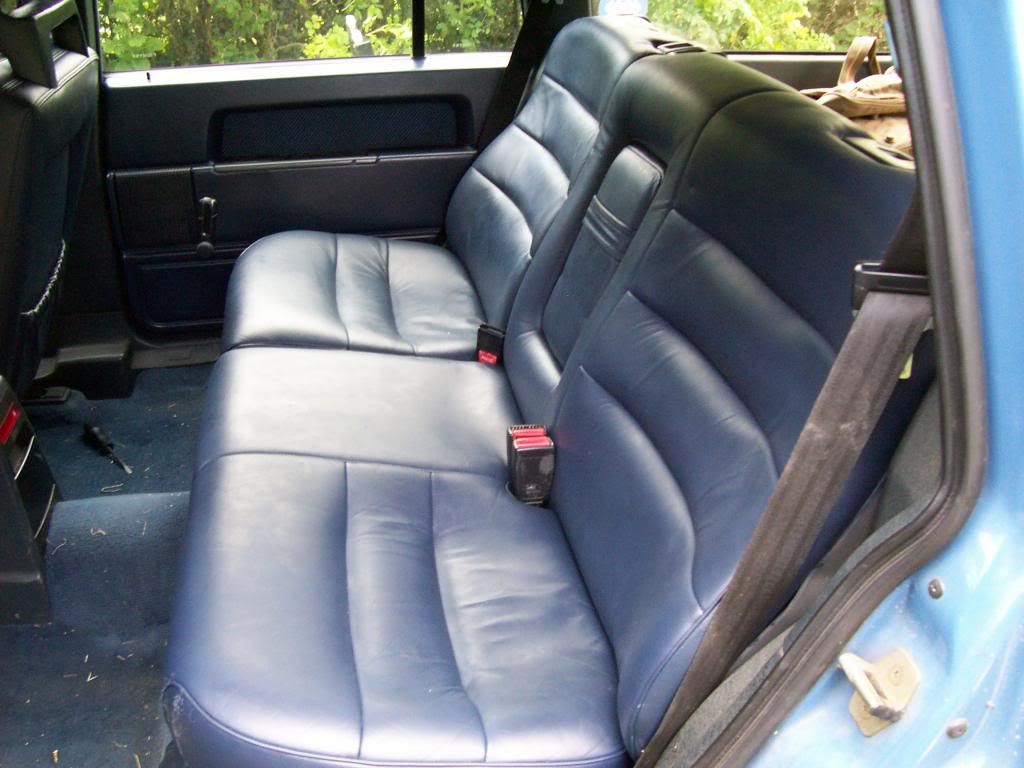
__________________
(Formerly) 1988 745 B230K (Phoenix) Last edited by DWM; Aug 2nd, 2013 at 22:04. |
|
|

|
| The Following User Says Thank You to DWM For This Useful Post: |
|
|
#15 |
|
Premier Member
|
Ee, that's reet posh! I'm starting to feel jealous...

__________________
1989 740 GL 2.0 estate 2000 V40 2.0 (gone) 2005 Toyota Avensis 2.0 estate (gone) 2012 Ford Mondeo 2.2 TDCi estate 1999 Land Rover Discovery 2 TD5 |
|
|

|
|
|
#16 |
|
VOC Member
Last Online: Apr 4th, 2023 18:13
Join Date: Apr 2010
Location: Oxford
|
Thank you. I'm very happy with the outcome.
It's huge thanks once again to Brian for making the whole thing possible.
__________________
(Formerly) 1988 745 B230K (Phoenix) |
|
|

|
|
|
#17 |
|
bob12
Last Online: Apr 25th, 2024 11:19
Join Date: Aug 2006
Location: Woking
|
Quote .... It was during this process that I first became aware of the existence of mechanical seatbelt pre-tensioners – and with it of the depressing new fact that one of the pre-tensioners on my 'new' seats had been activated already (quite possibly by my being careless with it in my previous ignorance of the things – I'll never know). I suppose that these things can be replaced, but it's obviously not the kind of job that I could do myself or that I was willing to pay someone else to do..... Unquote
Before you fiddle with seats with mechanical seat belt pre-tensioners fitted; there is a little red button visible on the the mechanism at the side facing upwards. It has a small groove to fit a screwdriver. Normally when active the little button is recessed more or less flush with the plastic molding. To lock the system to avoid problems just insert a screwdriver, press down lightly and turn one half turn so that it pops up. That's it locked. When finished don't forget to re-set it. Bob. |
|
|

|
| The Following User Says Thank You to bob12 For This Useful Post: |
 |
| Currently Active Users Viewing This Thread: 1 (0 members and 1 guests) | |
|
|