As the original has lost it's pictures, I changed mine today and took some to help everyone.
What a pain in the ass job, but only because of the CEM fuse box and it's bracket.
If that wasn't in the way, the job would be so much easier and quicker.
So without further ado, I give you a guide to changing the pollen filter;
Tools used;
Torx screwdriver set
Ratchet with extender bar and 13mm socket
Plastic Pry Tools
Few bits of skin
A lot of patience and a bit of brute force
The new filter and the trusty old Haynes manual
 pollenfilter
 by
Pete, on Flickr
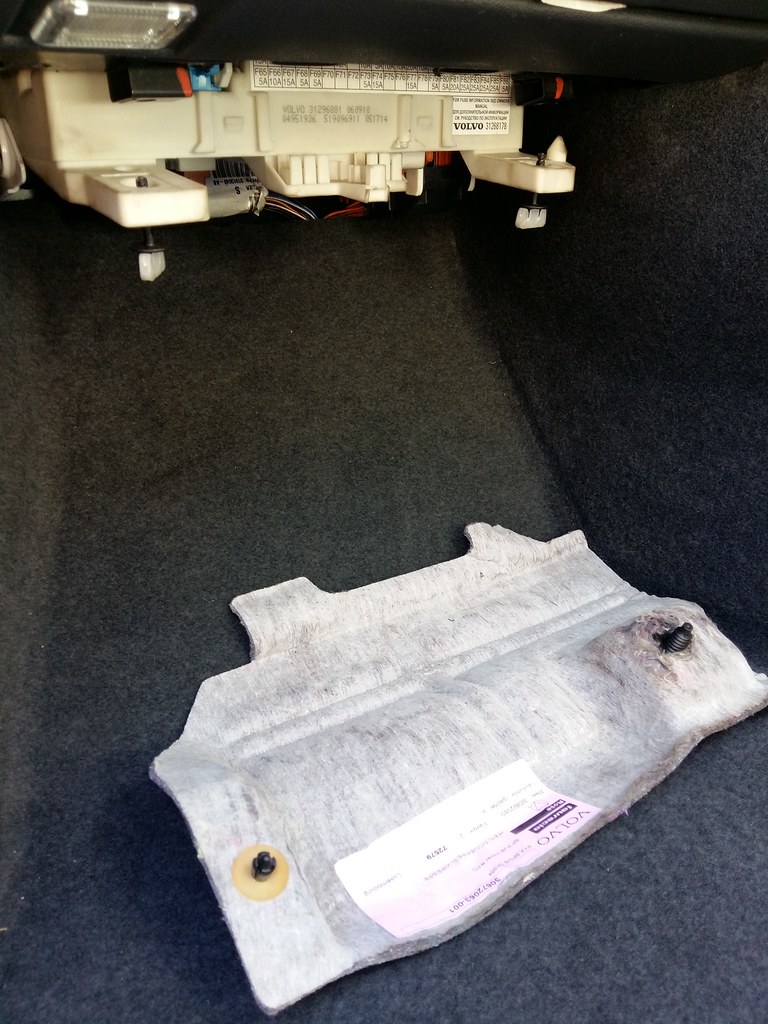
I started by taking the insulation off from under the CEM unit
 pollenfilter1
 by
Pete, on Flickr
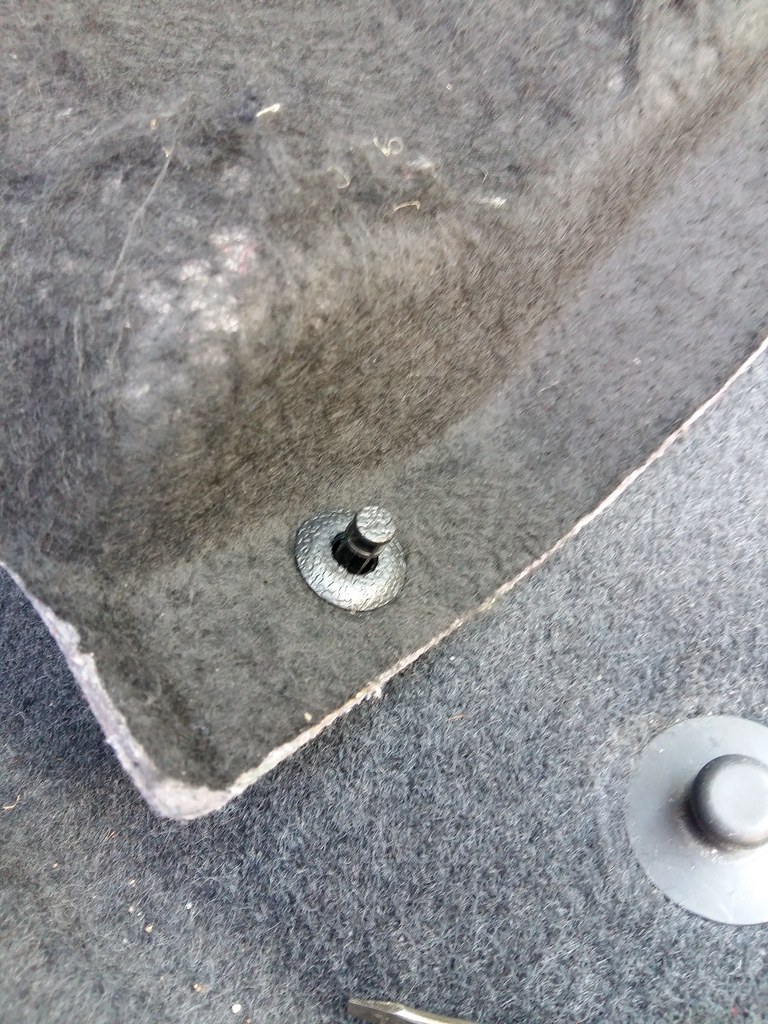
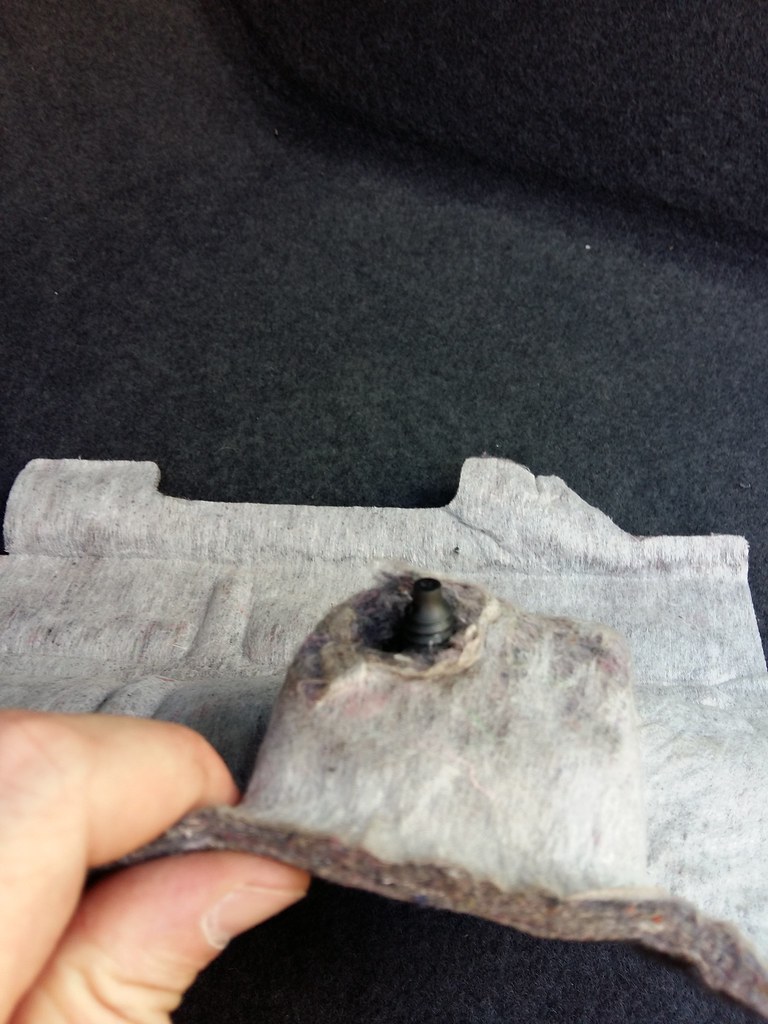
This is held on with little push pin rivets
 pollenfilter2
 by
Pete, on Flickr
Well, one side was, the other side on mine has been butchered and fitted with a cardboard washer and larger plastic screw
 pollenfilter3
 by
Pete, on Flickr
 pollenfilter4
 by
Pete, on Flickr
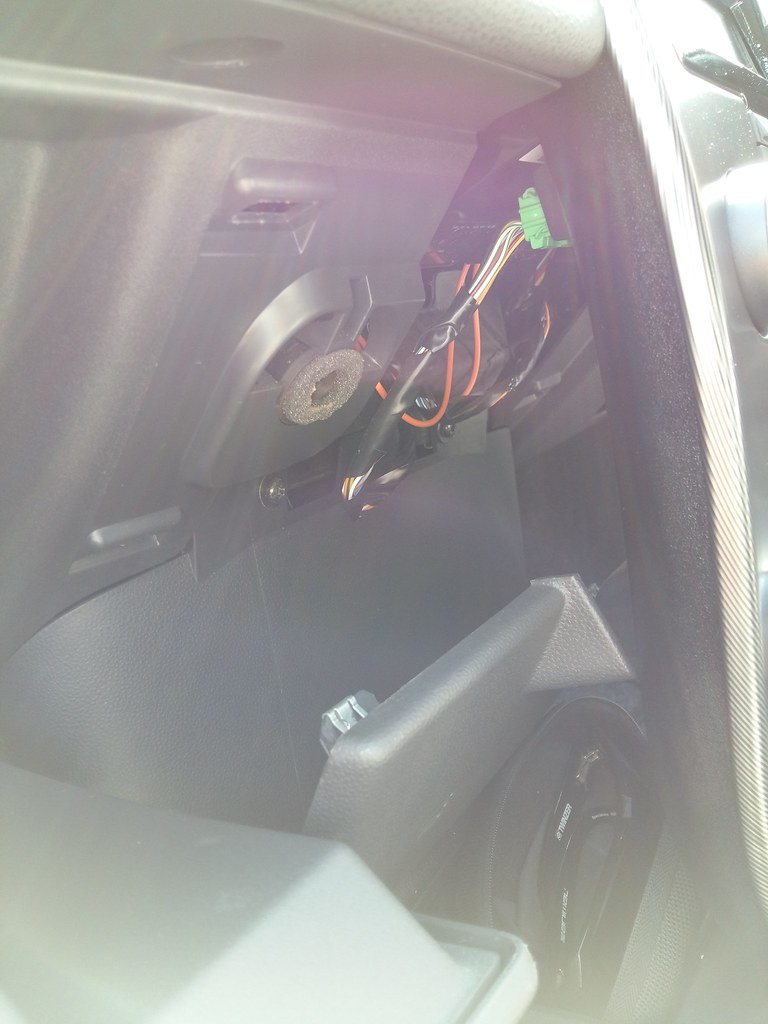
I then had a look at the area and I found it to be far too tight to remove and install a pollen filter so proceeded to remove the glove box
I removed this piece of trim from directly behind the waterfall. This is necessary as the end of the glove box sits behind it.
 pollenfilter5
 by
Pete, on Flickr
Then I took the trim off the passenger side of the glove box
 pollenfilter6
 by
Pete, on Flickr
Then I removed the larger glove box, then the smaller inner glove box and I was presented with the below
 pollenfilter7
 by
Pete, on Flickr
A closer look and there's the pollen filter cabin
 pollenfilter8
 by
Pete, on Flickr
Unscrewing the white screw you can see above releases the door from the cabin and you can then see the filter
 pollenfilter9
 by
Pete, on Flickr
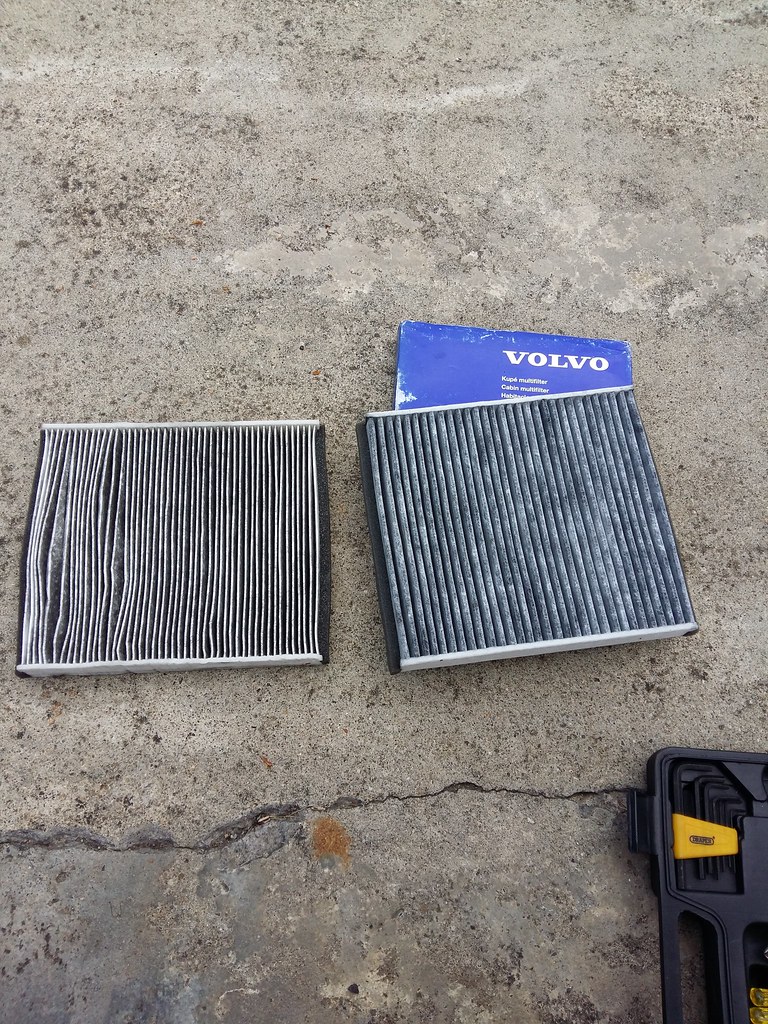
I then managed to pull the old filter out and put it up against the new one
 pollenfilter10
 by
Pete, on Flickr
Exactly the same size/dimensions, however the part number is 1 digit different.
Visually it has thicker spines and is a lot more sturdier than the old one. This presented a problem when I tried to put the new one back in the same way I pulled the old one out.
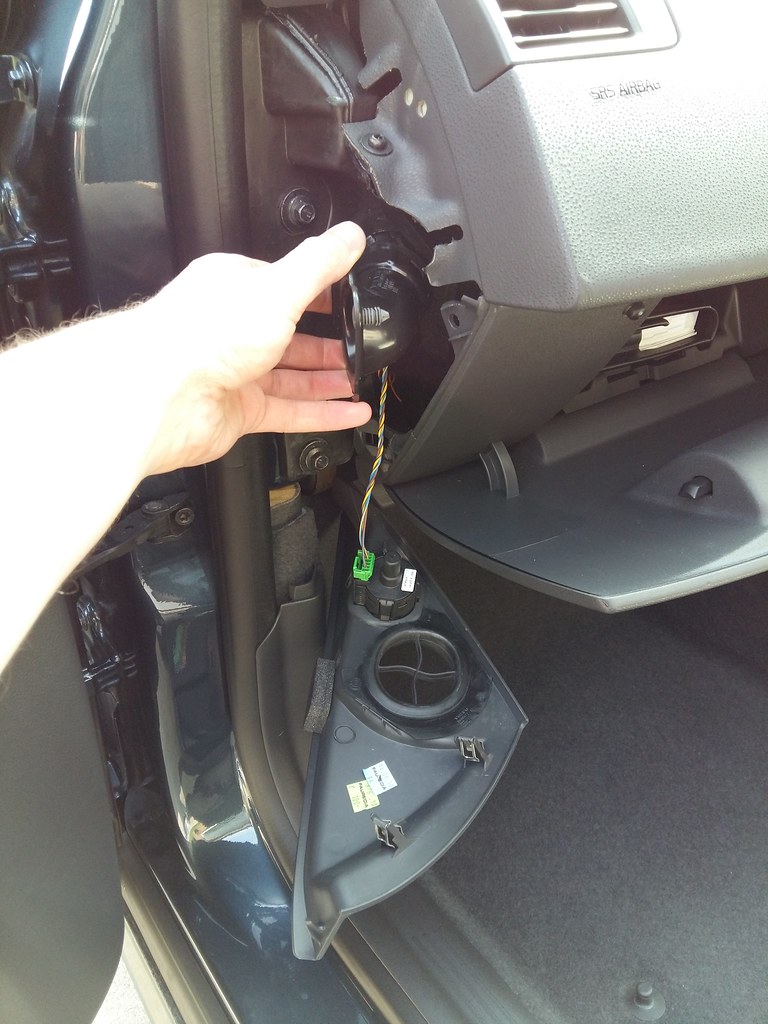
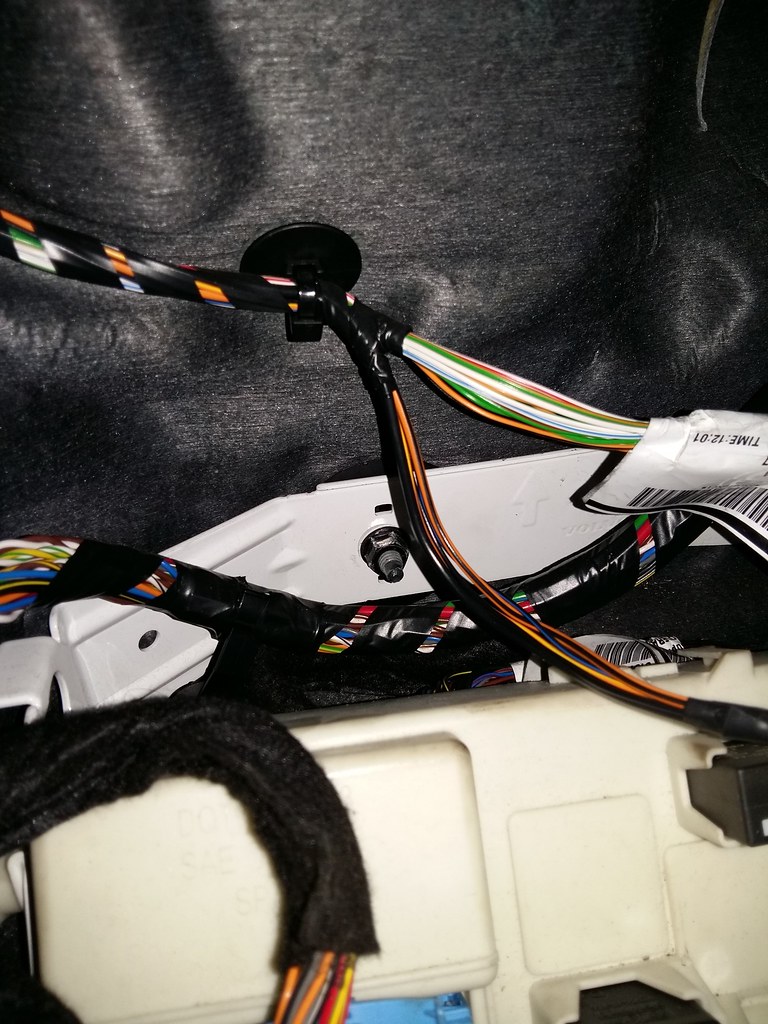
As it was far too stiff to manoeuvre into position, I had no other choice but to remove the CEM bracket holder.
Firstly I had to get the CEM unit off the bracket which was a right pain. The below picture shows the guides on the CEM that have to be taken off the bracket
 pollenfilter12
 by
Pete, on Flickr
The white bit on the left sticking off the CEM unit.
It really is just a matter of moving it around as best you can to get it off. It does help with room if you pull the carpet down a little bit.
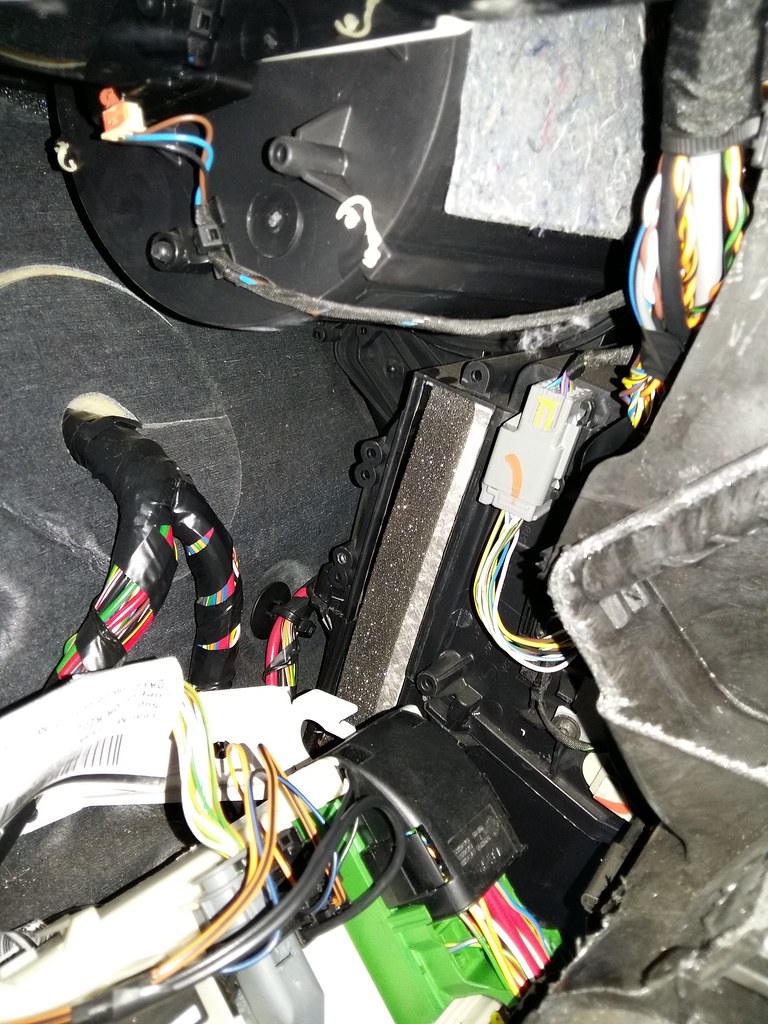
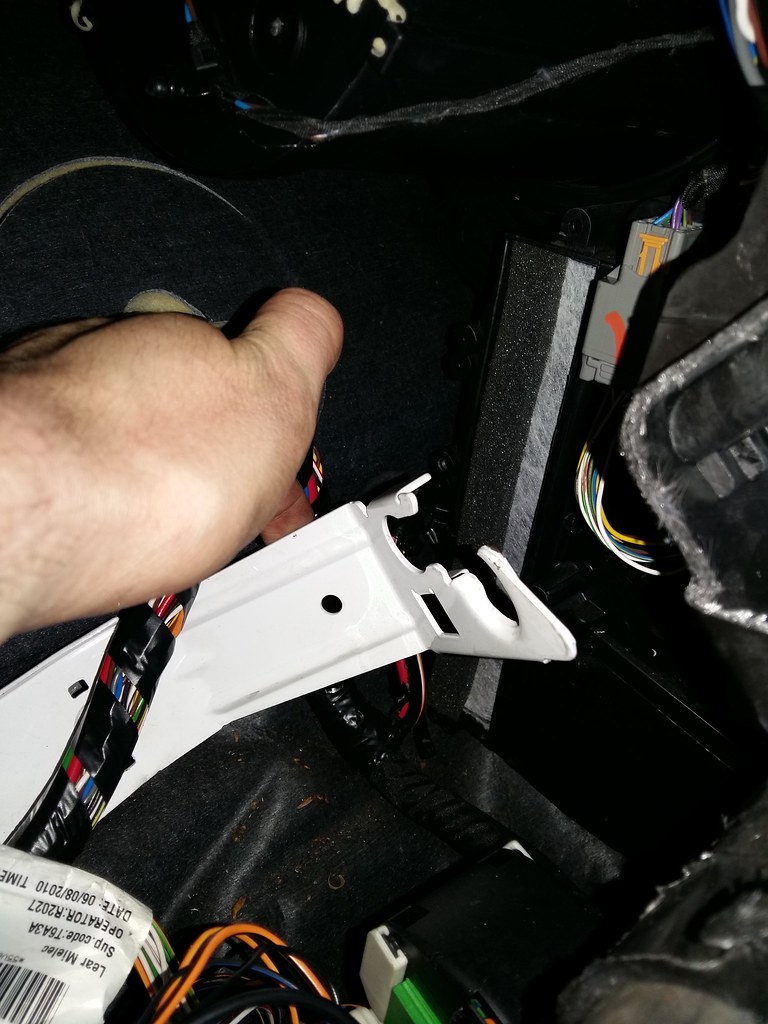
Once that was removed from the bracket, it dropped down even further and allowed better access to the bolts holding the bracket on
 pollenfilter13
 by
Pete, on Flickr
Ratchet and long extension bar with a 13mm socket on to remove the nuts. Going off the other how to guide on here, be sure not to drop the nuts as they will go down behind the carpet that you have folded down.
I ended up getting the nuts so far off then using my fingers for the last few turns.
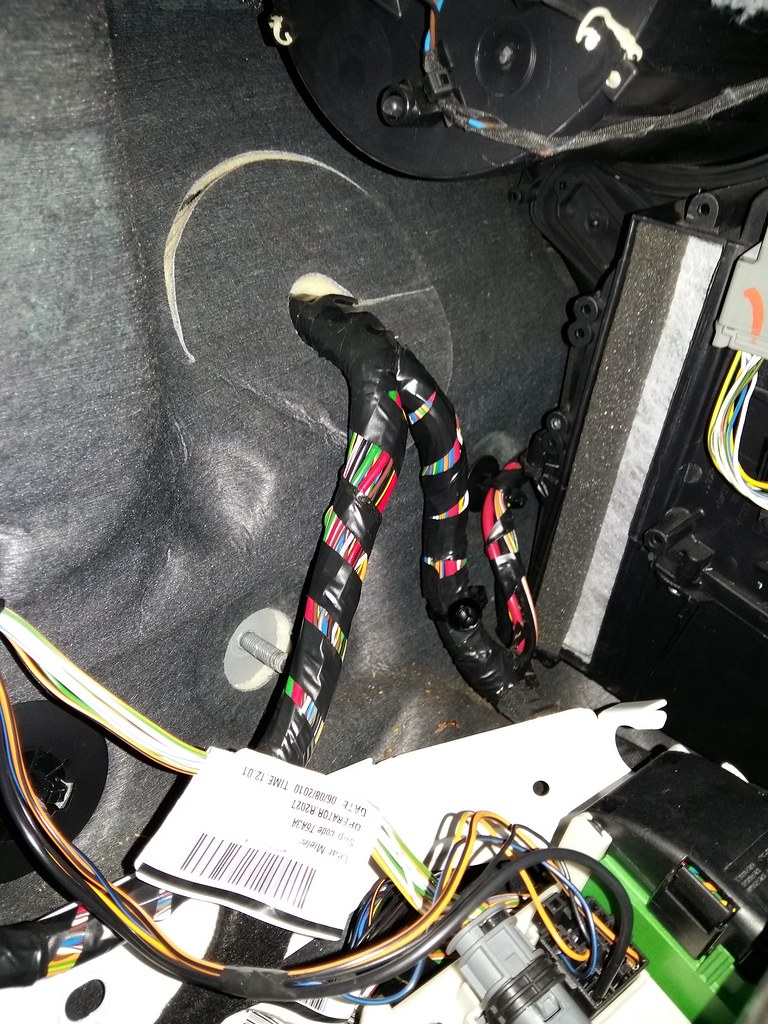
So this is how the bracket usually sits in front of the cabin filter cabin door
 pollenfilter14
 by
Pete, on Flickr
Pretty much blocking access to it. Especially when you have quite a rigid cabin filter.
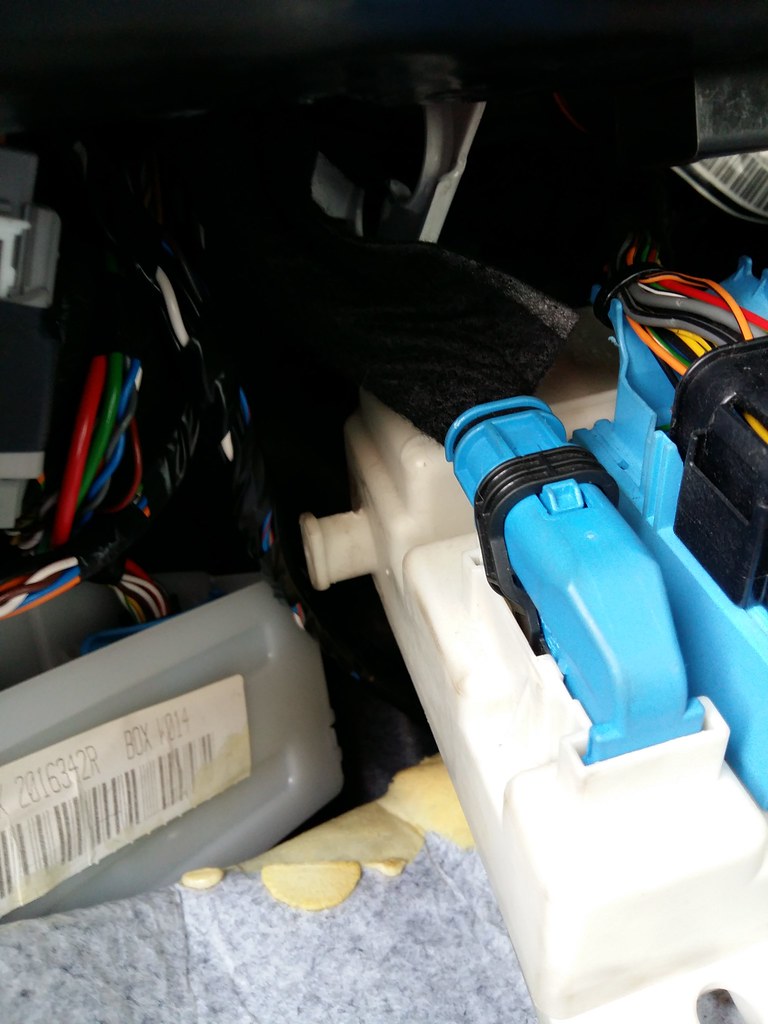
But, once the bolts are off and the bracket is lowered, you get this access
 pollenfilter15
 by
Pete, on Flickr
LOADS better. Just a shame it takes so much to get to this point
With the bracket lowered out of the way, the new filter went in easily. The above picture has the new filter in place.
All done and put back together.