I got this info from another site. All credit to original poster
http://www.matthewsvolvosite.com/for...?p=51613#51613
P2 V70 & S60 headlight fix
Symptoms: Headlights not on, system display reads "BULB FAILURE DIPPED BEAM"
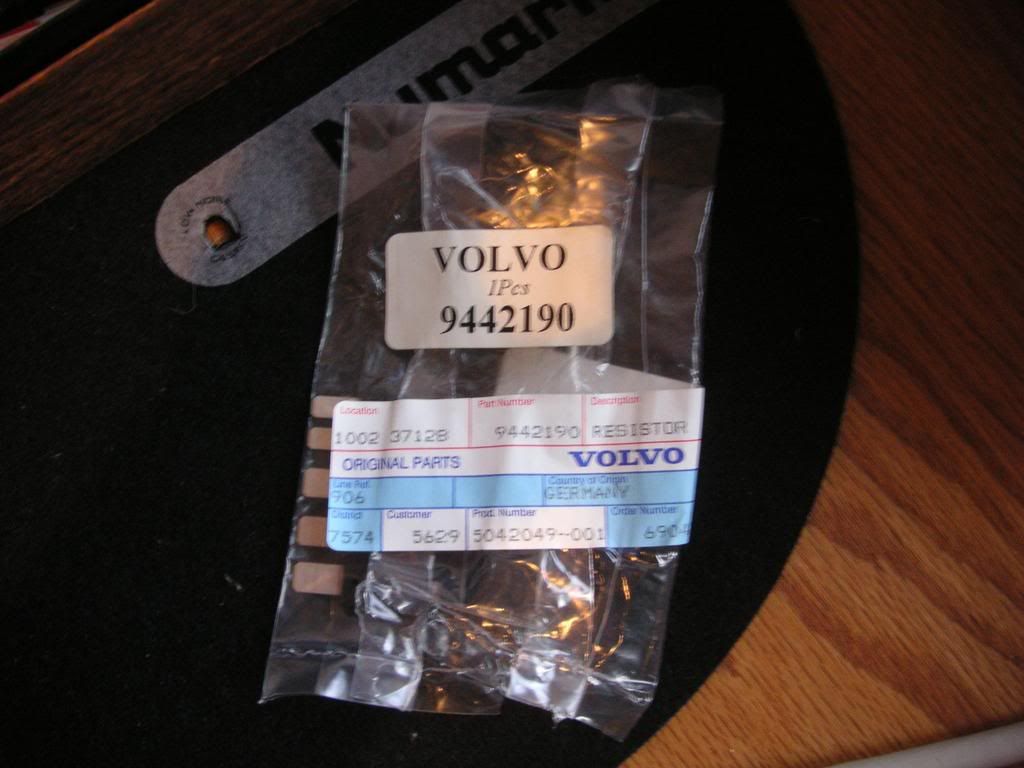
Problem: Shunt is overheating, carbon has deposited on shunt connection. Need to replace shunt, clean carbon off CEM connector. You will need: patience, no-residue electrical connection cleaner, T25 torx bit, flashlight, 400 grit sandpaper, volvo part# 9442190 costs $9 (same part# for S60) Entire procedure is same as S60.
First, disconnect the negative lead from the battery. Then use the t25 torx to remove 2 screws that lie near the footwell/pedal light. You'll need to pull this panel down(with strong force) on the left side, then the right. Then, to disconnect it from the center consol, this "sound barrier" must be pushed up and toward the front of the car. You'll get it, just be careful.
Now with the plastic out of the way, you'll need to locate the CEM. Its directly in front of the obd port. To remove the CEM from it's clips, you'll need a screwdriver(I pried the clips with my bare hands). You will be upside-down and backwards, so you are looking towards the sky in the footwell. The clip that holds the CEM in place is behind it on the port side, the side closest to the door. It must be pulled directly away from the CEM. At the same time, pull the cem not down but back towards the obd port. It will take a few tries, as it will try to clip back into place. You can now maneuver the CEM down into a more workable location.

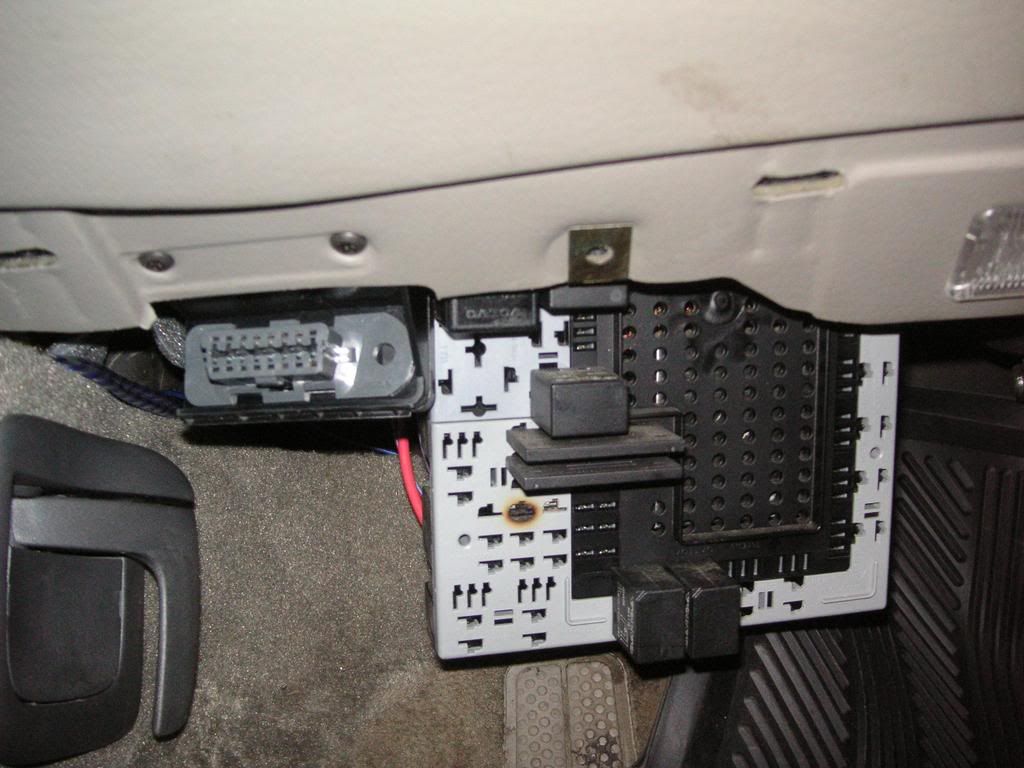
You will see the burnt part of the cem even with the shunt still in. It is obvious, yellowy/black burned plastic. Pull the shunt out like you would a fuse.
Take a break...
Before going back to work on the car, take 400 grit(or something close to 400) and cut about a 8cm by 1cm rectangle. You need it to slip into the connector(just the burned one where the old shunt sat. Sand the inside of that connection real good. Your sandpaper will become dicolored, proving that you are cleaning. Sand it until you feel it's clean enough. I gave it a good 20-30 strokes. Clean with electrical cleaner. Let cleaner dry(30min to be sure). You are ready to replace the shunt(with the new one), replace the CEM, and put everything back together.