Guys
I am attempt to get the heater working better, I wanted to change the thermostat.
A good way to check it is to watch the temperature gauge when starting from cold, and when the gauge starts to rise, check the temperature on the top radiator hose. If the hose is warm, the thermostat is probably passing water before opening at the right temperature.
The thermostat swap is complicated by the fact that the power steering pump needs to be removed - adding 15mins to the job.
Anyway - had a searching around and no guides seem to be around for changing it... so here it is...
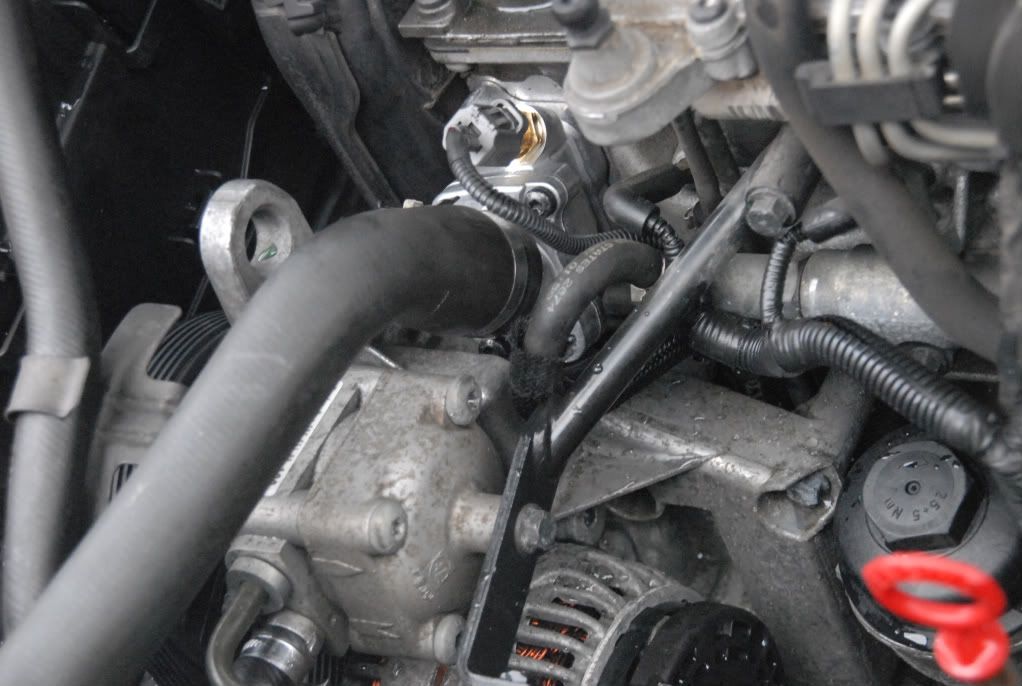
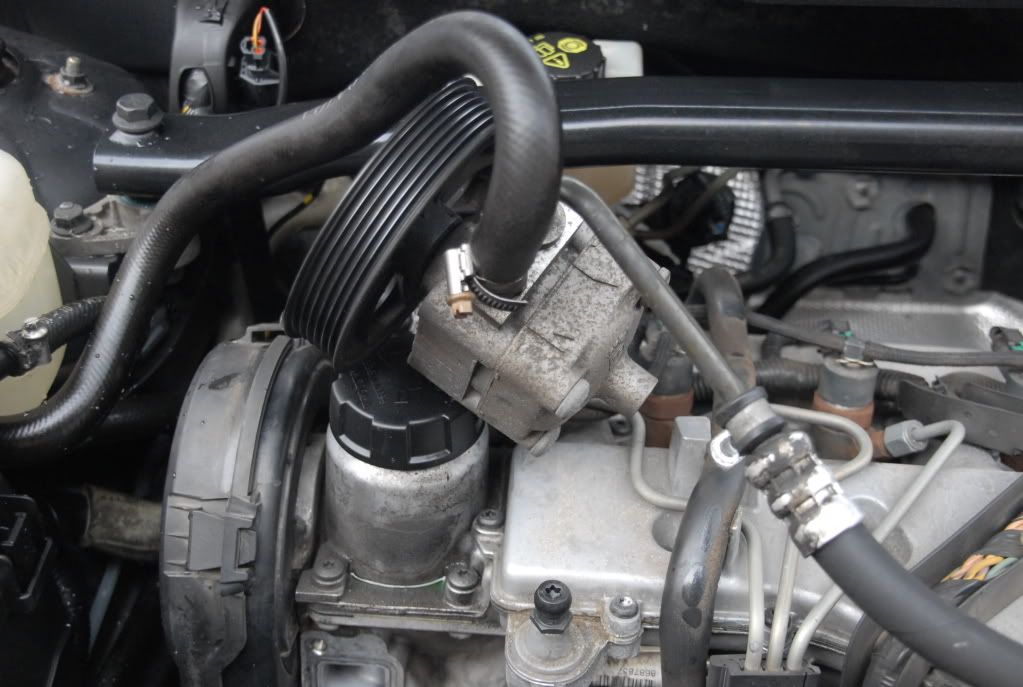
First, inside the cabin, set the heater to max - with iginition on II, give it 10seconds, switch off, and under the hood, remove the acoustic engine cover - this simply lifts off.
The thermostat housing can be seen lurking in the centre of the picture.
You will most likley want to change the coolant as part of this job. To drain the system, I removed the radiator bottom hose - and collected the old coolant for disposal. I also removed the thermostat hose too.
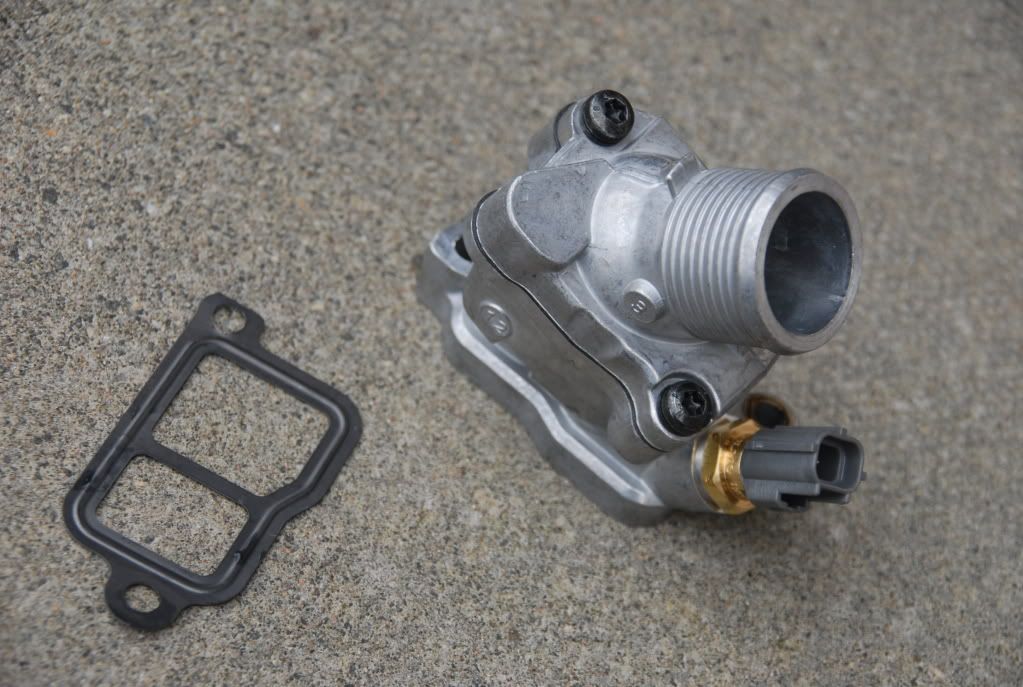
The thermostat swap is not just the usual element - it comes as a complete assembly - in a cast housing - and includes a new temperature sender unit too - and dont forget to buy the gasket!. You will fall off your chair at the price - genuine part lists at circa £110!
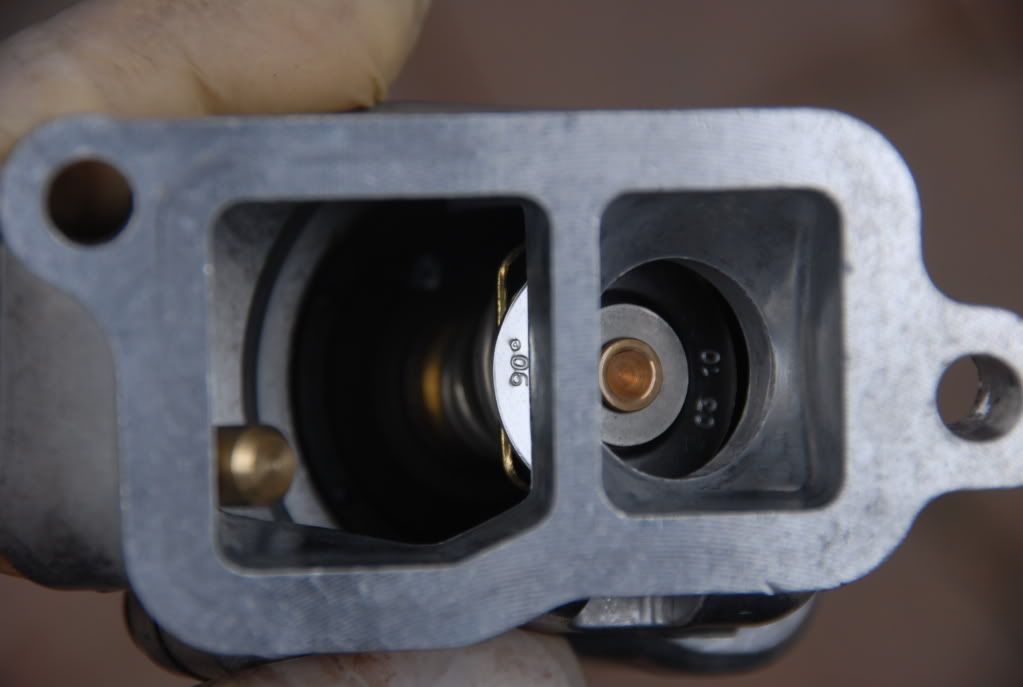
You can see here that its a 90 degree opening stat.
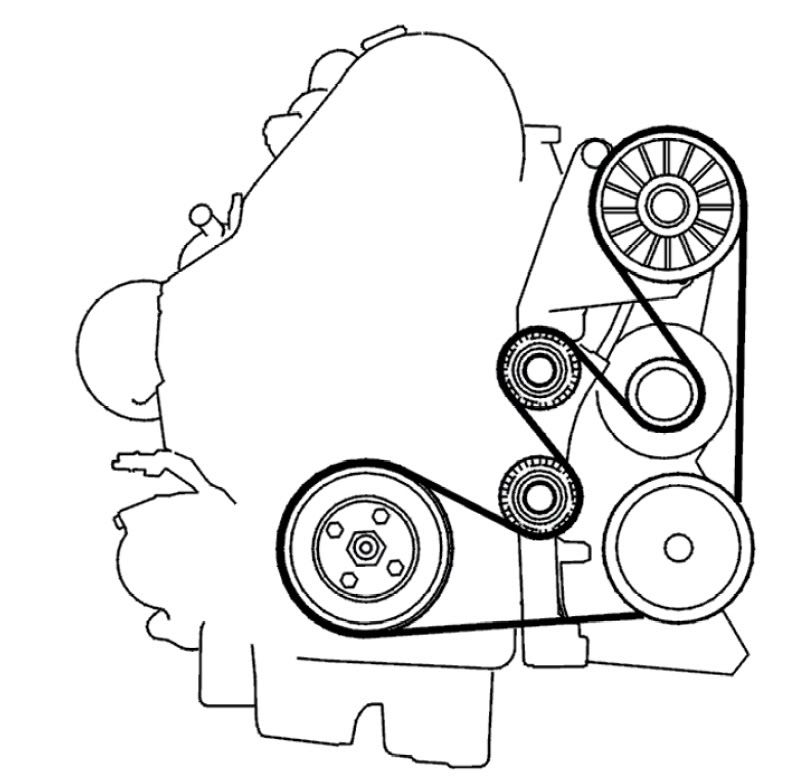
Next, I would remove the auxilliary belt - the tensioner has a T55 hole (from memory), and I used a long 1/2 drive bar as there is limited room between engine and inner wing.
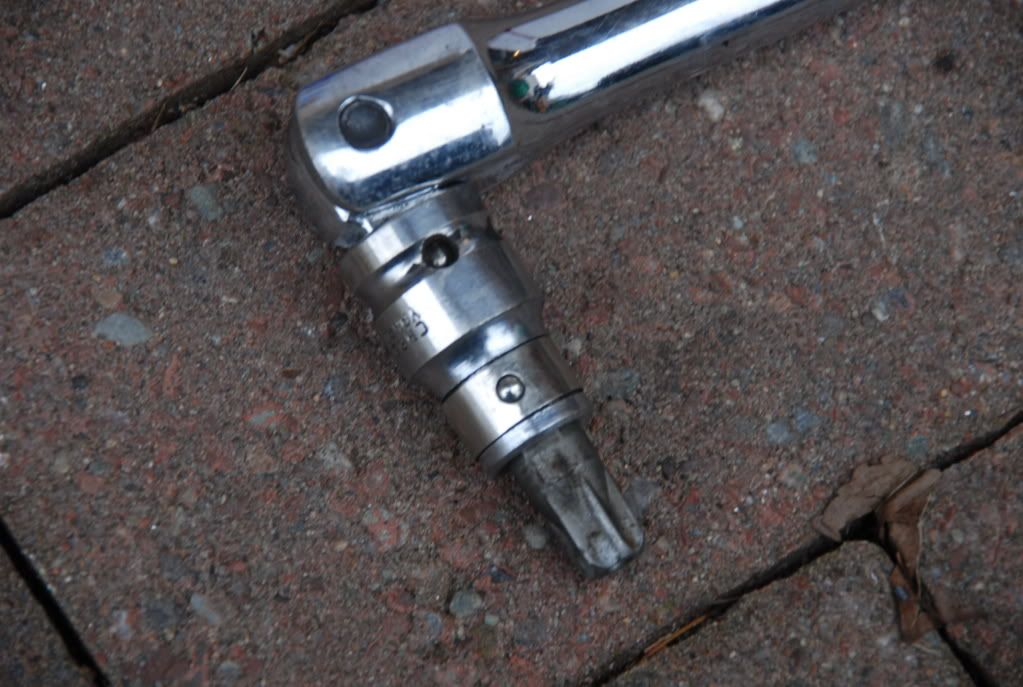
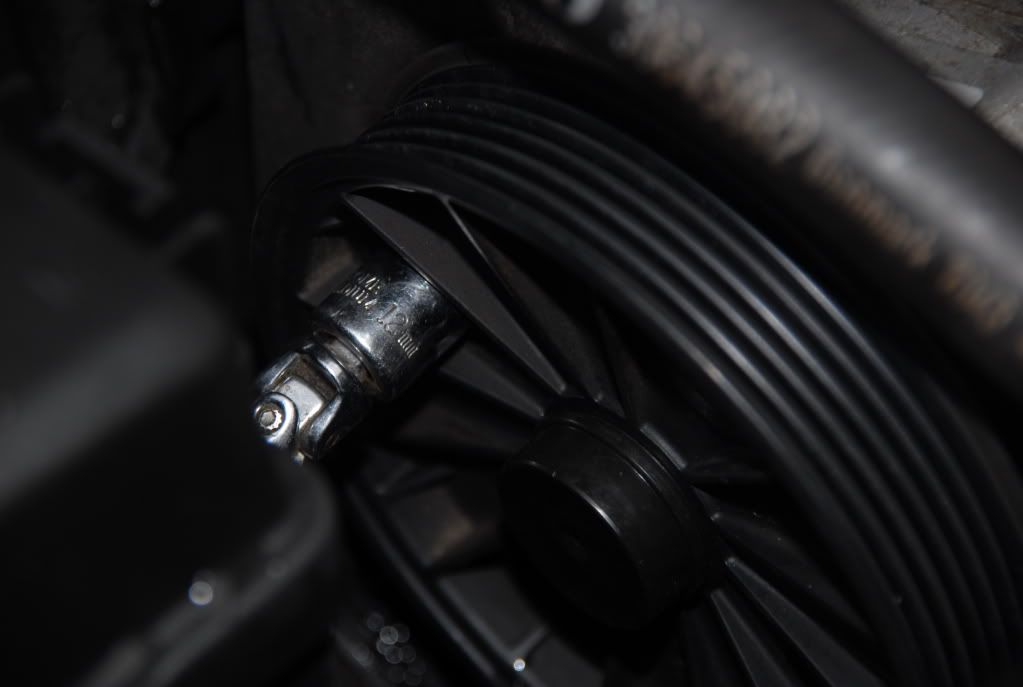
Please take a note of how the belt runs - the tensioner is the top pulley - and you pull the bar from rear to front of car to loosen the tension for removal.
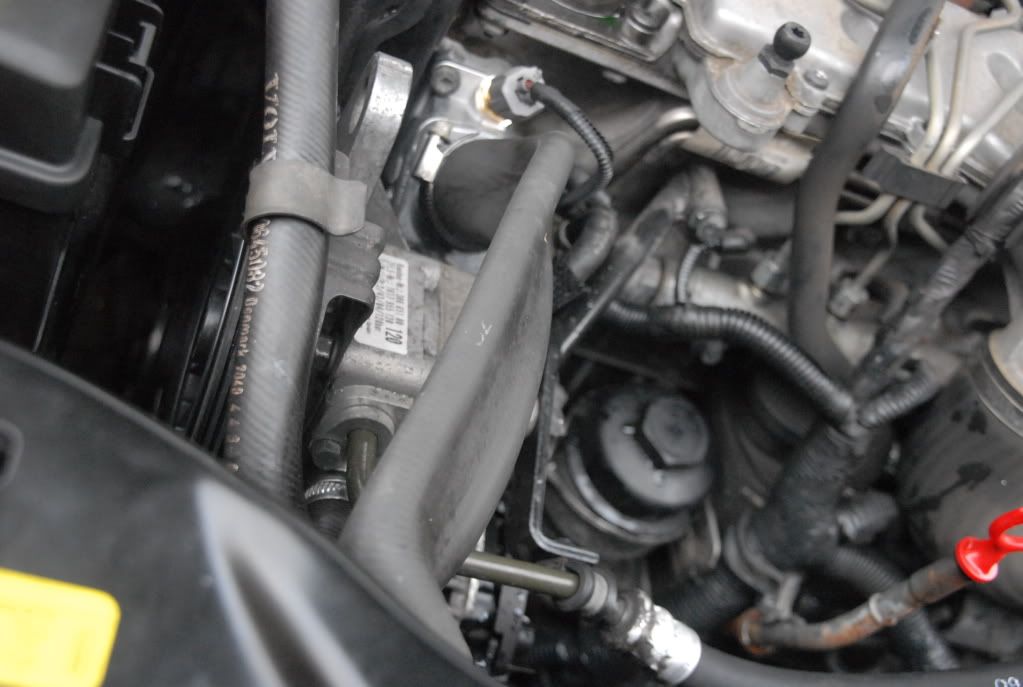
Ok - with the belt off, you can now remove the power steering pump. This is attached by three bolts and also has one for a hose carrier bracket. You will need to rotate the pulley to align the holes that give you access to the bolt heads. I used a 1/4" drive socket set here as there is little room - once cracked off with the ratchet, I unscrewed the bolts by hand - the ratchet was too clumsy in the space available.

There is also a bolt at the rear and a pipe retainer bolt too - seen here.
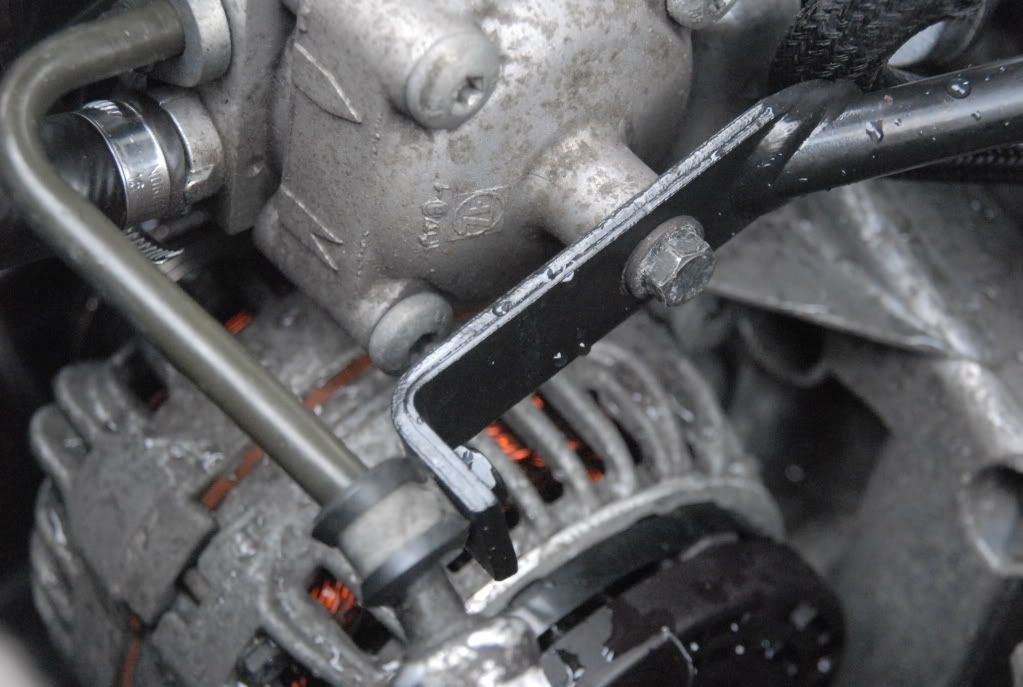
Ok - you can now move the pump away from the thermostat.
Next - off with the thermostat! Luckily, there are two access holes through the ancilliary bracket - shown here. This gives you access to the lower thermostat screw.

The lower screw was tight to undo with a driver.. but I did not have anything better! Also, remove the temperature sender wire.
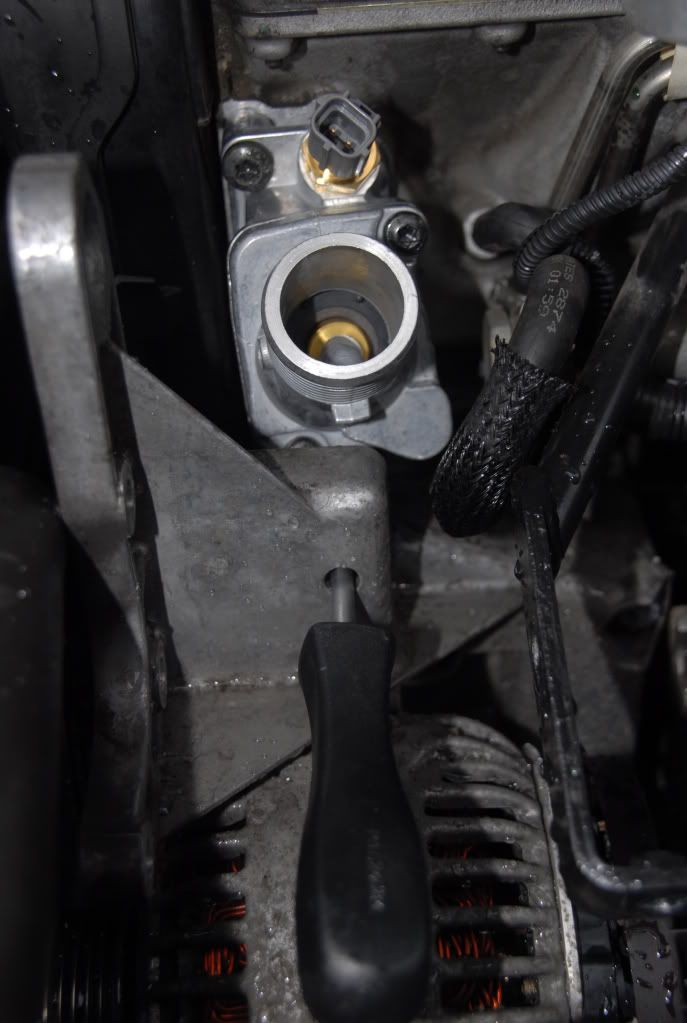
So - both screws out, lift the thermostat and gasket off, and you are half way there!
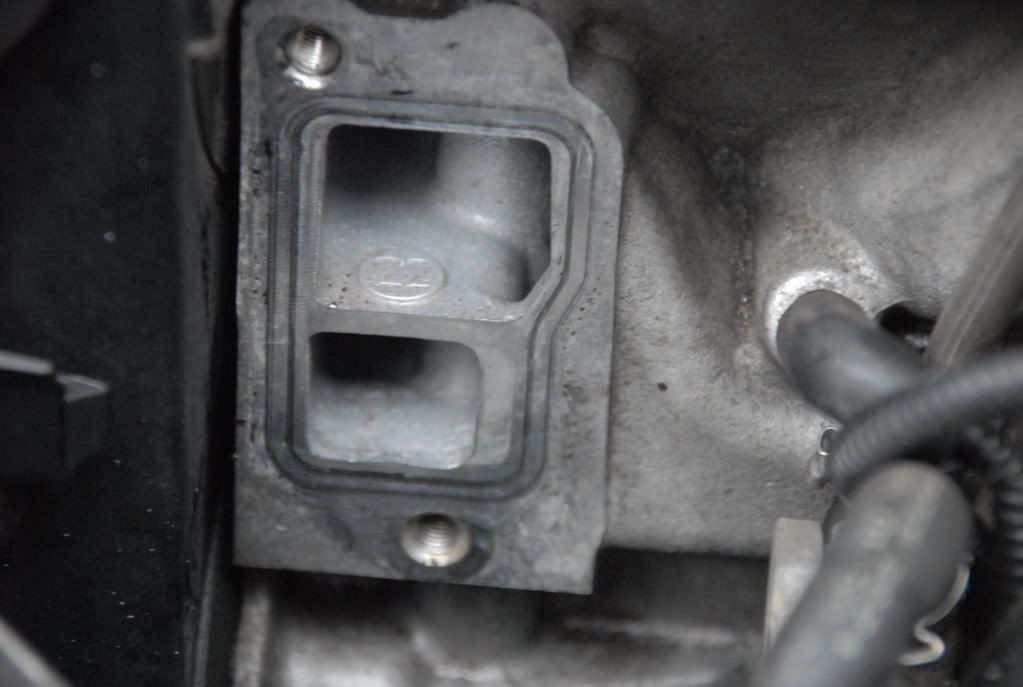
I suggest that before you reassemble everything, you may want to flush the system with running water - to clean the radiator and block/heater matrix. This can be done with a hose, inserted into the block at the thermostat opening and also the radiator lower hose. Don't forget to flush the header tank too.
You should also clean up the gasket face on the block to ensure that there is not old gasket or sealant left on the mating face.
Reassembly is reversal of removal (you just love that, don't you!).
When back together you need to refill the coolant and bleed the system.
I could not see any obvious coolant bleed screws, so suspect (and read elsewhere) that its a simple process of refilling, ensure heater is full on hot, and run engine until air escapes. You may need to put the expansion bottle cap back on if you have an airlock and squeeze some hoses, but all being well, it will sort itself out. The system needs approx 7 litres of coolant mix to refill from empty.
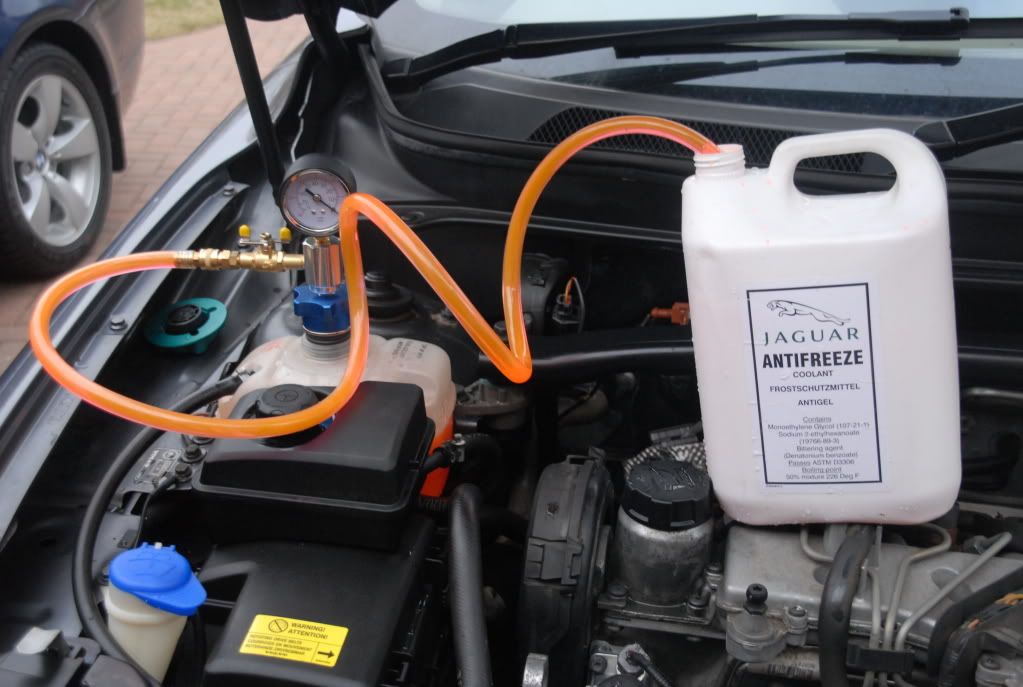
I cheated when refilling, and used a nice vaccum tool I have for the job - this is its second outing having done a BMW 530D last weekend. This is obviously optional and a chance to show off the gadget!
The tool sits on the expansion tank, and uses an airline to create a vaccum within the cooling system. This can be left to test the system, as any reduction in vaccum shows you have a leak.
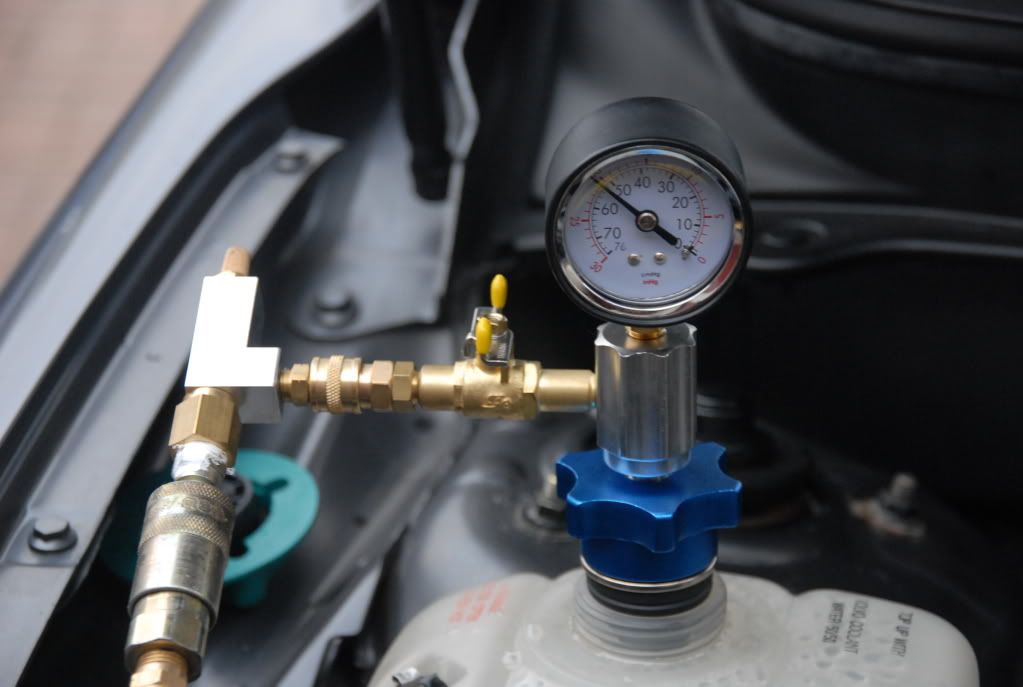
You can see under vaccum, the hoses collapse!
Once the vaccum is up there, you remove the airline and attach the hose to the fresh coolant, diluted to the correct 50% water /50% coolant.
When you open the valve on the tool, the fresh collant rushes in.
Job done!
So - easy job... shame the pump has to come off, but at least Volvo had the insight to leave these access holes in the bracket.
Hope that helps someone.
David
PS - no points for spotting the continuity error in the pictures...
