Hi all
I changed my Aux belts and tensioners the other day and here is a guide to what I did. I tried to do this using my Haynes manual but it was completely wrong for my car. This guide is for my car, a 2009 V70 D5 R-Design (D5244T4 185bhp engine)
Tools needed.
Jack
Axle stands
Wrench
19mm Socket
10mm Socket
TX25 Torx bit
TX40 Torx bit
TX60 Torx bit
Torque wrench
Parts Needed
31330379 Tensioner
31330380 Aux Belt
30757613 A/C belt
(From Rufe, these came to about £100.)
Process
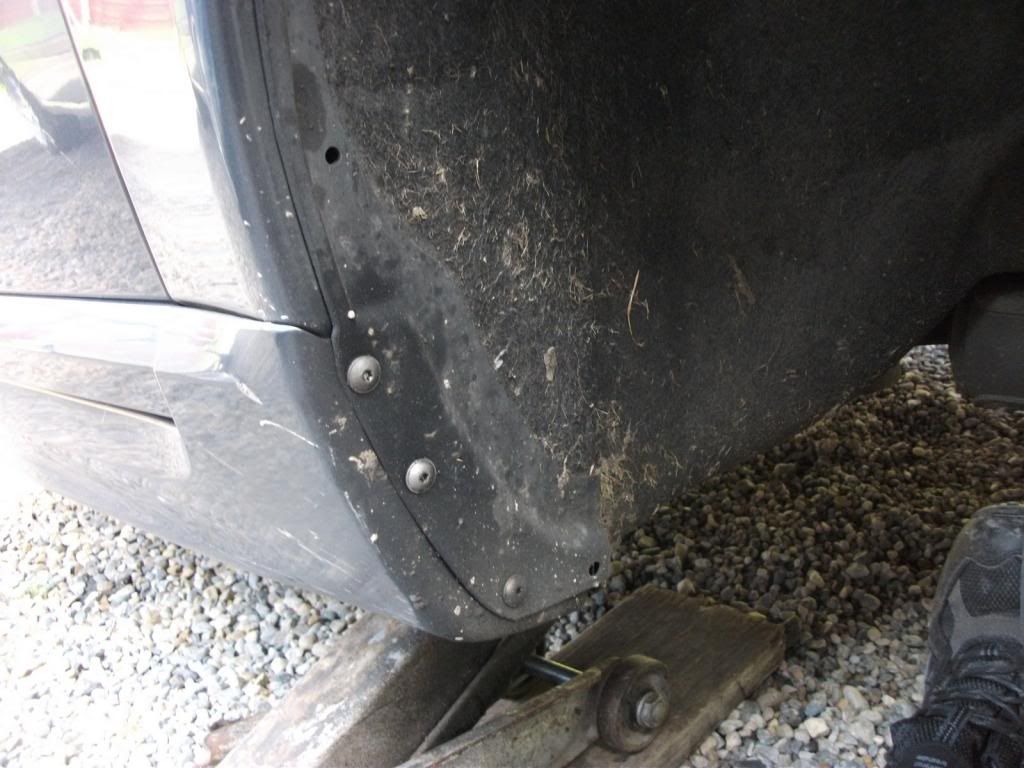
First off you need to loosen the O/S/F (Drivers side front) wheel, jack up the car and support on axle stands, then remove the wheel. Once you have the wheel off, you need to remove the wheel arch liner. (Haynes suggested to remove the floor tray as well but I did it without removing it.) To remove the wheel arch liner you need to remove the 3 plastic nuts pictured with the 10mm socket -
Then you need to remove the 8 Torx screws, 3 on the rear arch and 5 on the front using the TX25 bit.
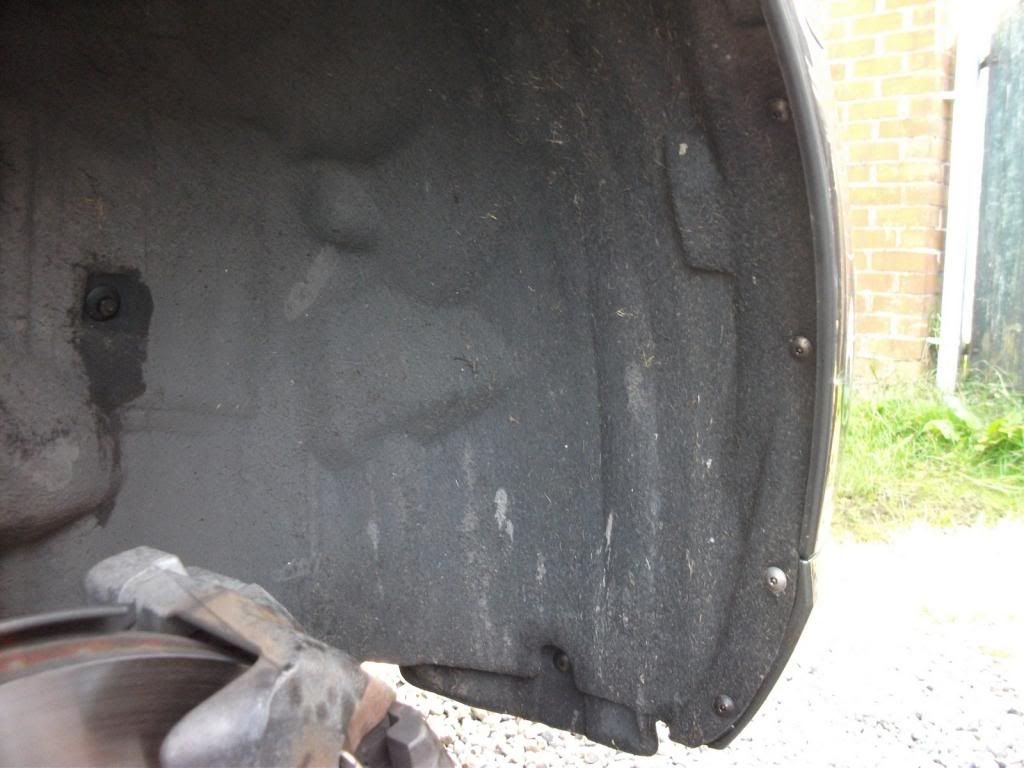
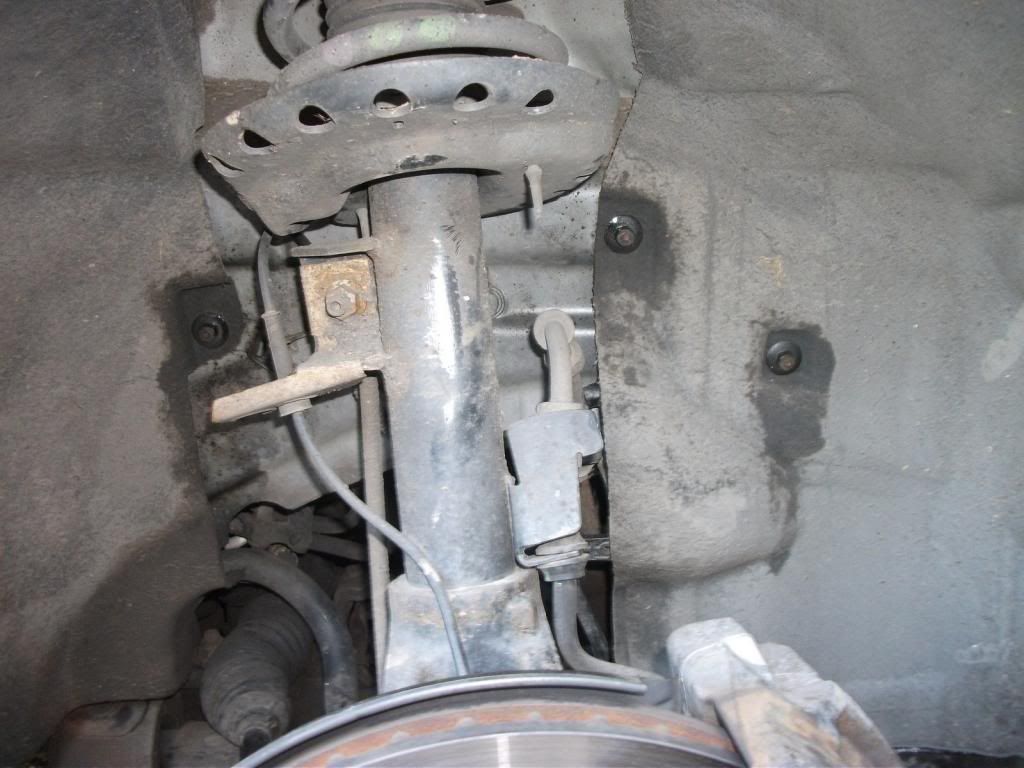
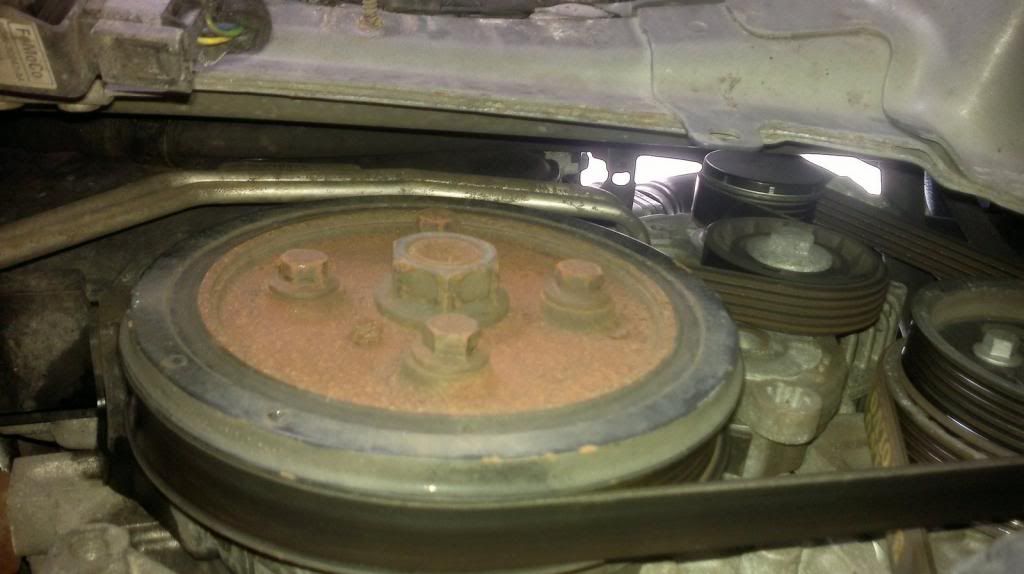
The arch liner clips onto the top of the arch and you need to push it up and inwards to remove it. Once you have the liner removed you will be able to see the A/C belt (on the right) and Aux belt and tensioner.
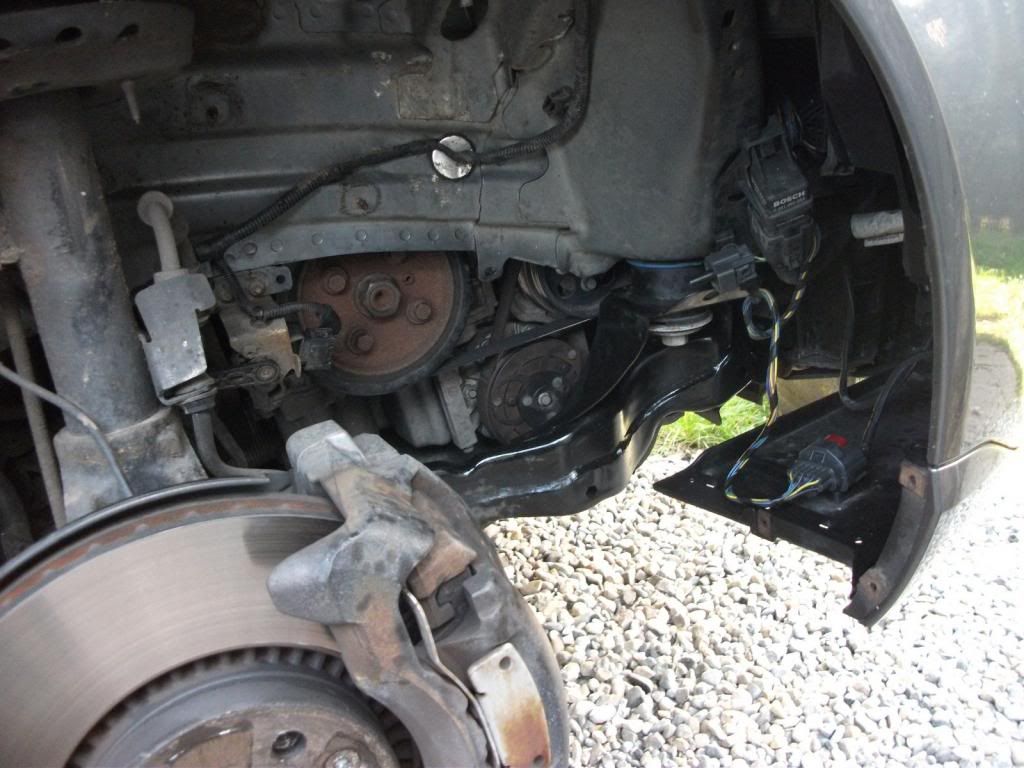
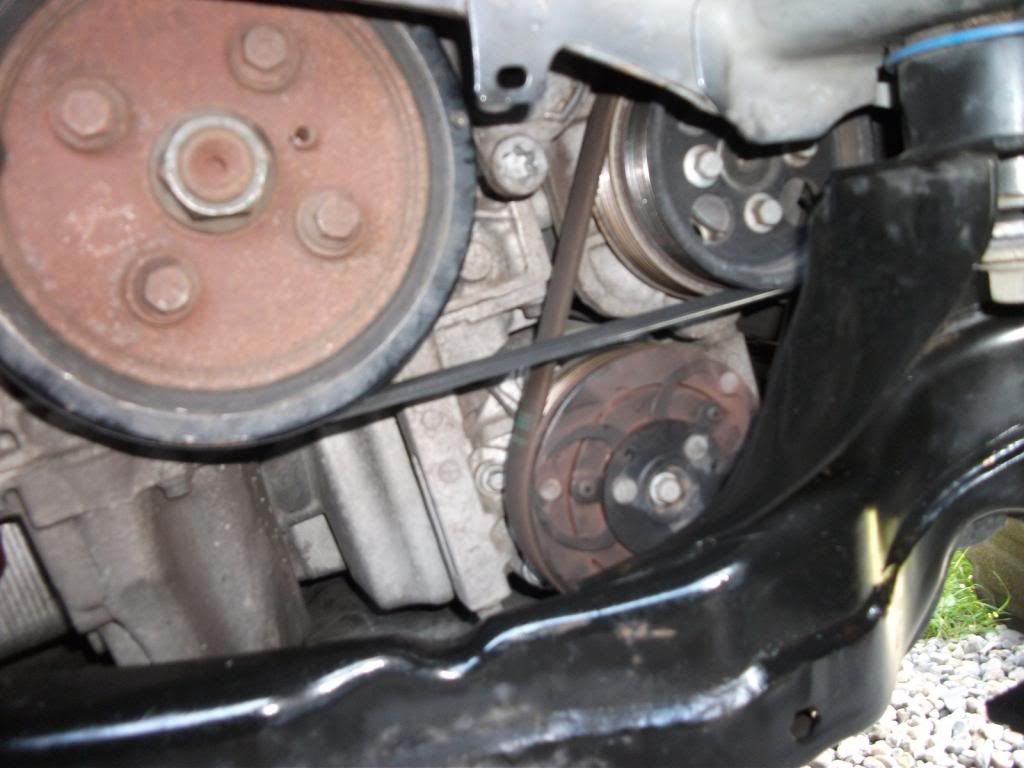
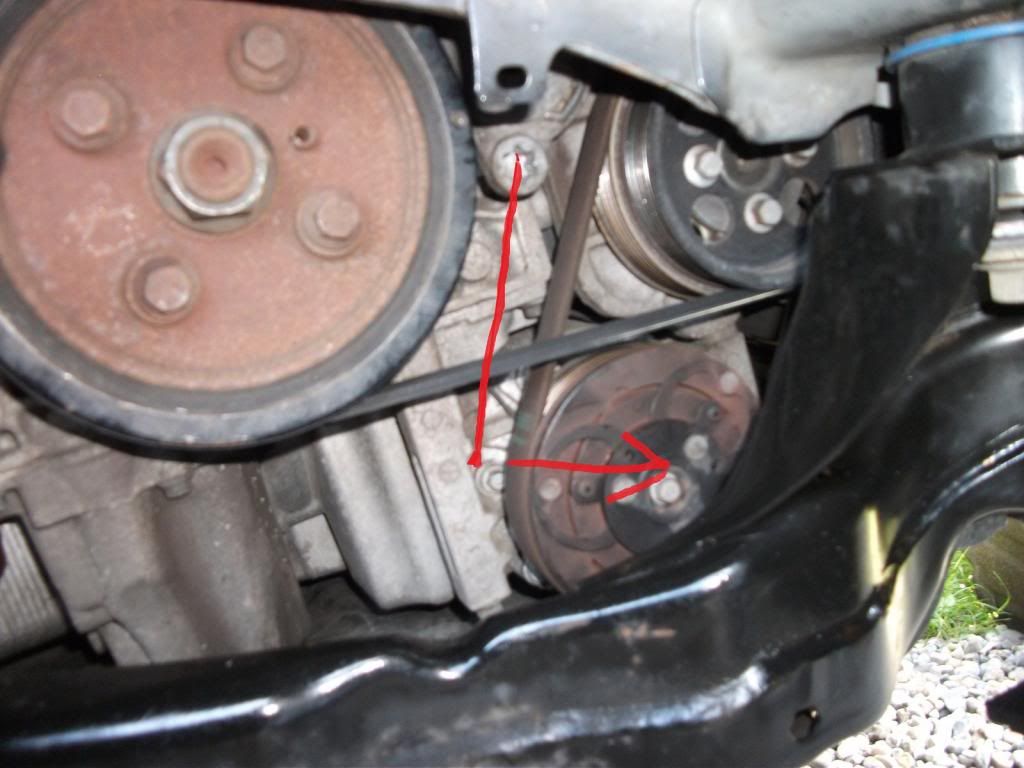
This picture shows the routing of the belt as seen from below.
To undo the tension on the Aux belt, place the TX60 Torx bit in the tensioner and rotate anti clockwise, following the direction arrowed. You can then slip off the aux belt.
Once you have the aux belt off, you need to remove the A/C belt. There is no tensioner for this and it is a stretch belt. I removed it by simply rotating the pulleys whilst pulling the belt towards me, gradually working it off.
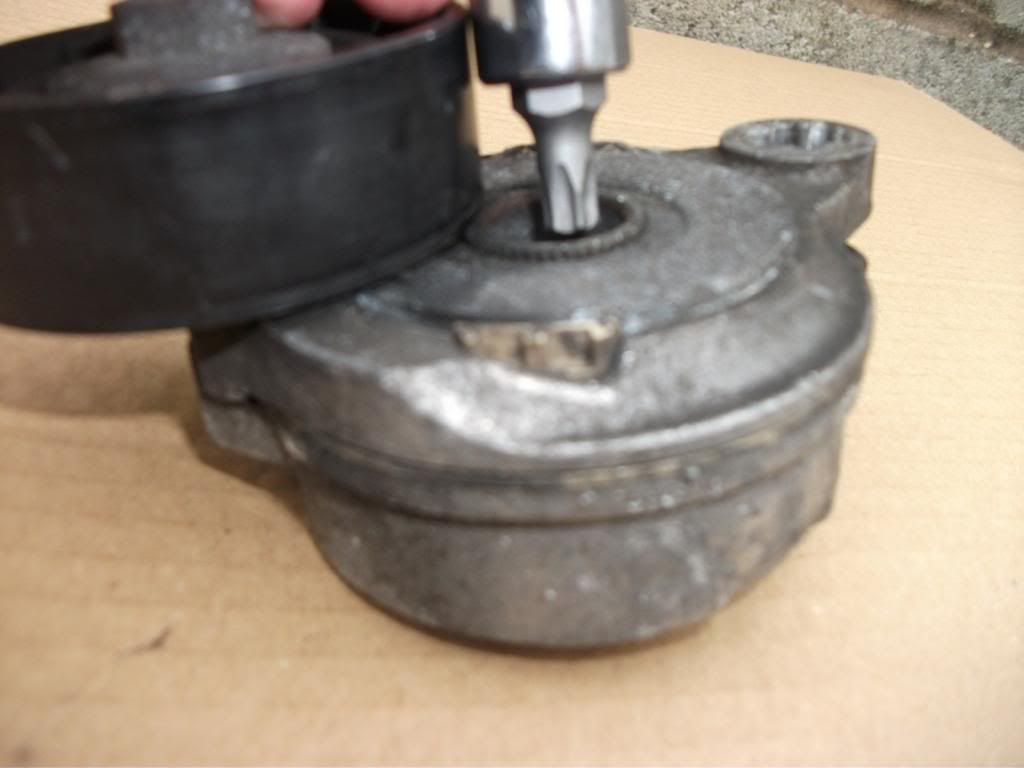
Next up is removing the tensioner. The bolt inside the centre of the tensioner is a TX40, however access is very limited and as you can see from the photo, my Torx bit wouldn't fit inside the tensioner becuase of the pulley. In the end, I had to place a TX40 bit in a 8mm socket as this would be the only thing we could fit inside. I reckon L shaped Torx keys -
as seen here - would be the best bet for removing the bolt.
Refitting is the reverse of removal. Make sure the wheel nuts are tightened up correctly and to the correct 140 Nm Torque setting after you finish.
Notes
Back in February of this year, I got my car stuck in mud. When removing the wheel arch liner there was a lot of dirt build up behind it. I took the opportunity to hose of the liner and inside the arch to remove this. Also doing the same with passenger side. If I do this again, I may treat the inside with a coat of waxoyl to help prevent corrosion, though with Volvo build quality I would hope it would not be necessary.