
|
|||||||
| 200 Series General Forum for the Volvo 240 and 260 cars |
 Information
|
|
Handbrake Shoes Replacement.Views : 5895 Replies : 7Users Viewing This Thread : |
 |
|
|
Thread Tools | Display Modes |
 Mar 17th, 2011, 08:51
|
#1 |
|
Ovlovnut

|
As ever, there are two set ups with the handbrakes fitments.
One adjusts using the 17mm nut behind the rear ashtray. Remove the ashtray, then remove the 'liner' behind & the bolt will be obvious. The second set-up has adjusters inside the 'drum' part of the rear discs. This includes models, Mike recalls made around 75'-78'. This set-up appears to be almost identical to that on 850 models. The only difference I can see is the location of the adjuster bolt on 240's is as above. If you have the adjusters in the drum, once you have stripped yours down - you can use this 'how-to' from the 850 articles to 'crib' from for adjustment  http://www.volvoforums.org.uk/showthread.php?t=48594 So, first off, follow this 'how too' to paragraph 7 so you have your disc off & can see the handbrake shoes & springs: Now take a couple of pics on your digital camera or mobile phone so you have a 'guide' to how it all should look on refitment. Then, using a pair of pliers (I found 'long nosed' ones good) un hook the springs. The shoes may well drop out - (so be ready if you intend to re-use they could be damaged). Once you have the springs & shoes off, you will see a spring clip, on the hub. One upper & one lower. These support the shoes. If you have bought a new fixing kit, new ones should be included. They simply bolt off & new on. 2 bolts on each. If re-using the old, give it all a good clean up with some spray brake cleaner. Old springs will benifit from a good clean up too So we are now ready to refit. This is how the shoes & springs go together: 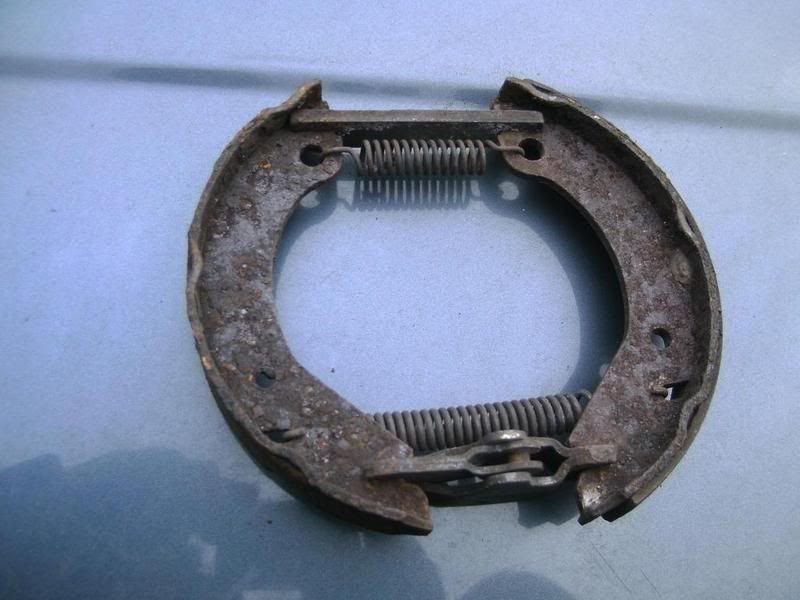 (Non-adjuster type shown) You are going to put the shoes into place without any tension on the springs, like this. 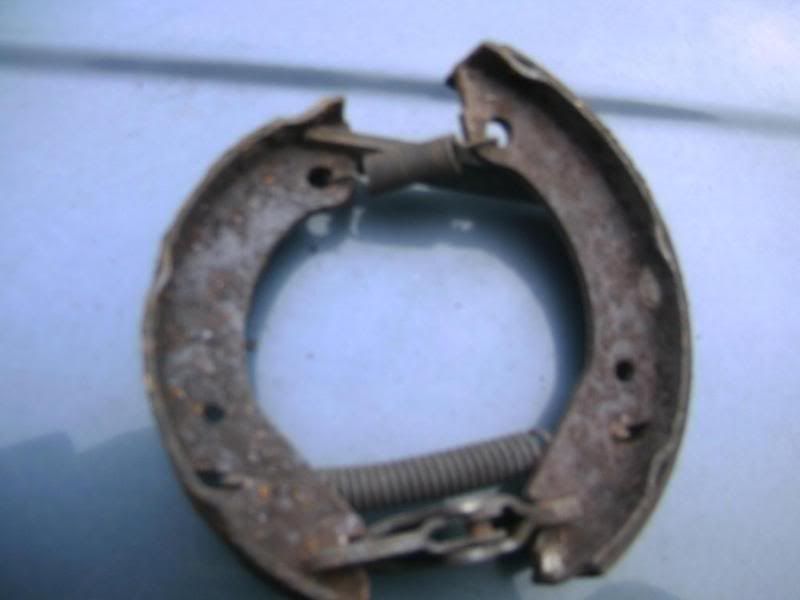 So, hold the shoes behind the hub & hook on the springs, no tension. Carefully place them into the holding spring clips. Don't worry about that top bar yet. It may take two or three attempts to get them to sit - so do not despair! Once you have got it to sit, you can put into place the lower 'bar' which has the handbrake cable attached & slip the top bar onto one shoe like this: 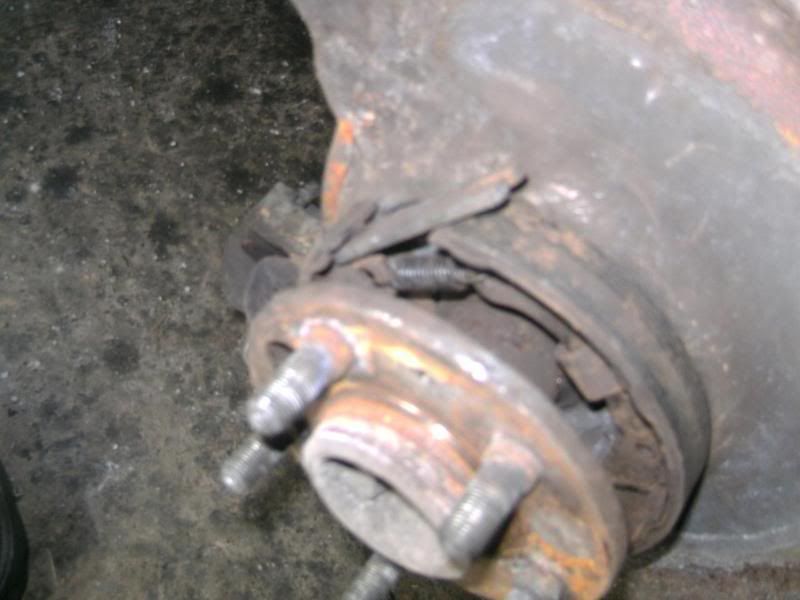 Then it is a case of stretching the top spring to get the bar to slot into place: 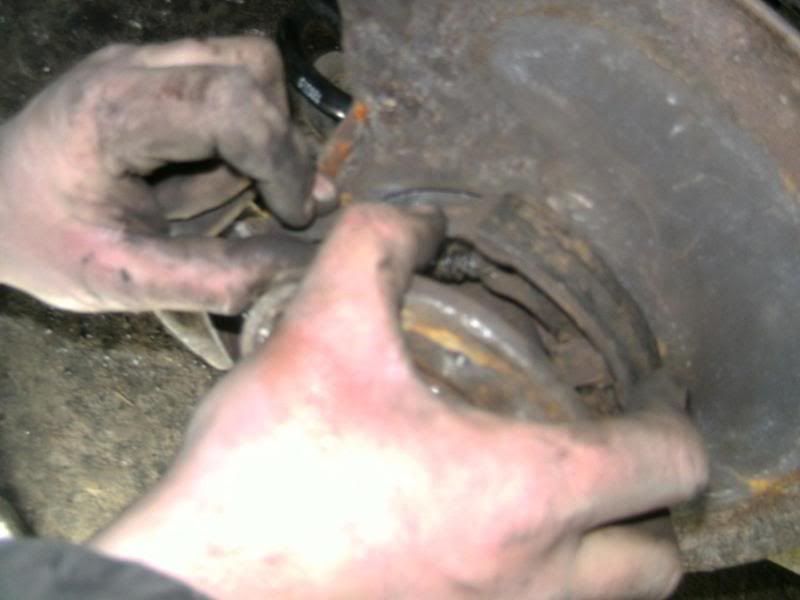 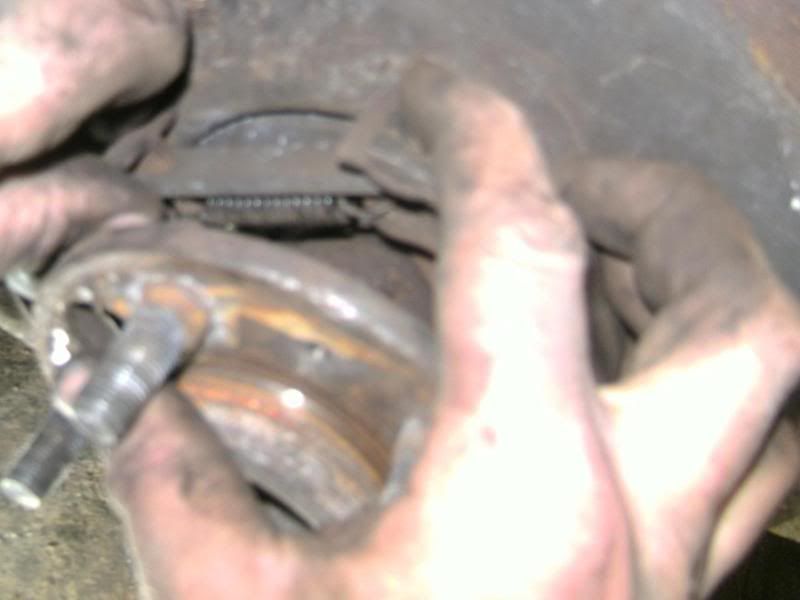 You may need to use a big screwdriver as a lever, maybe not... finally it should look like this: 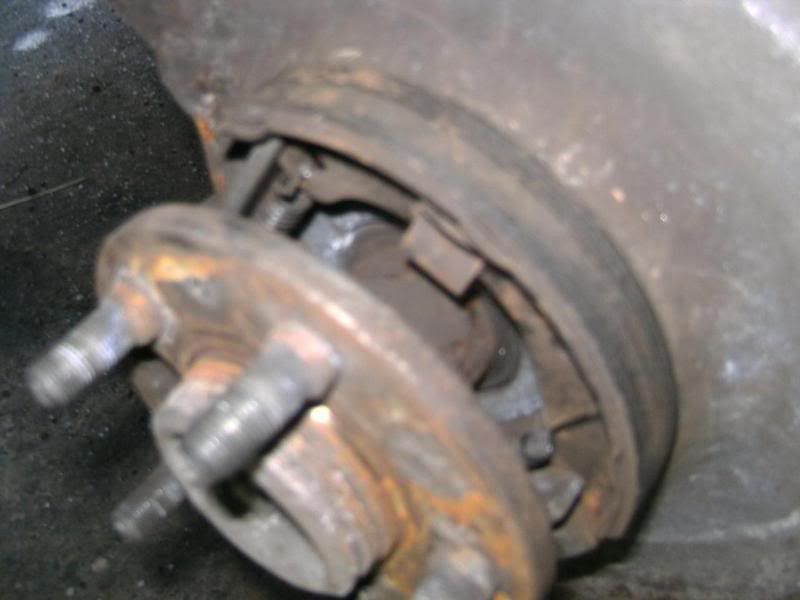 If your 'oily hands' have mucked up the friction parts of the shoes, a spray of brake cleaner should sort it Now refit the discs, callipers etc following the rest of this 'how too' Now onto adjustment, either follow the link to 850 articles as above. On non-adjuster types, it is a case of nipping up that 17mm bolt behind the rear ashtray to achieve 2-8 'clicks' for maximum braking efficiency. Finally, check that the roads wheels spin freely Tip on 'adjuster type' - once you have located the adjuster cog through the disc, use a permanent marker & mark the edge of the disc & make a corresponding mark on say, the brake dust plate, so that once you spin the disc, you can easily re-locate the adjuster cog I think that covers this one, please do add to it with any suggestions/points you may have.
__________________
2004 V70 2.4SE Auto 'The Welshmobile 2002 Laika Ecovip 400i ( Motorhome on an Iveco 2.8TD) http://www.gitessouthbrittany.com/ http://moncopainmonchien.jimdo.com/ |

|

|
| The Following 6 Users Say Thank You to Paul240480 For This Useful Post: |
|
Mar 17th, 2011, 17:55
|
#2 |
|
Renault addict

Last Online: Aug 15th, 2013 11:02
Join Date: Dec 2010
Location: Brasov - Romania
|
Well done.
Congratulations for the thread. Very useful.
__________________
 & 1986 240 Dl Saloon LHD since '93 |
|
|
|
| The Following User Says Thank You to vlv240 For This Useful Post: |
|
Mar 17th, 2011, 19:10
|
#3 |
|
Senior Member
Last Online: May 30th, 2012 19:52
Join Date: Oct 2010
Location: On a mountain in West Cork
|
Good post, just a couple of helper's, 1, before you start the job, undo the handbrake adjuster as much as possible, especially if you have the center console adjuster, this makes it a lot easier to get the shoes to sit properly as your not having to fight the adjuster tension. 2, put a strip of masking tape on the new shoes before you fit them to stop contamination getting on the braking material (obviously remove tape when fitted),,, 3, once fitted, give the shoes a light rub with some 80 grit sandpaper, this will get rid of any soft edges, help the shoes to bed in quicker and reduce brake dust build up,,, 4, give the braking surface of the "drum" a good scouring with 40 grit sandpaper to deglaze the surface and knock back the edge rust you always get. Also, if your car is rwd and you have a slide hammer, remove the bolts that hold the half shaft in place and pop the half shaft out a few inches, it makes it so much easier to do the job as you now have room to work. If you do it by jacking up one side at a time so that the hub is higher than the diff you wont loose any diff oil. Put a light smear of Copperslip grease on all metal to metal contact surfaces, this will stop rust building up and helps keep everything working smoothly. If your in the mood, slide under the back of the car and give the handbrake cables a quick rub with a wire brush and coat with copperslip, (use an old pair of industrial gloves to do it) the cable's are bare metal and will rust very quickly, leading to fraying and eventual failure, also remove the clevis pin that connects the left and right hand cable's together and again wire brush and copperslip the pin.
Last edited by Paddy Wagon; Mar 17th, 2011 at 19:14. |
|
|
|
| The Following 4 Users Say Thank You to Paddy Wagon For This Useful Post: |
|
Mar 18th, 2011, 08:22
|
#4 |
|
Not an expert but ...
Last Online: Yesterday 12:45
Join Date: Dec 2001
Location: Boncath
|
I think there must be differences in the cables between early and later cars.
On later cars (at least post 1983 to my knowledge) the two cables are not linked together. Each independently connects to the pivot on the handbrake lever. Another tip; they usually seize up or become sluggish at the mechanism inside the drum connecting the cable to the actuating levers. Take the opportunity to open this out fully and clean and grease it. It unfolds on itself in a funny kind of way, and when freed off needs a certain amount of light tension on the cable to hold it together while re-positioning. |
|
|
|
| The Following 3 Users Say Thank You to Clifford Pope For This Useful Post: |
|
Mar 18th, 2011, 08:46
|
#5 |
|
Renault addict
Last Online: Aug 15th, 2013 11:02
Join Date: Dec 2010
Location: Brasov - Romania
|
Thanks Paddy Wagon & Clifford Pope for your advice.
__________________
& 1986 240 Dl Saloon LHD since '93 |
|
|
|
|
Mar 18th, 2011, 20:34
|
#6 |
|
Premier member

Last Online: Jul 29th, 2017 15:54
Join Date: Nov 2002
Location: southern edge of birmingham
|
i find holding the shoes in place with a large jubilee clip makes it miles easier to fit all the bits to them and stops the expander keep falling to bits
__________________
If all else fails........read the instructions ! |
|
|
|
| The Following 3 Users Say Thank You to vjck_uk For This Useful Post: |
|
Nov 14th, 2012, 22:33
|
#7 |
|
Rover Turbo Nutter

|
Thought it better to bring up a suitable thread than to start a new thread needlessly. I appreciate that this is a 200 series based thread, but as suggested in the OP, the setup is similar enough that this thread has so far been a great help for someone unused to Volvo brake arrangements.
Apologies in advance if my technical terms are off, I'm used to working on Rovers with rear calipers - which always use the caliper itself as the handbrake, rather than drums. I've just started doing the cables on my '97 855R, (which is the adjuster type stipulated to above) and I've replaced the N/S cable now. However, upon reassembling the shoes, I'm 99% sure I have it laid out correctly, but upon pulling the handbrake lever, the shoes are very recalcitrant to move. I've copper greased all the points of contact, and it's definitely not the cable, which slides nice and freely through the sheathing. The rear hook (the hook the shoe itself slots into, to be clearer) was seemingly very tight, and I wondered if that might be holding the rear shoe (which doesn't seem to move at all, compared to the front shoe, which moves very marginally when the cable is pulled) too tightly. Does anybody have any input or suggestions as to why the shoes may be wedged or stuck? Any thoughts greatly appreciated.
__________________
Vard. 1996 Volvo 855 R Last edited by Vard66; Nov 14th, 2012 at 22:35. |
|
|
|
| The Following 2 Users Say Thank You to Vard66 For This Useful Post: |
|
Jan 29th, 2021, 19:07
|
#8 |
|
Not an expert but ...
Last Online: Yesterday 12:45
Join Date: Dec 2001
Location: Boncath
|
I obviously failed to notice when I posted on this thread originally that the diagram in Haynes shows both spring hooked from the front, and that has been how all my previous 240s have been assembled.
I replaced the shoes on mine a fortnight ago, likewise found the old ones hooked from the front, so obviously followed my previous practice. The brakes work perfectly. So either it doesn't matter, or the picture earlier is wrong. Incidentally the handbrake had failed progressively but in the end totally. There were some loose bits of detached lining inside the drum, having clearly gradually broken up and become detached through rust. The brakes are amazing now - I've never been able to lock the back wheels with the handbrake before! Last edited by Clifford Pope; Jan 29th, 2021 at 19:09. |
|
|
|
|
| Tags |
| adjustment, handbrake, shoes replacement, volvo 240 |
| Currently Active Users Viewing This Thread: 1 (0 members and 1 guests) | |
|
|


 Linear Mode

