Volvo Community Forum. The Forums of the Volvo Owners Club

Forum Rules Volvo Owners Club About VOC Volvo Gallery Links Volvo History Volvo Press
Go Back   Volvo Owners Club Forum > "Technical Topics" > XC90 '02–'15 General
Register Members Cars Help Calendar Extra Stuff

Notices

XC90 '02–'15 General Forum for the P2-platform XC90 model

Information
  • VOC Members: There is no login facility using your VOC membership number or the details from page 3 of the club magazine. You need to register in the normal way
  • AOL Customers: Make sure you check the 'Remember me' check box otherwise the AOL system may log you out during the session. This is a known issue with AOL.
  • AOL, Yahoo and Plus.net users. Forum owners such as us are finding that AOL, Yahoo and Plus.net are blocking a lot of email generated from forums. This may mean your registration activation and other emails will not get to you, or they may appear in your spam mailbox

Thread Informations

Rear Tailgate Handle repair - Guide

Views : 102326

Replies : 142

Users Viewing This Thread :  

Reply
 
Thread Tools Display Modes
Old Jun 16th, 2020, 22:49   #131
Harley Dave
Volvo Driver
 

Last Online: Yesterday 00:09
Join Date: Mar 2016
Location: Basingstoke
Default

Are these what you're looking for?

https://www.amazon.co.uk/s?k=Norther...ref=nb_sb_noss

Cheers

Dave
Harley Dave is offline   Reply With Quote
The Following User Says Thank You to Harley Dave For This Useful Post:
Old Sep 19th, 2020, 13:11   #132
reato
New Member
 

Last Online: Sep 19th, 2020 13:58
Join Date: Sep 2020
Location: Edinburgh
Default Thanks, and comments.

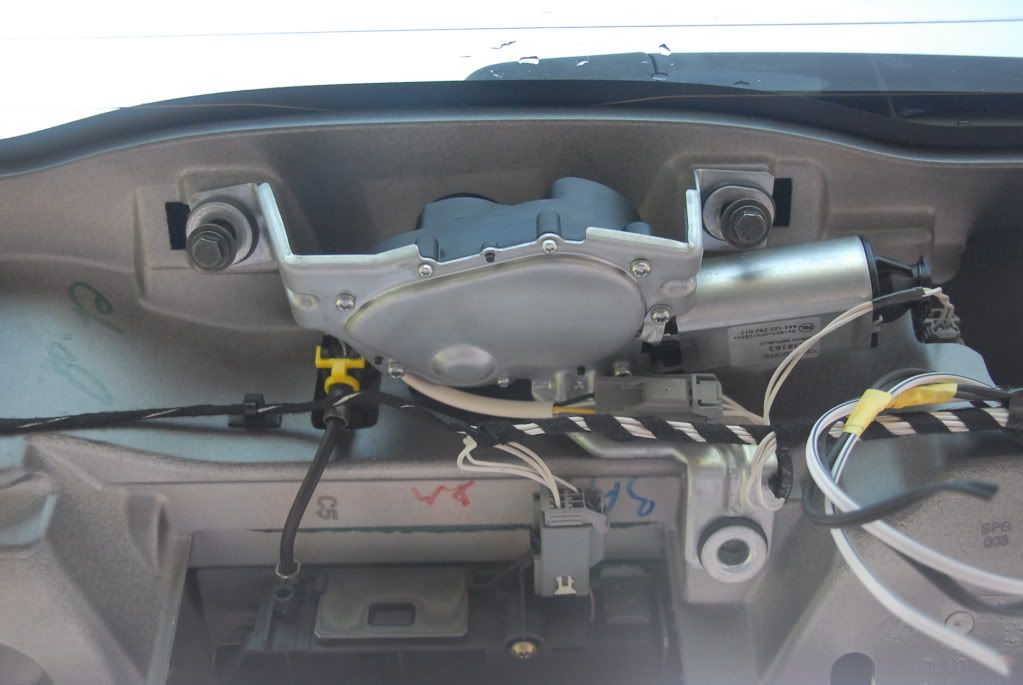
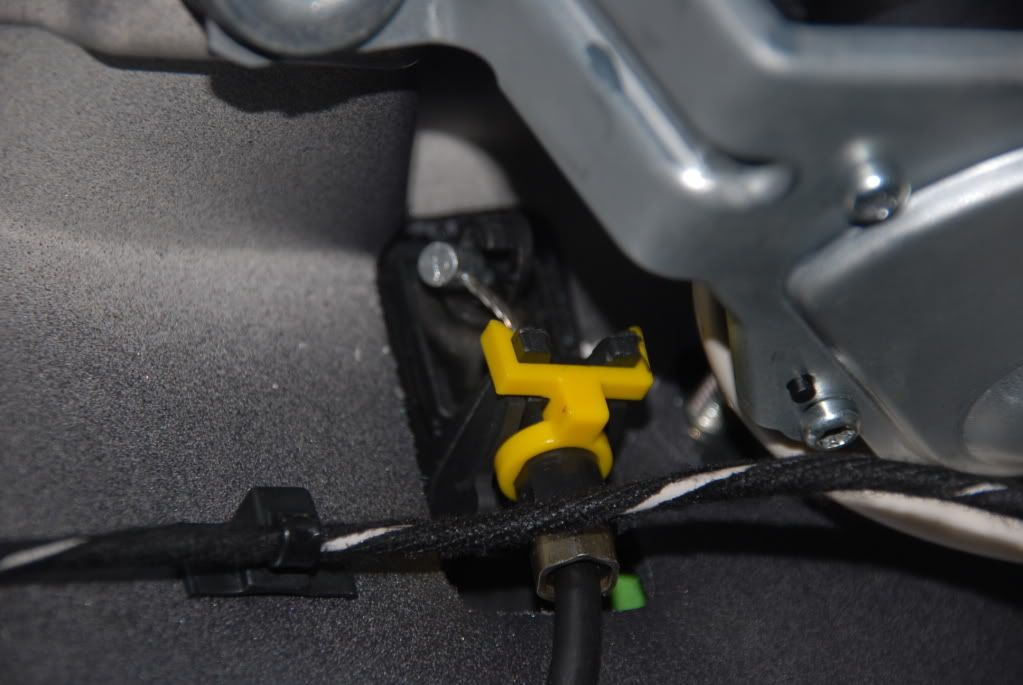
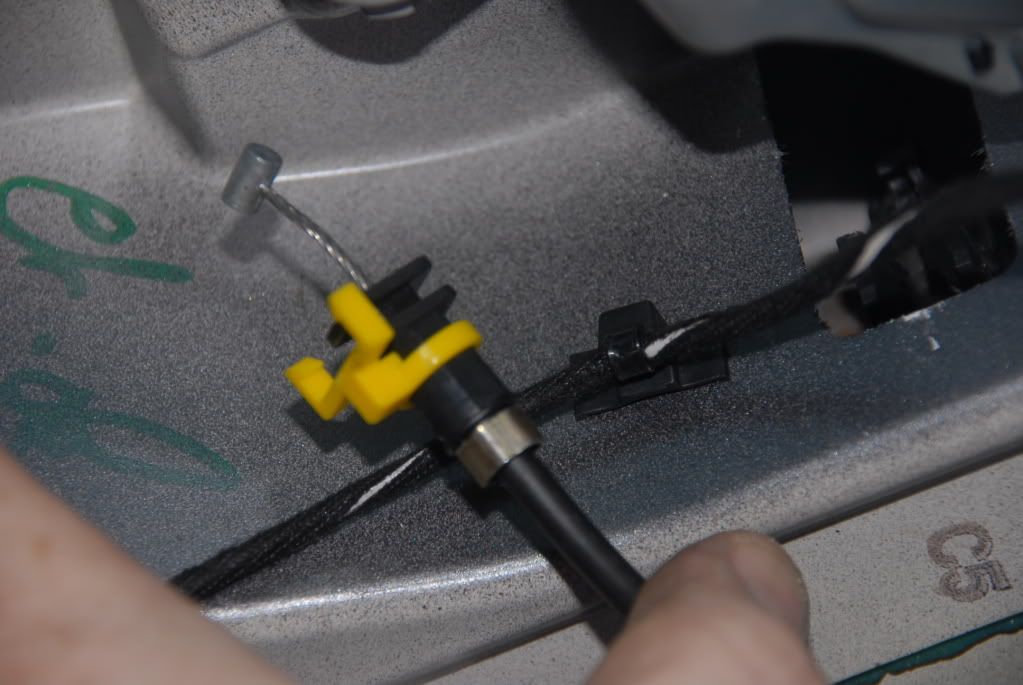
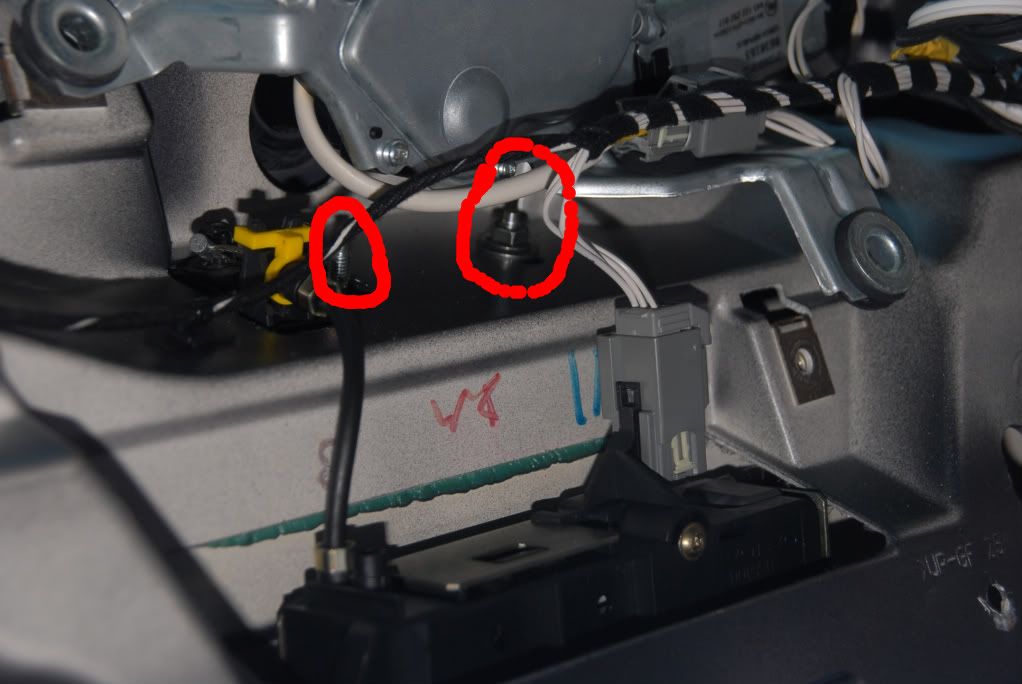
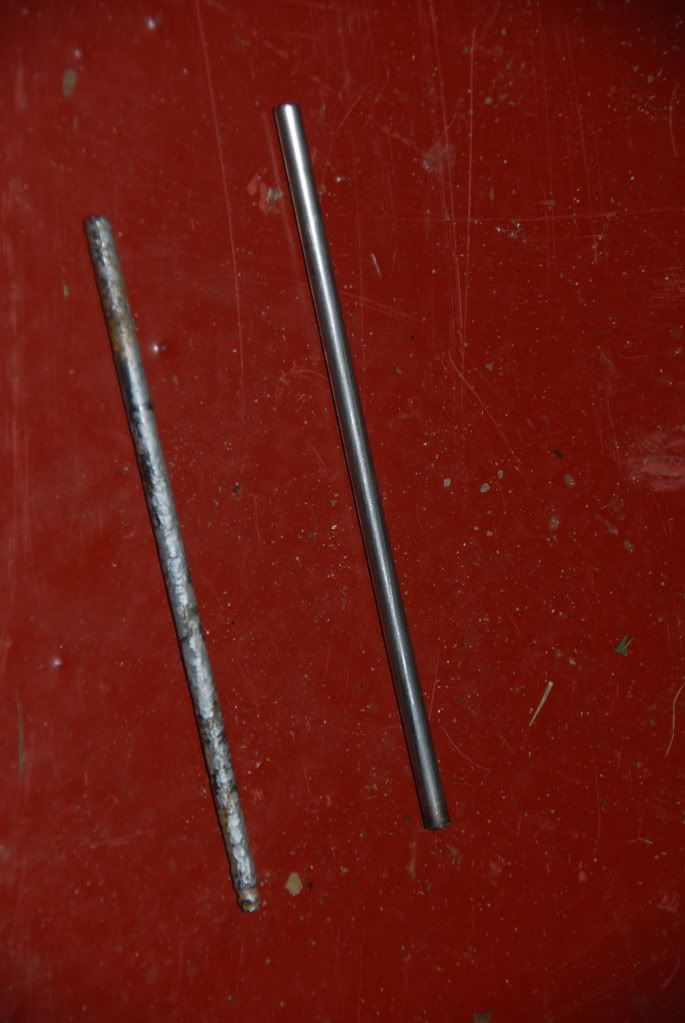
This went well for me, thanks for the instructions. I’d add that you’ll need to release the wiper motor with 10mm socket 3x bolts to access the nuts behind. You don’t have to completely remove it but get it loose so you can get underneath with a c spanner or adjustable. I used the 4mm bar which was perfect. I bashed the ends with a hammer as I was worried it would drift itself out, friction is the only thing that prevents this otherwise. Also, the job went well but it took me 90 mins not 30.

Tools required:
-Flat screwdrivers
-Several sizes of torx bits
-10mm socket
-Saw or grinder to cut bar
-AdJustable spanner
reato is offline   Reply With Quote
Old Nov 13th, 2020, 13:45   #133
Passmark1
New Member
 

Last Online: Nov 15th, 2020 23:24
Join Date: Aug 2020
Location: Newquay
Thumbs up Thanks very much 👍

Quote:
Originally Posted by BestGear View Post
Guys

There have been several posts pertaining to sticking rear XC90 tailgate handles, and the associated hassle that causes when locking/unlocking.

I have not seen any permanent fixes - infact, the only "fix" has been the suggestion of lubricant, which is also what Mr Volvo seems to do.

Anyway - the root cause is a short metal hinge "rod" within the rear handle. This rod rusts away, swells as it does, and as a result gets tight in its mounts.

You can confirm this with the tailgate open, looking up into the handle.


So - this guide presents a permanent fix, that will only cost you about £3-£4 and half an hours time. On a difficulty scale of one to ten, this job is probably a three.

Access to the offending hinge requires removal of the rear tailgate trim panels. A full guide to this is within the Volvo instructions for fitting a rear view camera - but wire frame diagrams are not too easy to follow... so....

First, remove the grab handle - this is quick tricky, but is done by inserting a small flat blade sxcredriver in the slots and gently easing the handle out.


Once out, remove the screw, location shown in the bottom right of this picture.


Next, the tailgate lamp. This is prised out carefully - you can see the retaining lugs here, so you know what you are aiming for.


Again - when out, remove the screw...


Next, work your way around gently pulling the tailgate trim away from the body... these are the clips that are holding it on.


Now - the lock etc...which, thankfully, you dont need to remove.


Next - carefully prise the cable from the lock to the tailgate handle out from its clip - this is tricky! Once you have the barrel end of the cable loose, you can unclip the yellow lock and pull the cable end free. This is the worst bit of the job!


Ritey! - I found that removing the number plate lamps make the final stage easy, so its up to you if you struggle and risk damaging paint, or whip them out - its an easy one screw per side and lever them out..


Unplug this connector, which feeds the rear number plate lights...


Lastly, remove the 4, 6mm (10mm head) nuts... you will probably need a deep 10mm socket to reach these..


The central two nuts may need loosening of the rear wiper motor to gain access. If you do this, you dont need to remove it, just undo the three mounting bolts....these bolts can be seen in the lock picture above - with one bolt already removed.


Now, the whole rear handle/finisher can be removed from outside of the car...


Close inspection shows the problem... here is the pin - from both sides all rusted up...


The hinge pin can now be simply drifted out - and looks like this when removed and cleaned up of rust - what a pitted state. It was originally zinc passivated. When you are removing the pin, you can remove the whole handle, but you may have fun refitting the spring inside! I did remove it too and cleaned it up...your call.


So - to ensure this is a permanent fix, I got some 4mm 304 grade stainless steel rod - easily found from any merchants - or even ebay. I would suggest 304 is selected as it offers better corrosion resistance than the more common and cheaper 303 grade... and we all know what the UK salt is like in winter... An alternative would be to use a stainless MMA welding rod... 4mm is a heft but common grade for them!

The original rod on mine was 108mm long - and I cut the replacement 5mm longer so there was more of an overhang at each end when fitted. More overhang than this may foul the rear body when refitting.


When fitted, you can see the overhang here and compare it to the earlier picture...


And lastly, looking from the same angle as the first rusty shot...


So - job done!

Reassembly, is as they say, a reversal of removal... and you dont need pictures for that!

Hope that helps someone out....

David
Many thanks for this post David, I did this yesterday on my 2006 and it cured the problem. I couldn’t get the 4th nut off the handle assembly as it was seized on the thread and then the bolt itself started to turn. Luckily, with a bit of effort I was able to pull the assembly out enough to drift the old spindle out with a new s/s 4mm one. Works a treat now and hopefully I won’t get the problem again. Regards, Mark
Passmark1 is offline   Reply With Quote
Old Dec 12th, 2020, 13:28   #134
BEB
New Member
 

Last Online: Jan 16th, 2021 15:03
Join Date: Dec 2020
Location: Dundee
Default Spring

Hi,

Great write up. When I stripped mine, the spring popped out. I know you said it may be a pain to replace but can you give me an idea of the fitting position please.
I note there is a little recess in the bit where you would put your hand to activate the handle. I’m thinking the extended part of the spring somehow drops into there? I have tried but unless the other end is “anchored” somehow then there is no spring affect.

Any help appreciated.

I think my spring is broken. Noted someone had posted a link to Amazon with letterbox springs. Any idea if this is what I need?
Attached Images
File Type: jpg 4ED09C4A-4C8A-4FA7-832B-194D25549407.jpg (70.7 KB, 29 views)
File Type: jpg 513FFDBB-5791-4AD7-98F1-DC7A7FFF740E.jpg (67.1 KB, 26 views)

Last edited by BEB; Dec 12th, 2020 at 14:00. Reason: Attached pictures of my spring
BEB is offline   Reply With Quote
Old Dec 18th, 2020, 16:26   #135
Doc67
New Member
 

Last Online: Aug 30th, 2022 02:42
Join Date: Jun 2017
Location: Barrie
Default

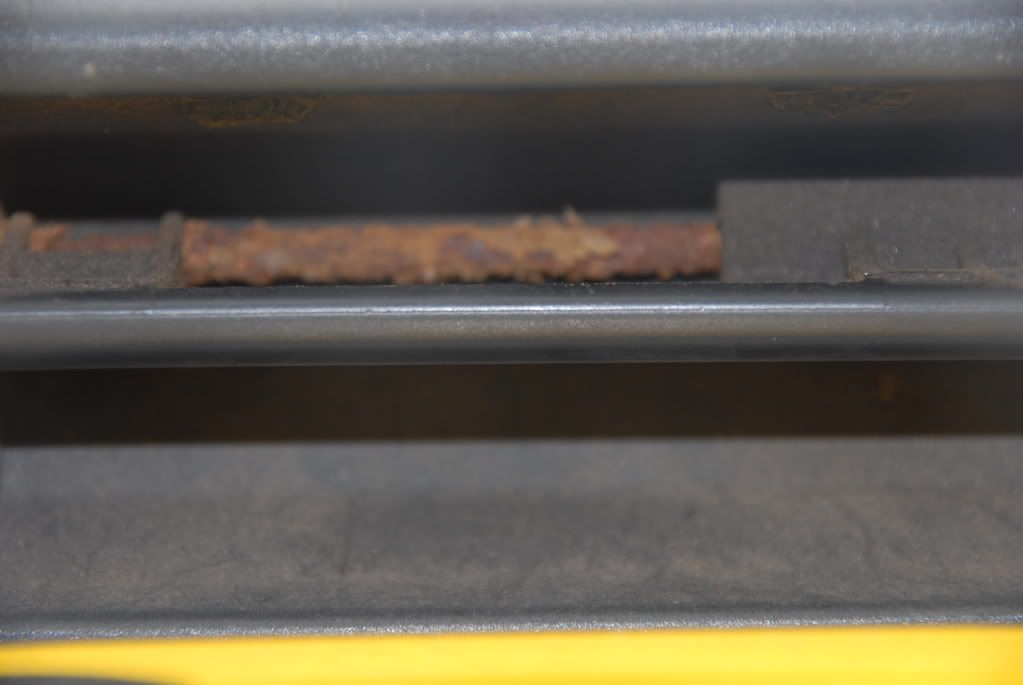
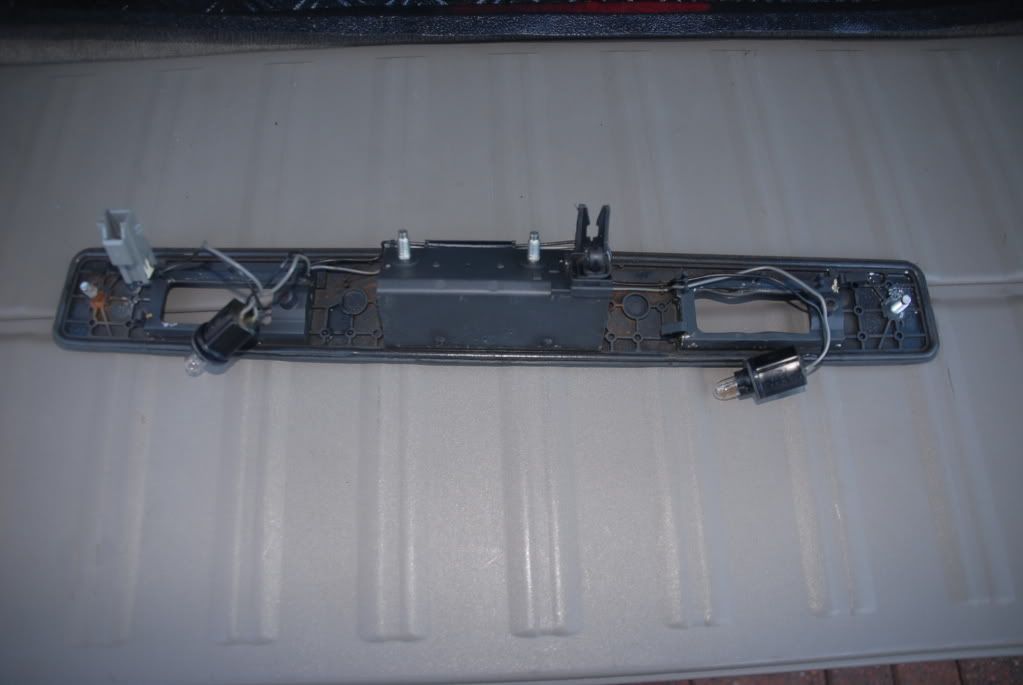
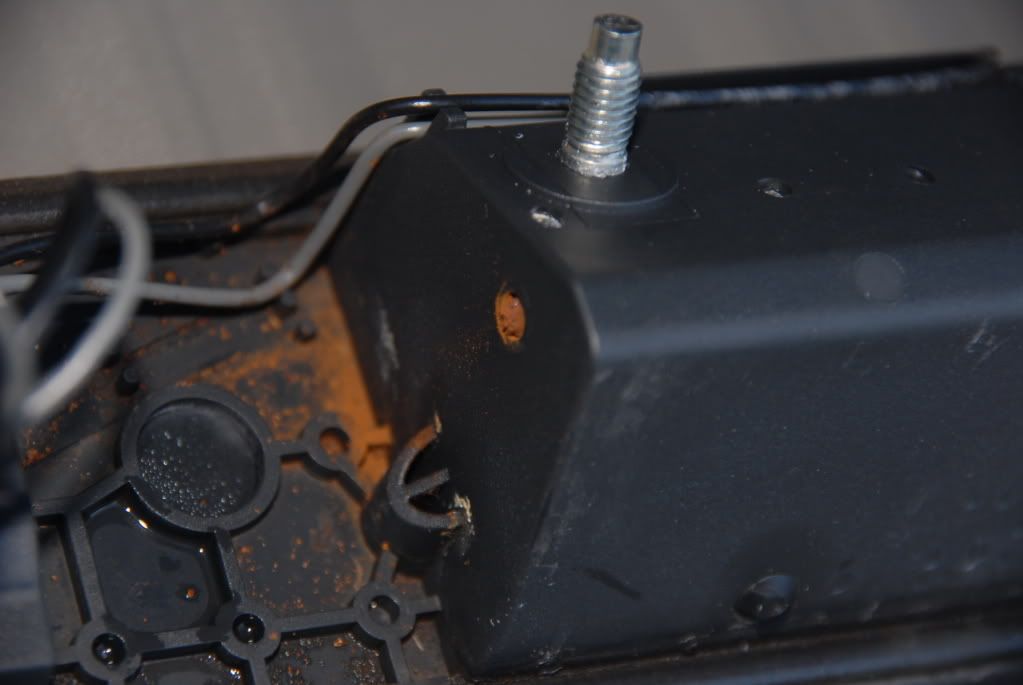
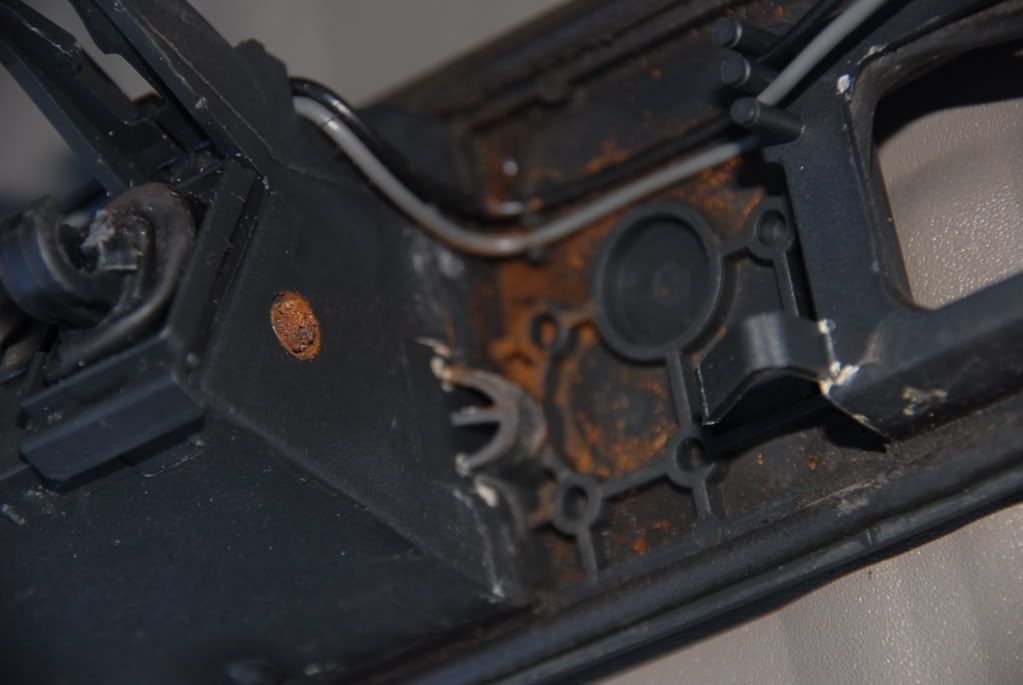
I would have preferred to replace the rod with the 4mm stainless one, but once I had everything apart I could not drift the old rod out. It is welded in there with all of the rust and I did not want to break anything.

I did come up with a quick and dirty solution though. I placed another coil spring on the cable, where it connects to the latch. This did the job nicely and it works really well now.

See the pics.
Attached Images
File Type: jpg Latch Spring 1.jpg (92.4 KB, 47 views)
File Type: jpg Latch Spring 2.jpg (119.3 KB, 44 views)
File Type: jpg Latch Spring 3.jpg (160.1 KB, 37 views)
Doc67 is offline   Reply With Quote
Old Mar 22nd, 2021, 00:22   #136
WrathOfKain
Member
 

Last Online: May 25th, 2021 00:01
Join Date: Sep 2019
Location: Highlands
Default

Finally got round to doing this today and what looks a pretty simple solution has ended up a debacle. All very straightforward but my latch pin would not budge so accepted defeat and thought did it will just buy the full assembly. Put stuff back together and close boot but yes as you might guess couldn't get the bigger to open. I tried just disconnecting the patch cable and moving it in and out but nada. Any ideas ?
WrathOfKain is offline   Reply With Quote
Old Mar 22nd, 2021, 00:30   #137
WrathOfKain
Member
 

Last Online: May 25th, 2021 00:01
Join Date: Sep 2019
Location: Highlands
Default

Quote:
Originally Posted by renesis View Post
£92 later and lots of faffing about the tailgate handle now is working and with 12 months warranty.

anyone else that gets stuck in a similar situation. (aka stuck in the boot of the car) you have to push the boot cable not pull it
I am in the same predicament now and can't get the bloody boot open either. You said push the cable into the mechanism? I tried but nada. Did you have to do it in tandem with the central locking or something ? Did you replace the whole locking mechanisim AND the handle assembly?
WrathOfKain is offline   Reply With Quote
Old Mar 22nd, 2021, 11:53   #138
drb
Junior Member
 

Last Online: Yesterday 00:06
Join Date: Aug 2009
Location: Dronfield
Default

WrathOfKain see this video on how to open tailgate with screwdriver. Worked for me. Good luck.

https://www.youtube.com/watch?v=djV-ekLNV60&t=10s
drb is offline   Reply With Quote
The Following User Says Thank You to drb For This Useful Post:
Old Apr 3rd, 2021, 12:30   #139
Spawnegit
Junior Member
 

Last Online: Dec 1st, 2023 22:24
Join Date: Dec 2016
Location: Herts
Default

Just done mine after having the replacement bar in the shed for a few years.
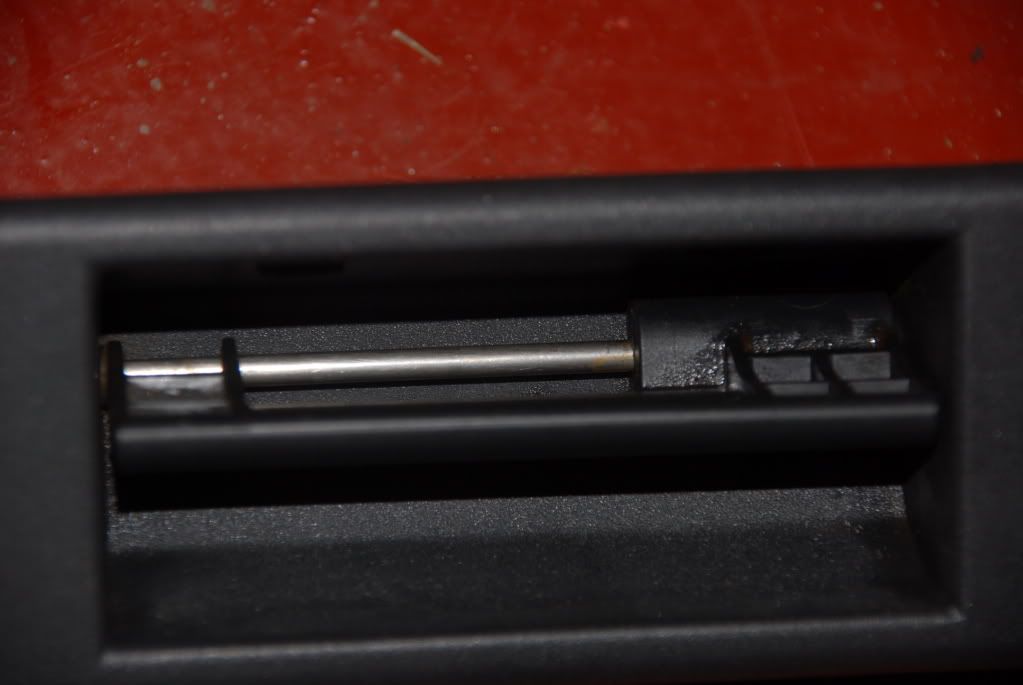
Hardest part was getting the grab handle out.
Drifted the old bar out with the new one, was a bit fiddly to keep the two ends of the bars together but all done now.
Spawnegit is offline   Reply With Quote
Old Jul 5th, 2021, 18:20   #140
ian ferguson
ian ferguson
 

Last Online: Apr 4th, 2024 16:13
Join Date: Aug 2006
Location: London
Default

I did this quite a few years ago following Bestgear's instructions, and very happy with the job. But the other day the metal bar slipped out of one side, so i took it apart again and reassemble it, this time i put Superglue on the
ends of the rod protruding from the plastic, glueing to the plastic.
Hope this helps
ian ferguson is offline   Reply With Quote
The Following User Says Thank You to ian ferguson For This Useful Post:
Reply

Tags
handle, stainless, sticking, tailgate, xc90


Currently Active Users Viewing This Thread: 1 (0 members and 1 guests)
 

Posting Rules
You may not post new threads
You may not post replies
You may not post attachments
You may not edit your posts

BB code is On
Smilies are On
[IMG] code is On
HTML code is Off

Forum Jump


All times are GMT +1. The time now is 09:39.


Powered by vBulletin
Copyright ©2000 - 2024, Jelsoft Enterprises Ltd.