
|
|||||||
| S40 / V40 '96-'04 General Forum for the Volvo S40 and V40 (Classic) Series from 1995-2004. |
 Information
|
|
GUIDE : Changing the front gear linkage bushesViews : 75184 Replies : 92Users Viewing This Thread : |
 |
|
|
Thread Tools | Display Modes |
|
|
 Aug 28th, 2007, 07:48
|
#1 |
|
Senior Member
Last Online: Oct 20th, 2013 20:24
Join Date: Aug 2007
Location: Derbyshire
|
If you are finding your gearbox has become very sloppy and that you have trouble getting into first, second or fifth gear then you might be in need of a gearbox bushing refresh. This guide will take you through which parts to get and how to fit them, it will tighten up the gear shift and hopefully regain that 'as new' feel. Note this guide is for boxes with reverse up and to the left.
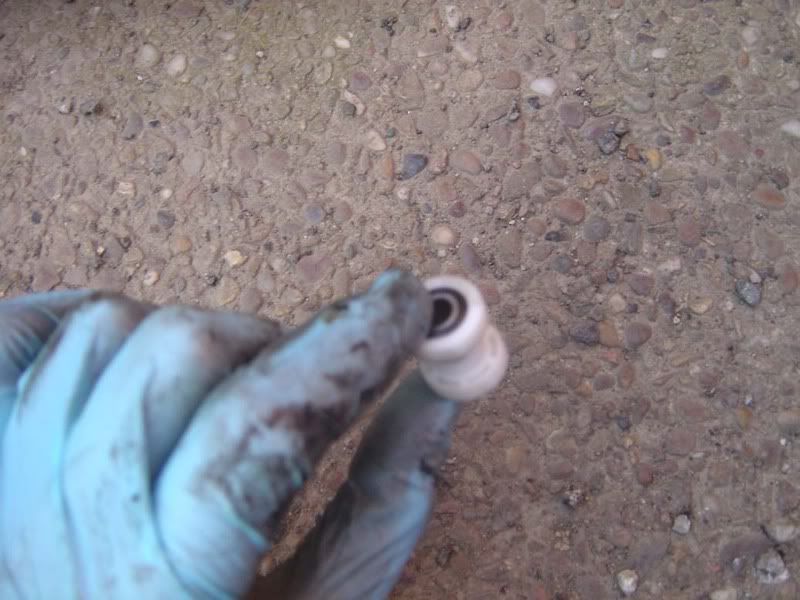
Step 1 - We'll start at the front of the linkage (next to the gearbox). You need to buy two plastic bushes and two O rings. The part numbers are : Bushing 30871722 (£1.15 each) O-ring 30872329 (0.25 each) This will set you back £3.29 including VAT Picture 1 shows the back of the bush and an o ring Picture 2 shows the front of the bush where the o ring sits Picture 3 shows the o rings fitted to the bushes (they jus tpush in with your fingers) Picture 4 is the two bushes ready to fit 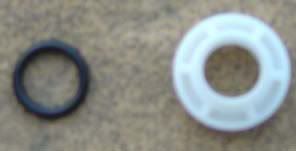 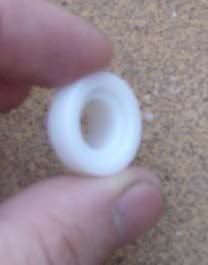  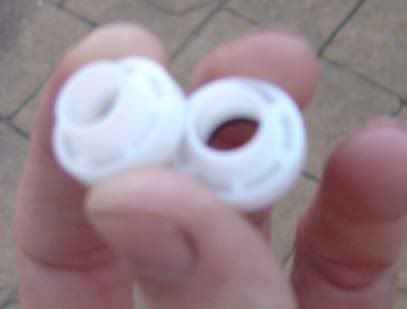
Last edited by JSeaman; Aug 28th, 2007 at 08:31. |

|

|
| The Following User Says Thank You to JSeaman For This Useful Post: |
|
Aug 28th, 2007, 07:49
|
#2 |
|
Senior Member
Last Online: Oct 20th, 2013 20:24
Join Date: Aug 2007
Location: Derbyshire
|
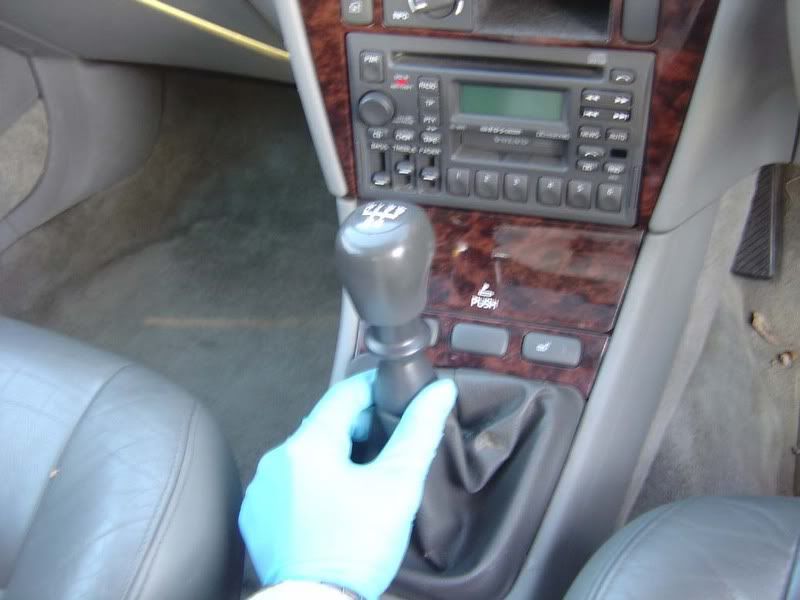
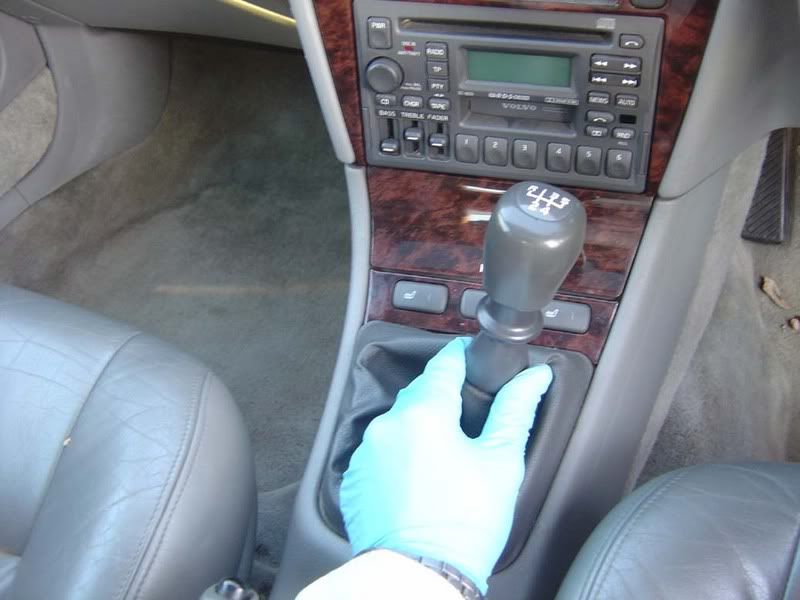
Step 2 - I just wanted to show how much play there was in the gearstick, this is in first gear
  Step 3 - Slide a jack under the car at a suibtable point i.e. on a structural part of the car as shown 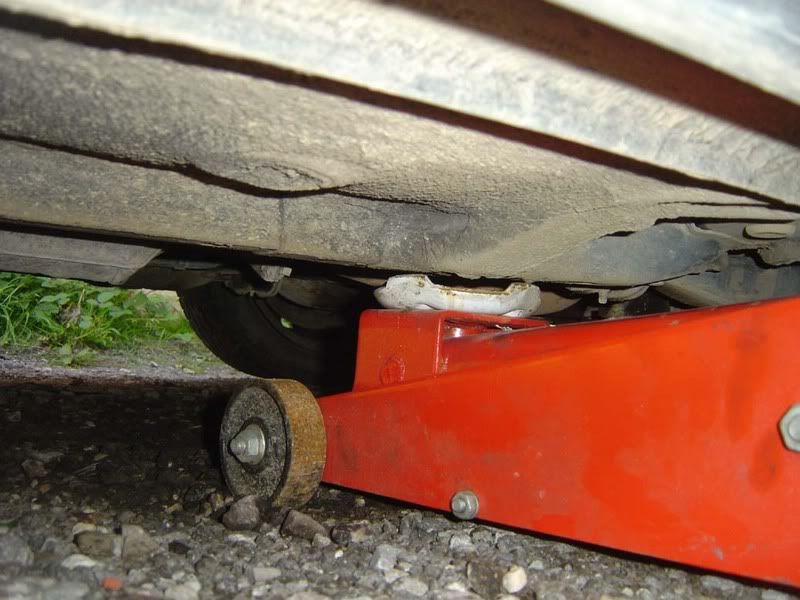 Step 4 - Jack the car up nice and high, give yourself plenty of room to work or the job is twice as difficult 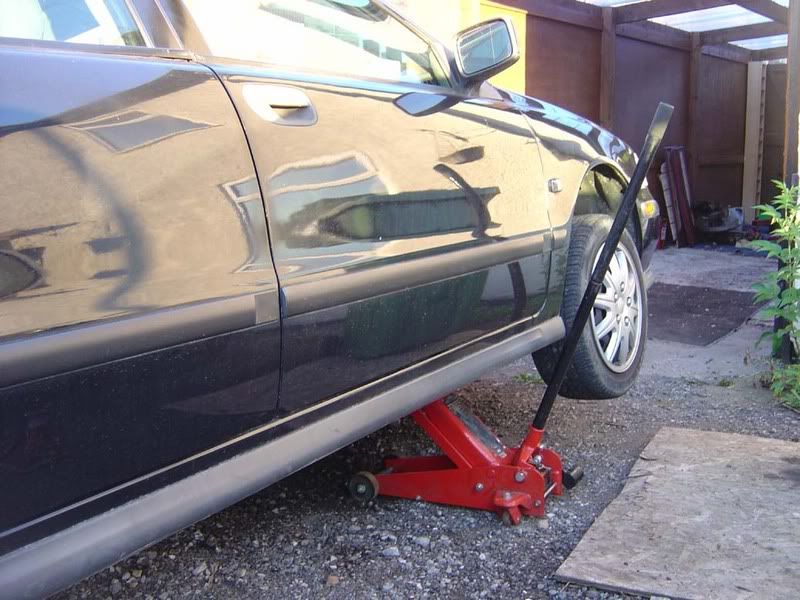
|
|
|
|
|
Aug 28th, 2007, 07:50
|
#3 |
|
Senior Member
Last Online: Oct 20th, 2013 20:24
Join Date: Aug 2007
Location: Derbyshire
|
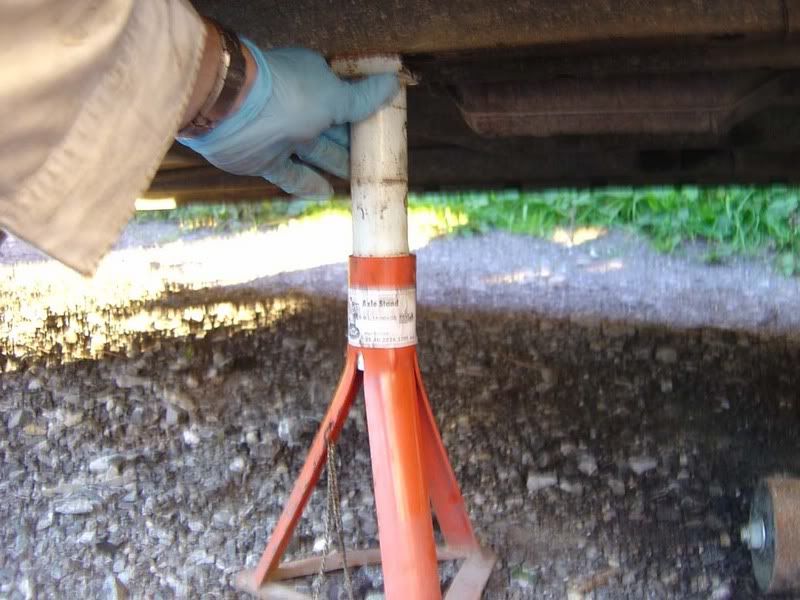
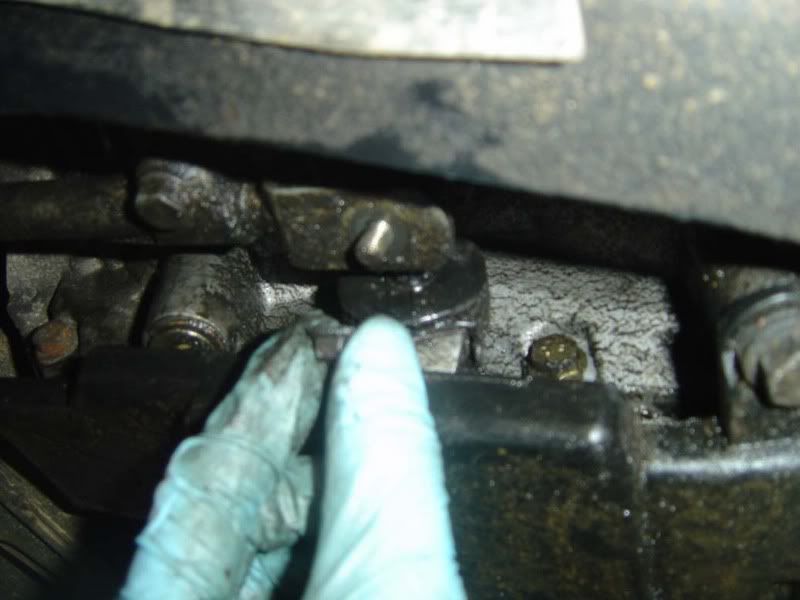
Step 5 - Once the car is jacked up, fit an axle stand underneath in case the jack fails. Again, fit it on a suibtable point such as the member running down the car as shown. Note I always release the jack until the weight sits on the axle stand and then pump the jack once more so the weight is split between the two
 Step 6 - Once the car is safely supported, climb under and trace the gearbox linkage (shown in picture 1) to the joint we are interested in (picture 2) 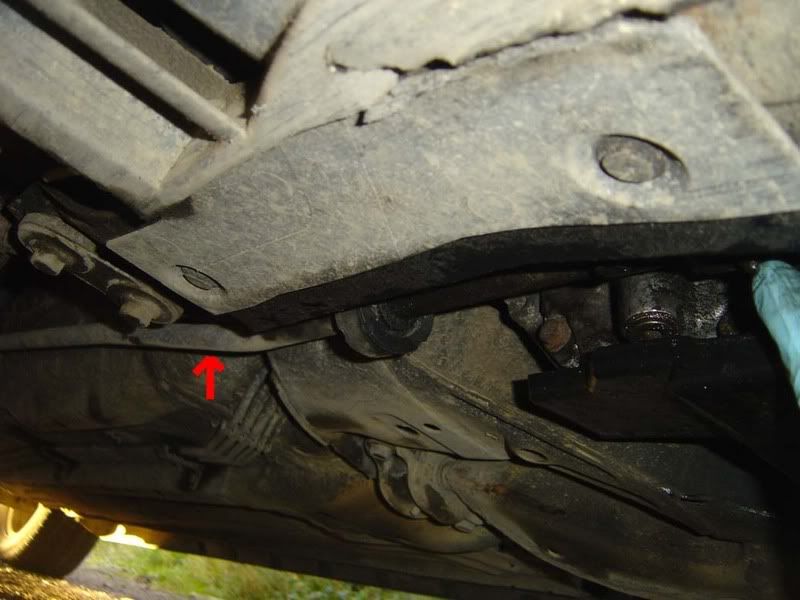 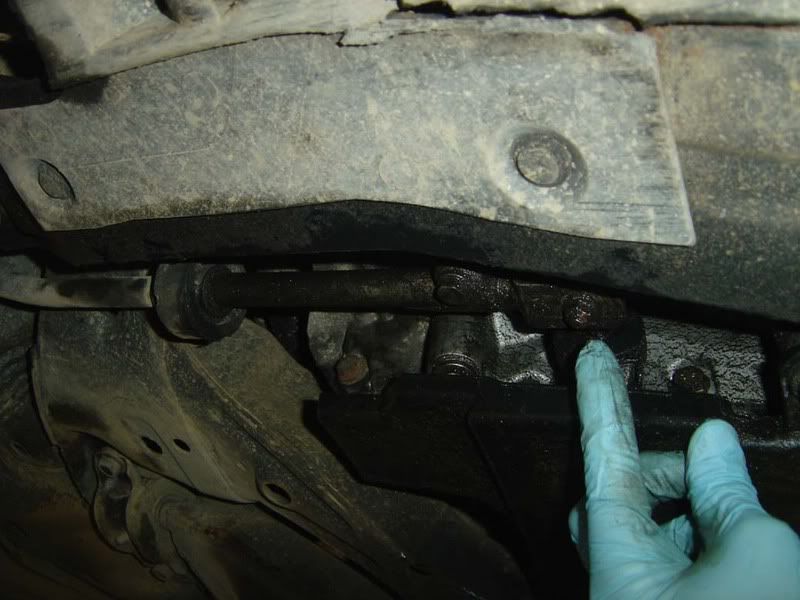 Step 7 - Hook an 11mm ring spanner over the top of the assembly and hold it in place. Note you can pull the linkage down to make it easier to fit the spanner on 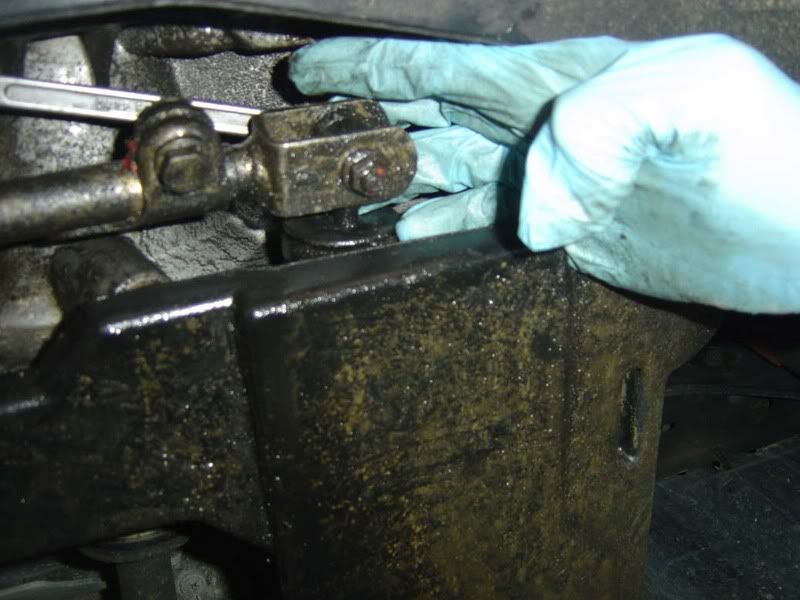
|
|
|
|
|
Aug 28th, 2007, 07:50
|
#4 |
|
Senior Member
Last Online: Oct 20th, 2013 20:24
Join Date: Aug 2007
Location: Derbyshire
|
Step 8 - Use a socket (or spanner) to remove the 11mm nut from the bottom whilst holding the spanner
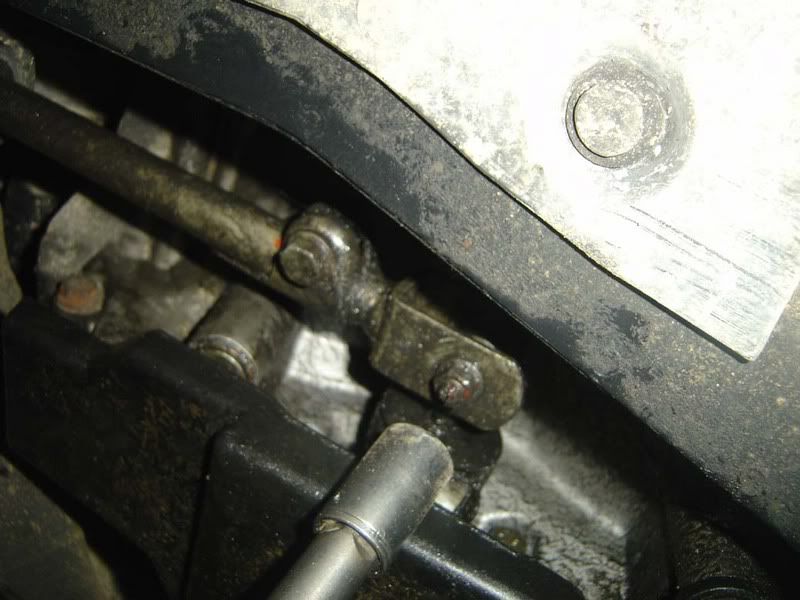  Step 9 - Push the bolt up and remove it from the top of the bushing 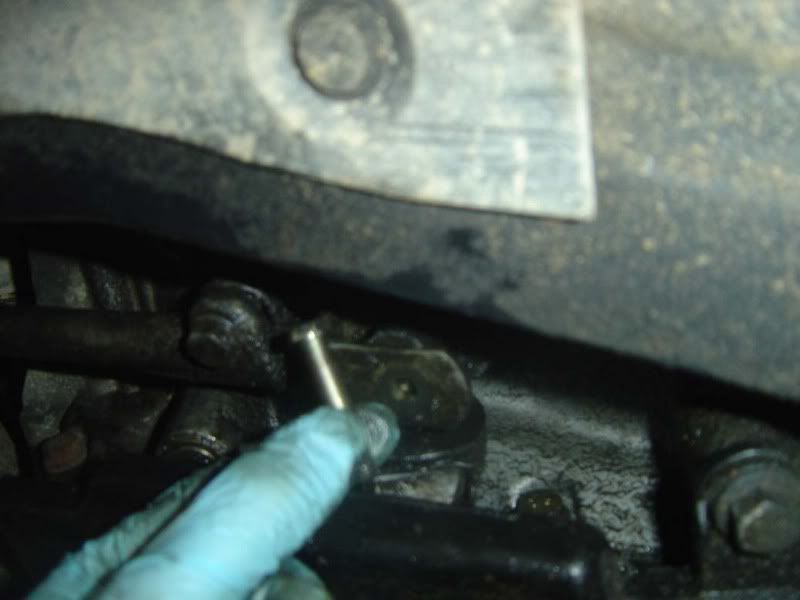 Step 10 - You can now move the linkage from the gear stick backwards and away from the problematic bush 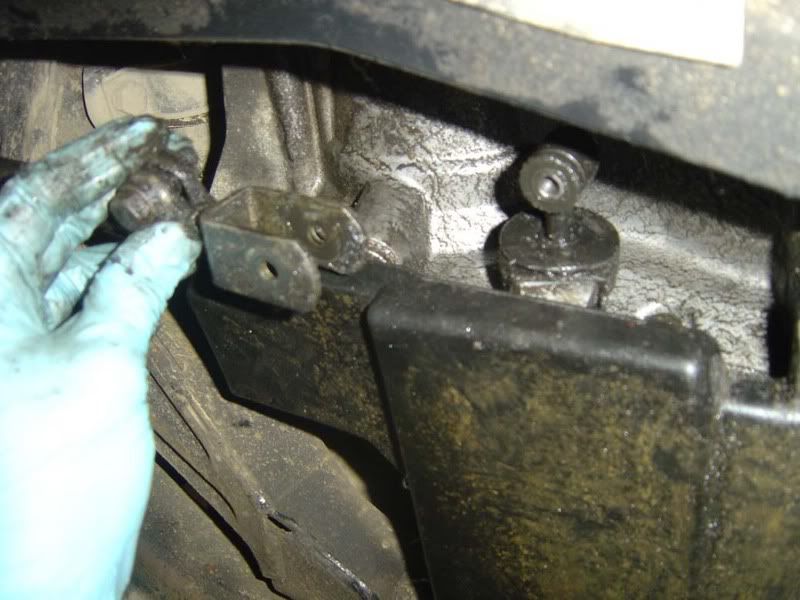
|
|
|
|
|
Aug 28th, 2007, 07:51
|
#5 |
|
Senior Member
Last Online: Oct 20th, 2013 20:24
Join Date: Aug 2007
Location: Derbyshire
|
Step 11 - Remove the old bushing. You have the old version of the two bushes and two o rings that you bought to remove and also a metal tube that goes between them. Simply pull either bush off then the rest will slide out
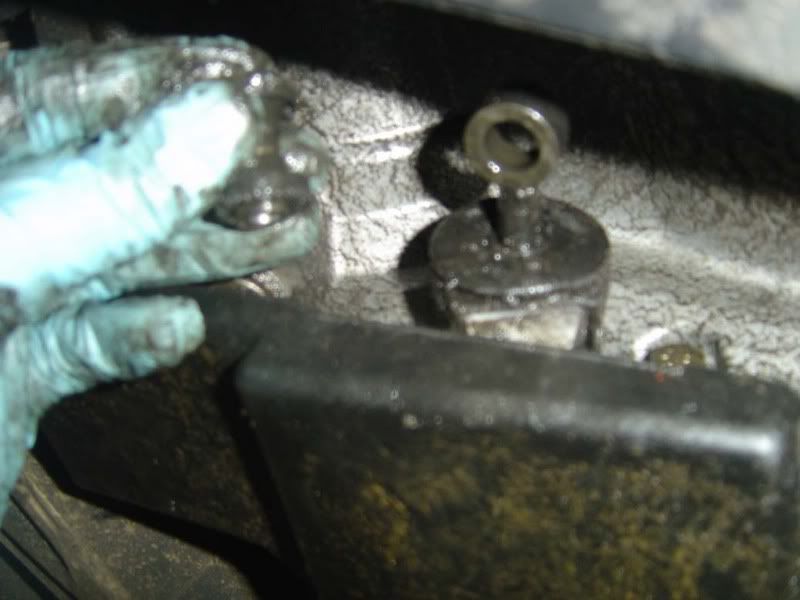 Step 12 - You can see the old bush was a bit oily and dirty. This picture shows the metal bar that joins the two bushes 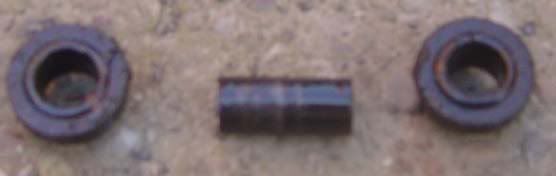 Step 13 - Here I've tried to show how much play there was in the bush. The metal rod could wiggle up and down in the bushing a small amount which is multiplied a lot by the time it hits the gearstick 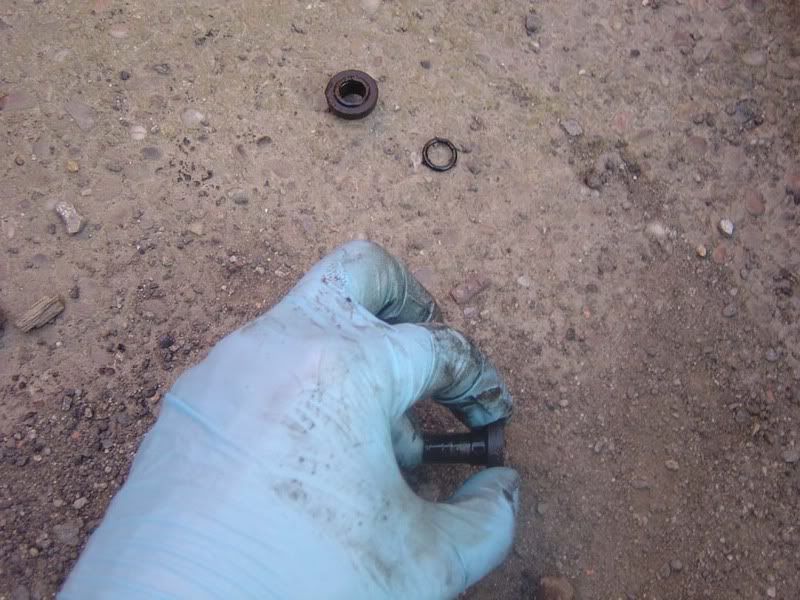 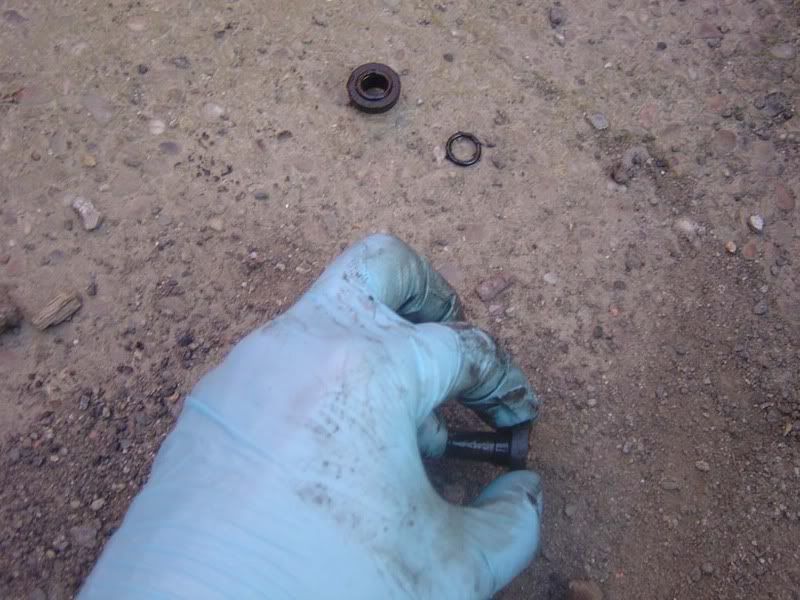
|
|
|
|
| The Following User Says Thank You to JSeaman For This Useful Post: |
|
Aug 28th, 2007, 07:52
|
#6 |
|
Senior Member
Last Online: Oct 20th, 2013 20:24
Join Date: Aug 2007
Location: Derbyshire
|
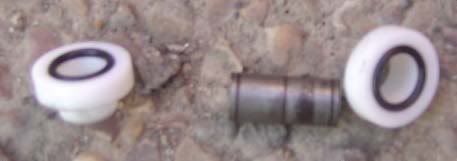
Step 14 - Now give the metal rod a quick wipe and grab your two new bushes to fit (picture 1). Check everything fits together properly as shown in picture 2.
  Step 15 - Sorry for the blurry image but you should see I've fitted the top bush and metal rod in place 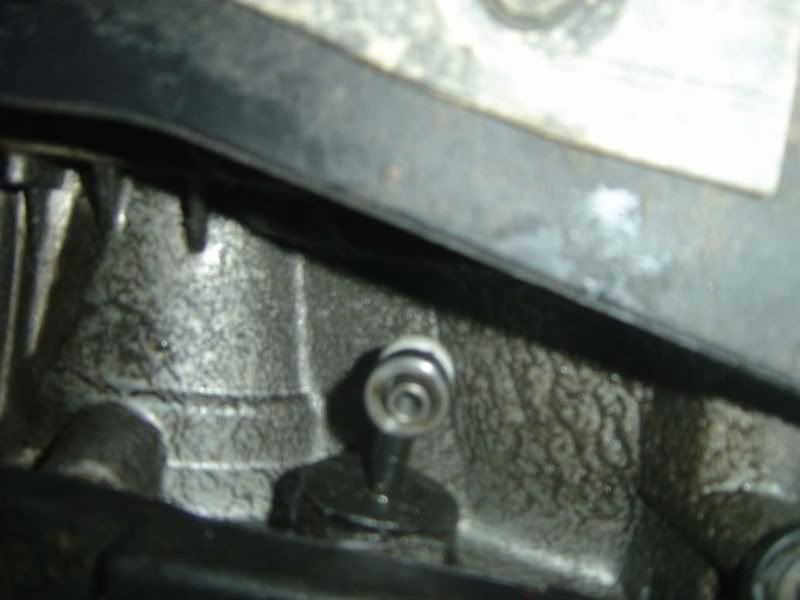 Step 16 - Now squeeze the second bush into place, it shouldn't require much of a squeeze if everything is lined up 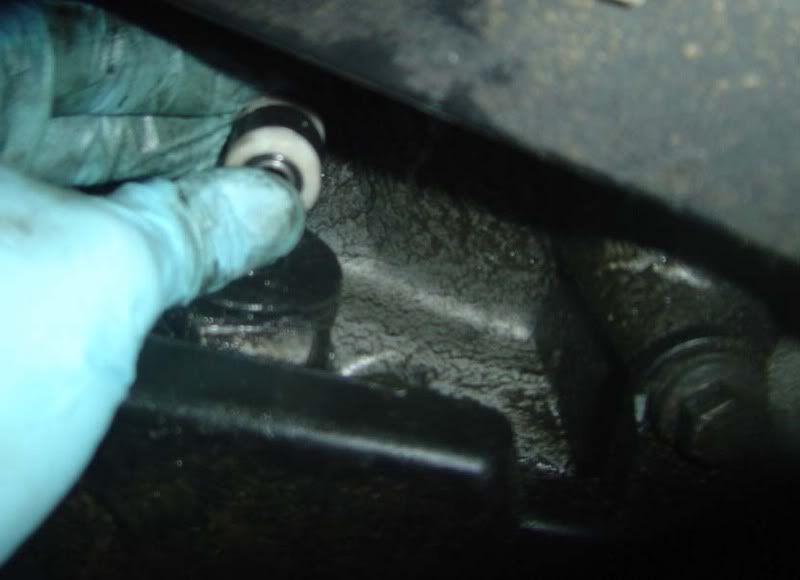
|
|
|
|
|
Jun 20th, 2009, 15:19
|
#7 |
|
New Member
Last Online: Nov 28th, 2009 10:00
Join Date: May 2009
Location: leeds
|
Just to say thanks! I have a haynes manuel but was still unsure about doing it myself, used your guide and had it done in moments! I agree that the front bushings have a much larger effect than the back ones!
Thanks again! |
|
|
|
|
Oct 14th, 2007, 18:20
|
#8 |
|
New Member
Last Online: Nov 4th, 2009 10:56
Join Date: Sep 2007
Location: Evesham
|
Great guide! Does exactly what it says.....
Great gearchange by comparison. Got a bush pack made up by the main agent for £19, delivered in 2 days - pre post strike of course! |
|
|
|
|
Oct 14th, 2007, 18:22
|
#9 |
|
Forum Support Team

|
A great guide that will provide help and support to others.
Well done.
__________________

|
|
|
|
|
Oct 15th, 2007, 15:51
|
#10 |
|
Member
Last Online: May 14th, 2023 08:21
Join Date: Oct 2003
Location: Addlestone
|
Just bought all the bits to do this on my V40 and below are listed the parts nos
v30871696 v30871722 v30872293 v30872329 You will need 2 of each and I just paid the princely sum of £9.59 inc VAT for the lot Not saying Squire Furneaux in Hersham know their stuff but before I had fished saying what I wanted a bag was on the counter with all the bits in, apparently the spares guys there have made up little kits to save time! |
|
|
|
|
| Currently Active Users Viewing This Thread: 1 (0 members and 1 guests) | |
|
|


 Hybrid Mode
