

|
|||||||
| 700/900 Series Articles How to's and Guides for the P700/900 series. |
 Information
|
|
Guide: de-upholstering 700 seatsViews : 7334 Replies : 1Users Viewing This Thread : |
|
|
Thread Tools | Display Modes |
|
|
#1 |
|
VOC Member
Last Online: Apr 4th, 2023 18:13
Join Date: Apr 2010
Location: Oxford
|
(Yes, as many as that
 ) )This is how to remove the seat covers and the foam from the front seats of a 700. You might want to do this to replace seat covers, or foam, or the grids underneath the foam, or heated seat pads, or all four. I know that this is all detailed in the 700 FAQ, and it's pretty easy to figure out as you go along, but since I was doing it myself I've thrown together a picture guide just in case some photos might help people with anything like my low skill- and high fear-levels. Safety first: If you have mechanical pre-tensioners built into the seat (as there were on these seats) you should disable them first by turning and popping out the little red button by the seat belt buckle. And keep your fingers sensibly well away from the buckle at all times in any case. These seats don't have airbags built in, but for all I know some do, so, if yours do, identify and take the appropriate precautions to avoid setting them off. I'm afraid I don't know what those precautions are in the case of the 700; on the V40 there is a plastic key that you slot over a sensor that stops the airbag from firing. Remove the seats from the car. I started with the back of the seat, as opposed to the bottom part. Remove the lumbar support adjustment knob. Unscrew it (anticlockwise) until it comes away slightly from the side of the seat. 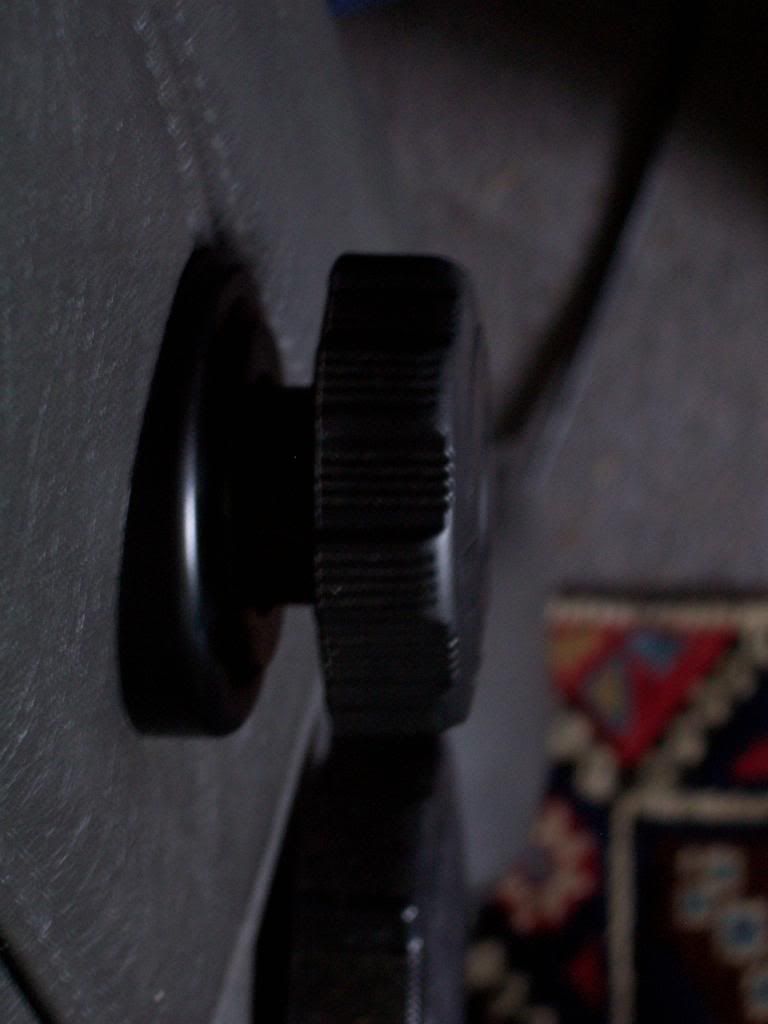 Then pull it quite hard, straight out of the side of the seat and it will just come away, as will the plastic surround in which it sits. Set the seat so that the back is as far upright (as opposed to reclined) as it will go. Put it upside-down and you will see the three metal hog-rings that hold the covering together at the bottom of the back-rest. 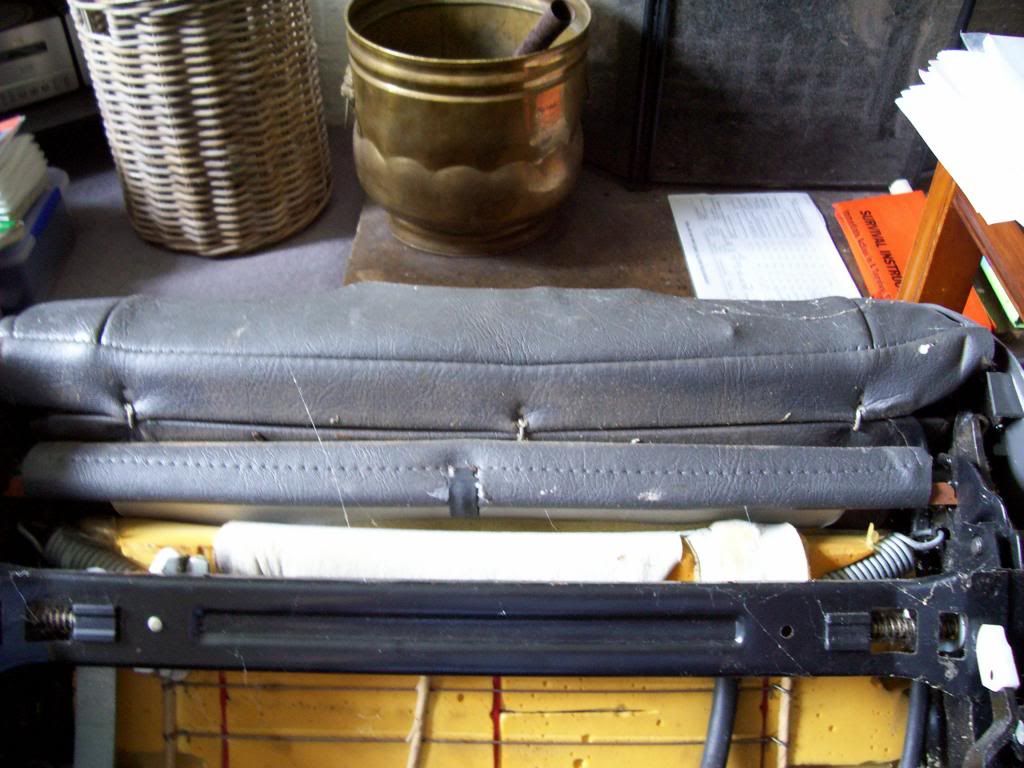 Open them up with needle-nosed pliers (or cut them) and you can start to pull the seat cover up. You are going to be taking it off so that it turns inside-out, so start that way, as shown: 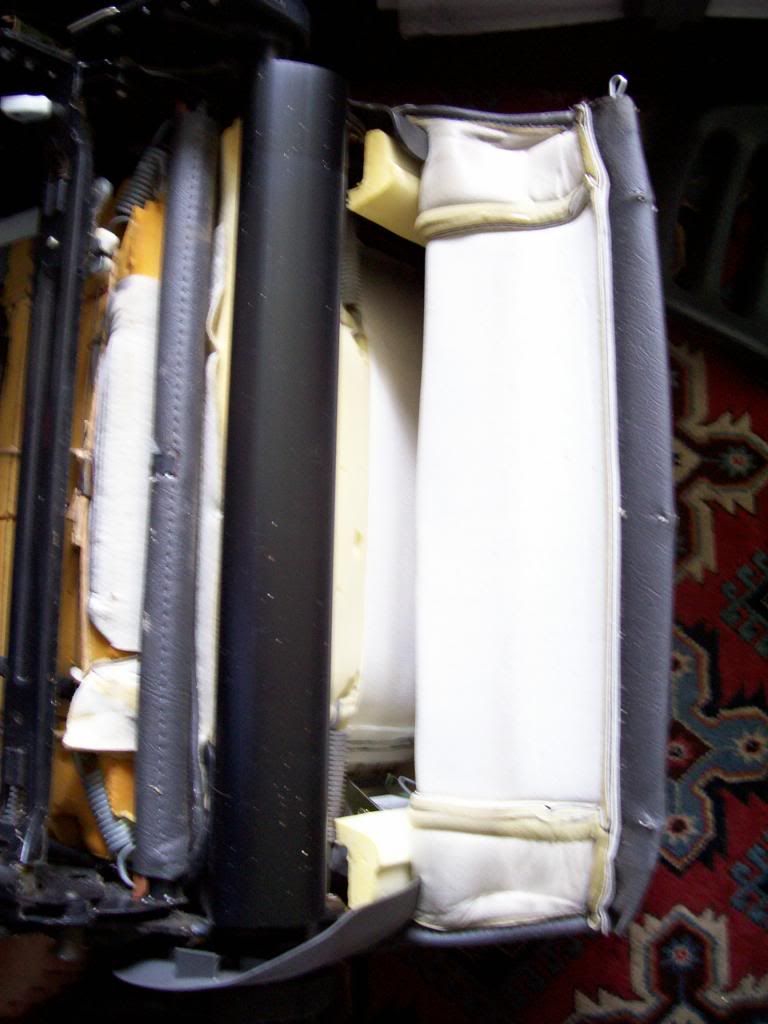 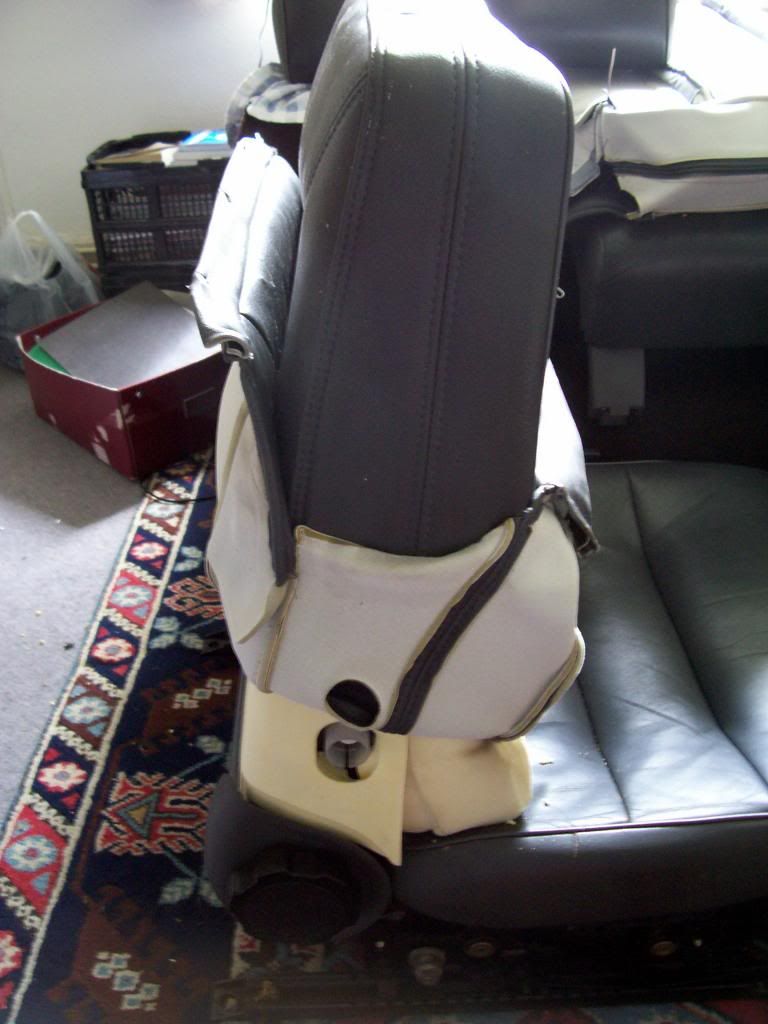 When you get it up as far as shown, you encounter two things that need to be undone: (a) the first of several (three on my seats) rows (actually just pairs) of hog-rings attaching the cover to the foam at the front of the seat. They are fastened around thin metal bars that are embedded in the foam. Open them up. I took a picture here but you can't really see the ring here, as it's too tight and deep in the foam. 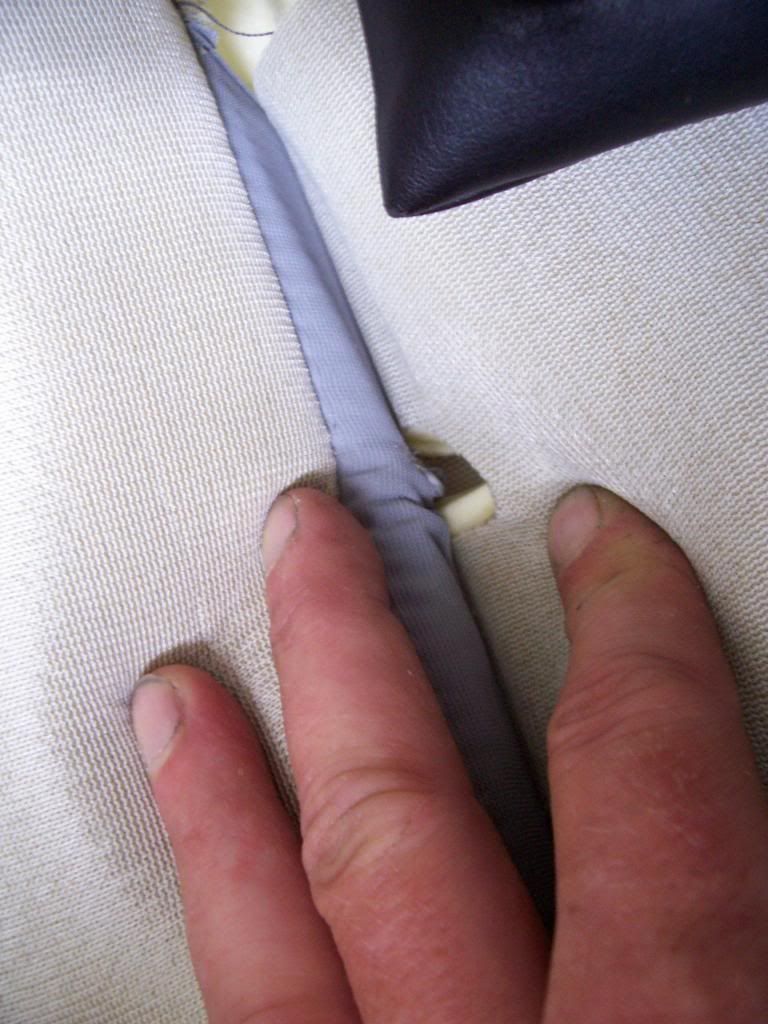 (b) two hooks at the back of the seat, each attached to a length of fabric – one on either side of the seat. These attach the seat cover to the seat frame, so simply unhook them from the holes in the frame where they are attached. 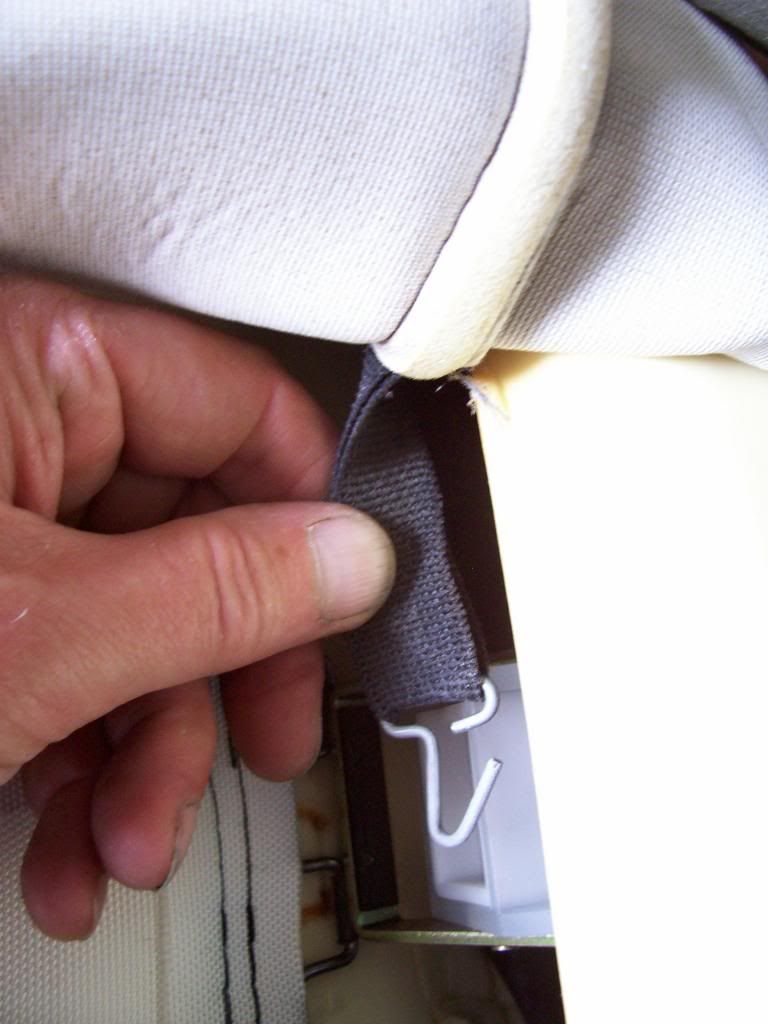 Then pull the seat cover further up. You will find the next pair of hog-rings at the front of the seat. Open them up and pull the cover still further up, whereupon you will find yet another row. 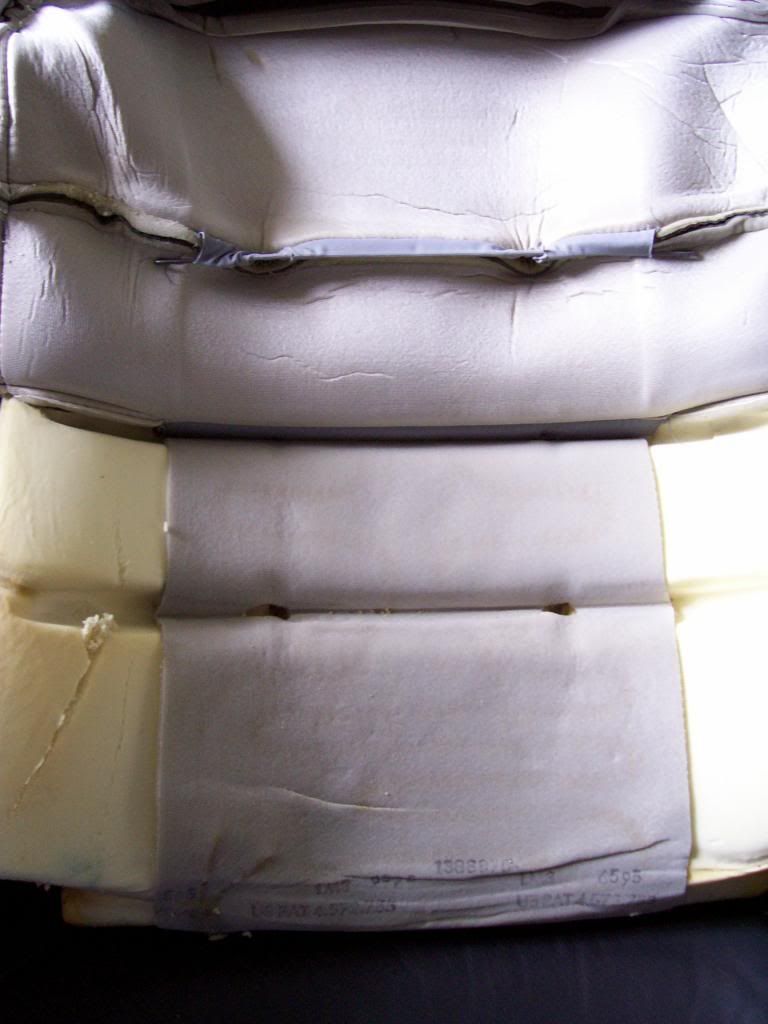 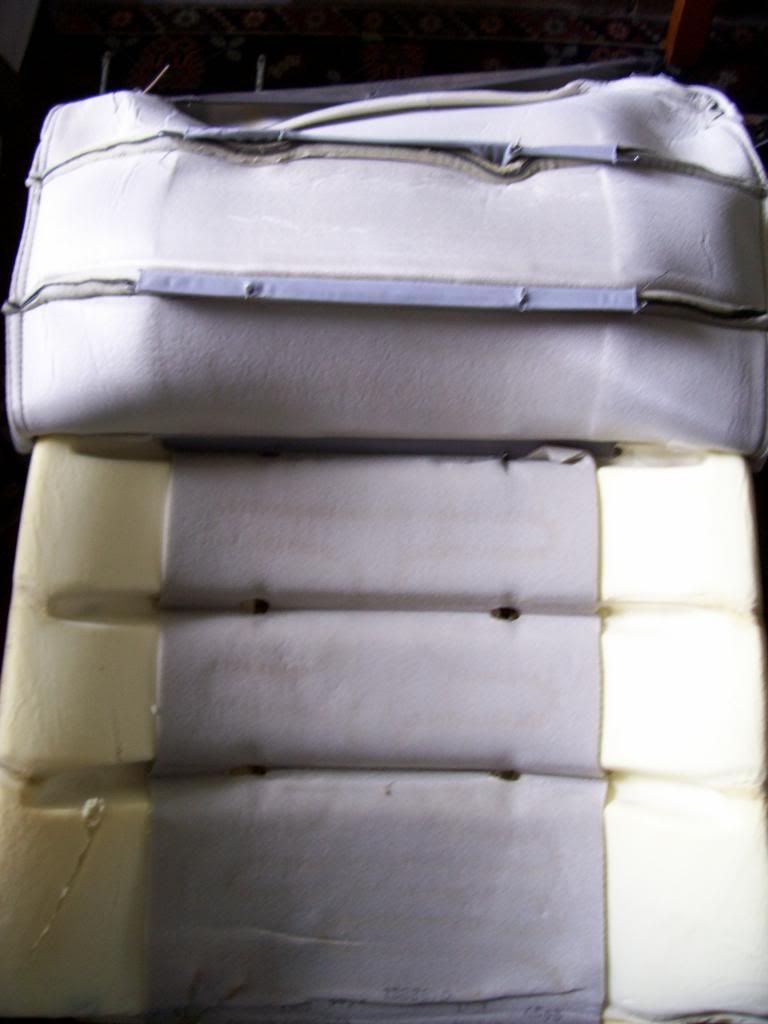 Near the top, there's a pair of hog-rings attaching the seat cover to the foam at the back of the seat. Undo these. 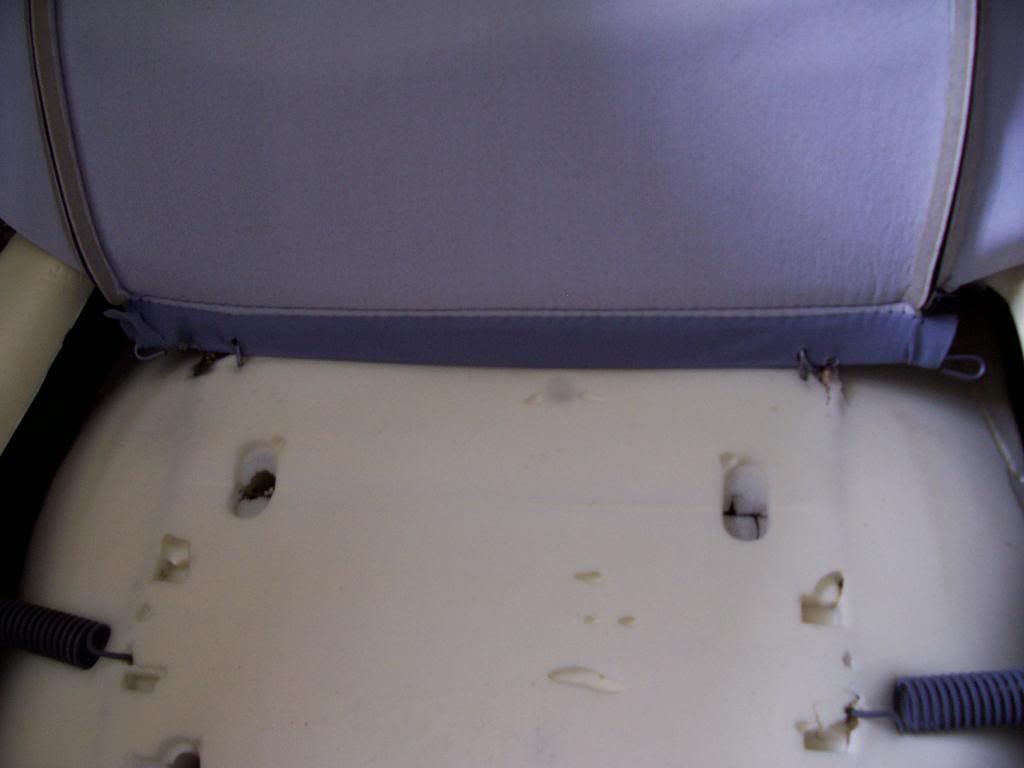 If you've already removed the headrest, you can now just pull the cover away from the seat. If not, you have at least now exposed the two little white plastic tabs at the back of the seat that need to be pushed forwards to release the headrest. It's easier to find these with the seat cover pulled up than it is to feel for them with the cover on. 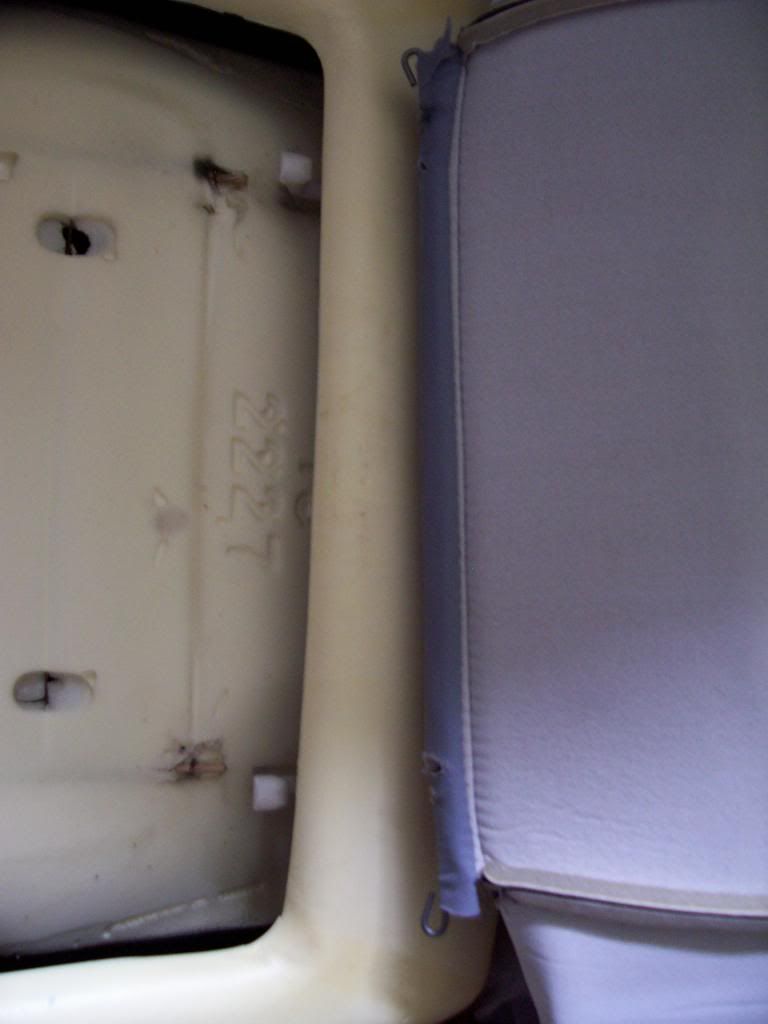 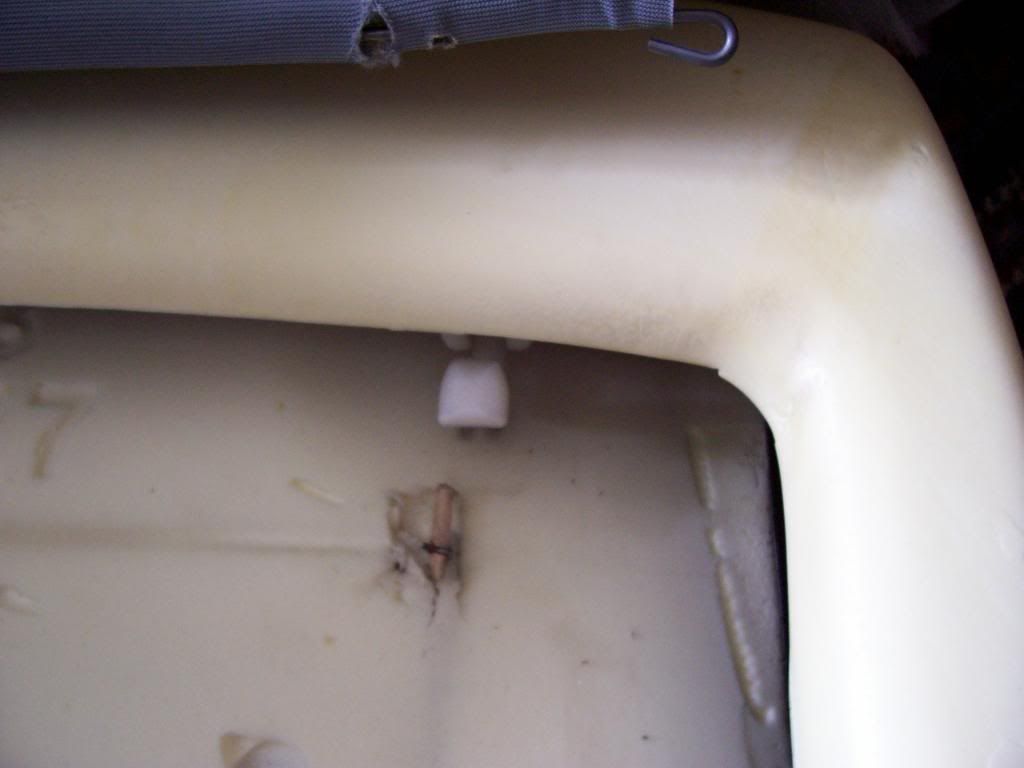 Undo the white wiring connector for the heated seat pad, feed it and the bottom of the pad itself carefully through the gap between the seat bottom and the seat back, and then you can remove the heated seat pad itself. 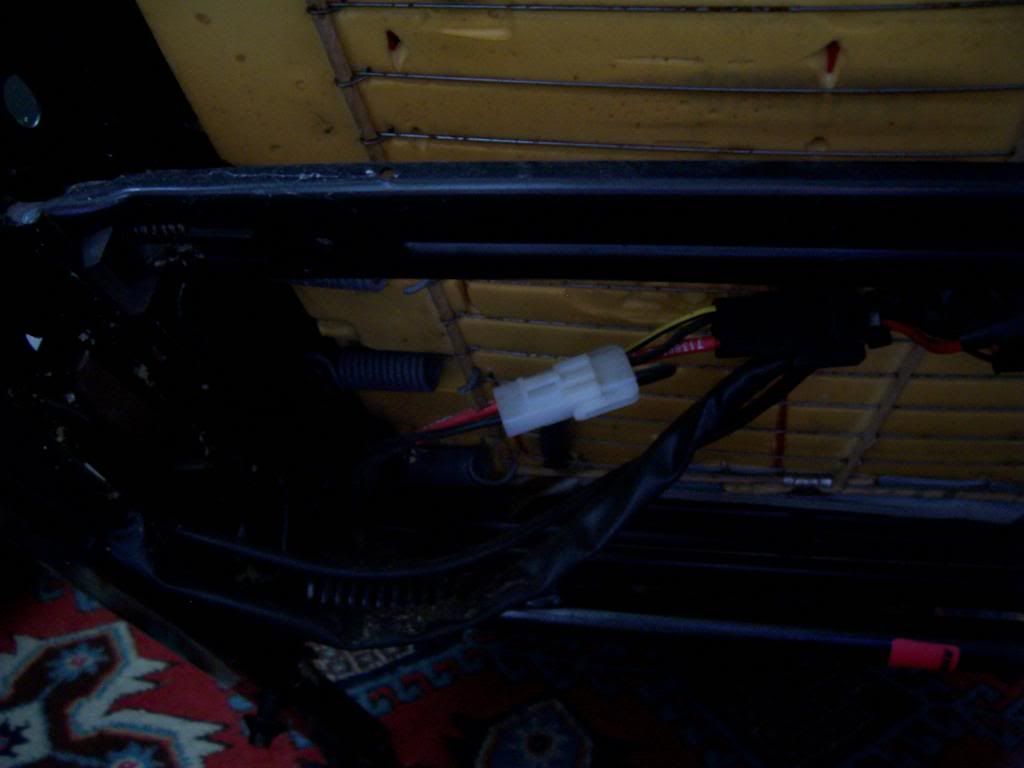 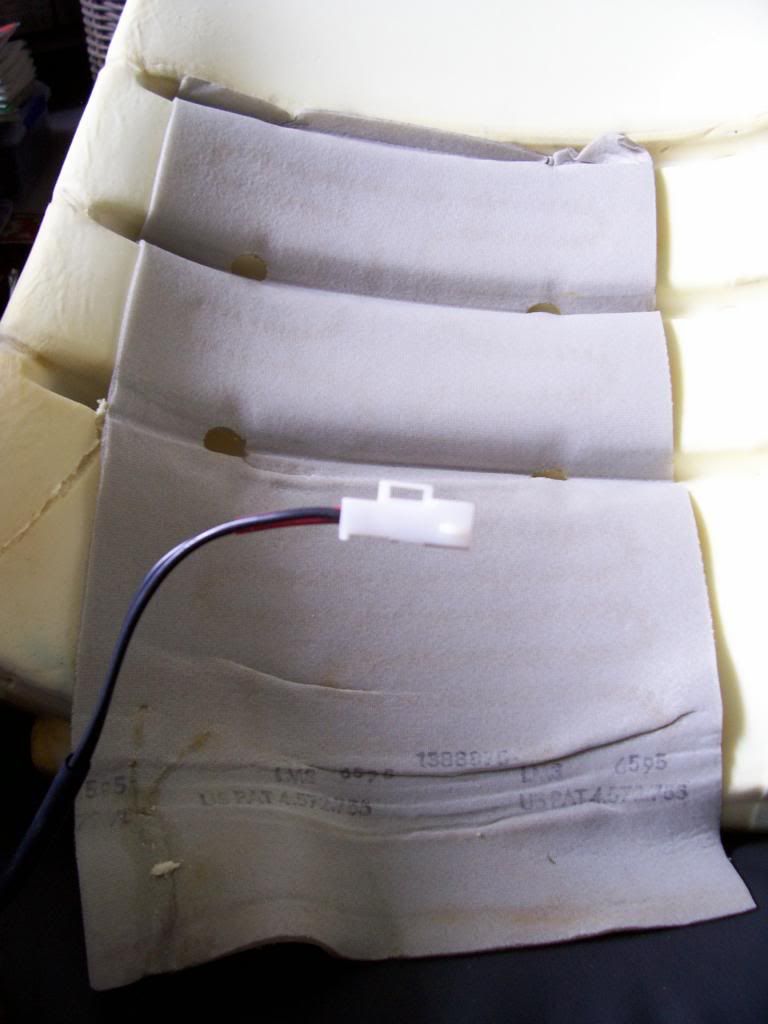 The foam is attached to the frame of the seat by the four large springs visible at the back of the seat. Release these. The springs are strong and the bottom ones in particular I found were a bit of a pig to release, but you get there in the end. The foam can then be removed. The picture shows the top springs already released; you can see the indentations that they have made in the foam. 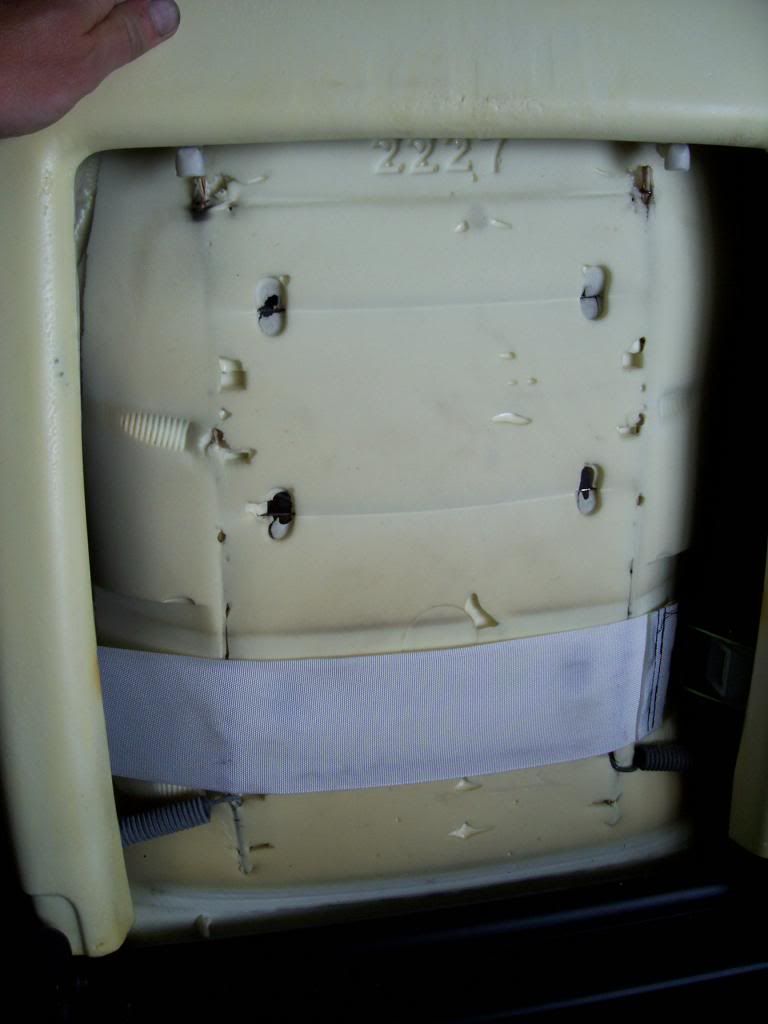 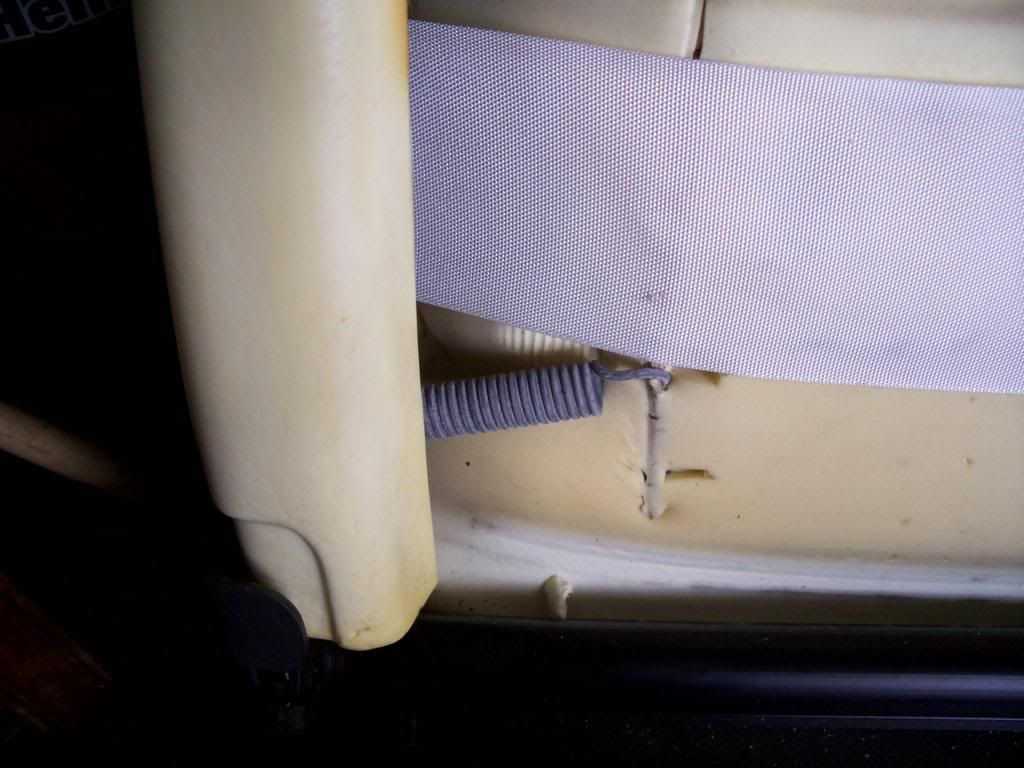 Now for the bottom of the seat: The cover is attached, front and back, in the same way. Turn the seat over and you can see that it is held on by a round metal clip in the centre of the seat, and at the sides by a thin metal bar (mine looks very rusty, which at least helps you to spot it in the pictures) that runs all the way across the seat and whose ends fit into holes in the frame of the seat. Here are some pictures from the back of the bottom of the seat: Central clip: 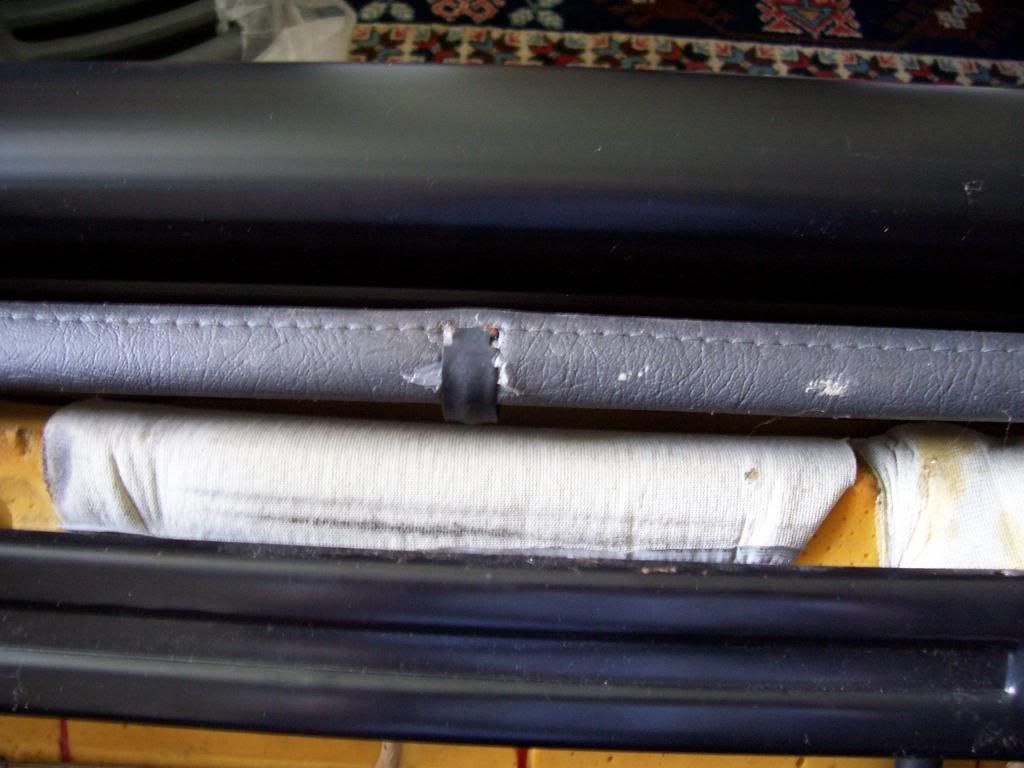 End of the metal bar at one side: 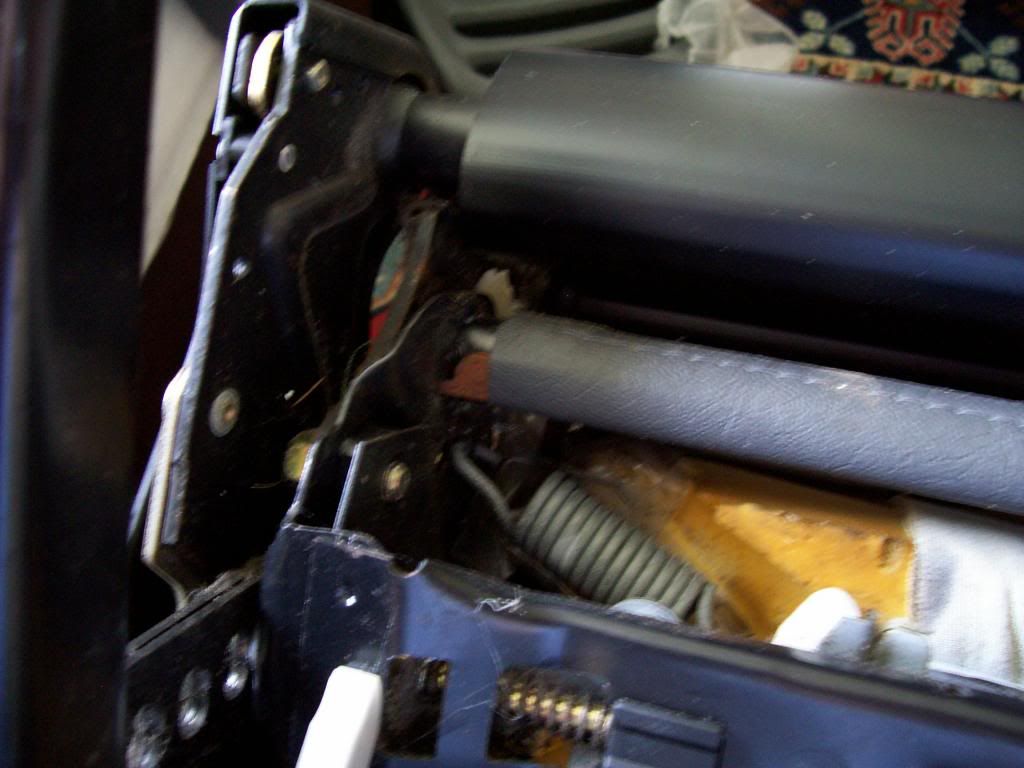 Same at the other side: 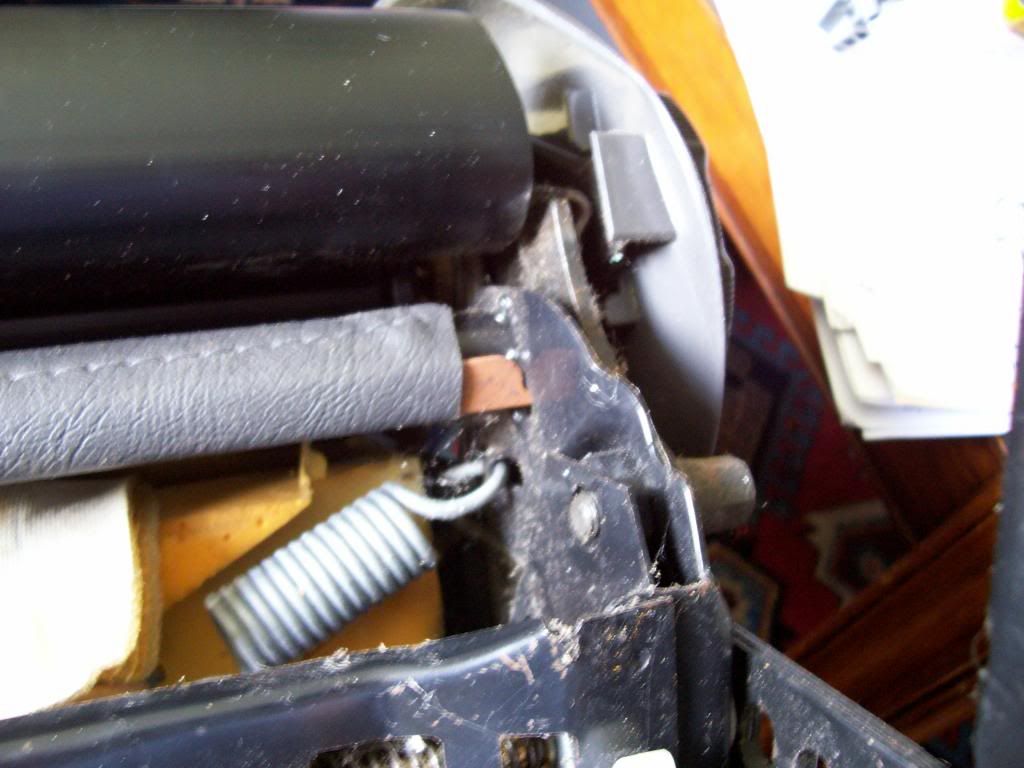 And here's one picture of the same arrangement at the front. 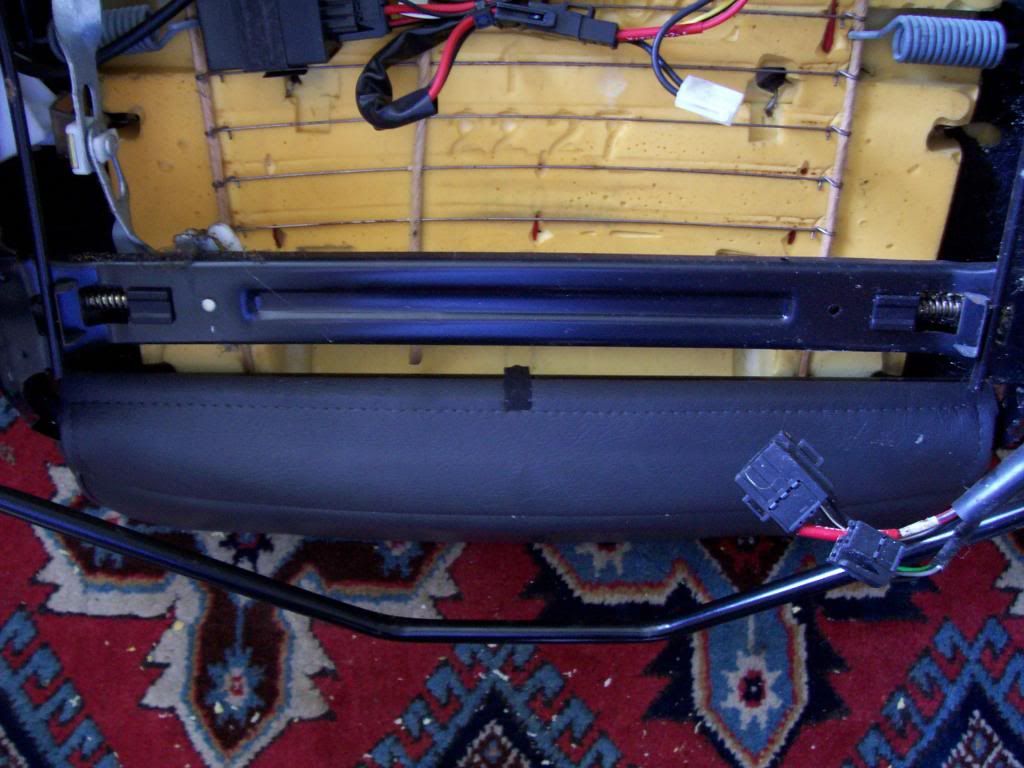 Ping the central clip off with a flat-bladed screwdriver (mind your eyes) and bend that metal strip (it is flexible) so that the ends come out of the frame. Near the front of the seat, one on either side, are hooks holding the foam to the frame of the seat. A flat-bladed screwdriver and a bit of leverage gets these off. 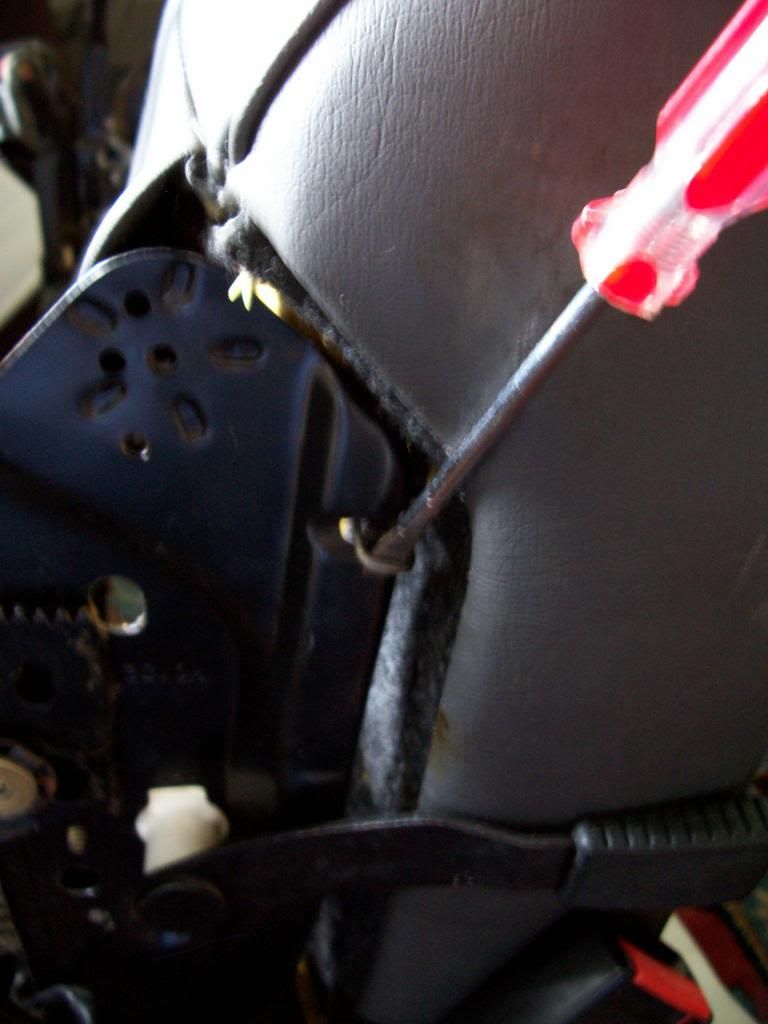 Detach the black wiring connector under the seat and you can lift off the seat cushion, complete with cover. 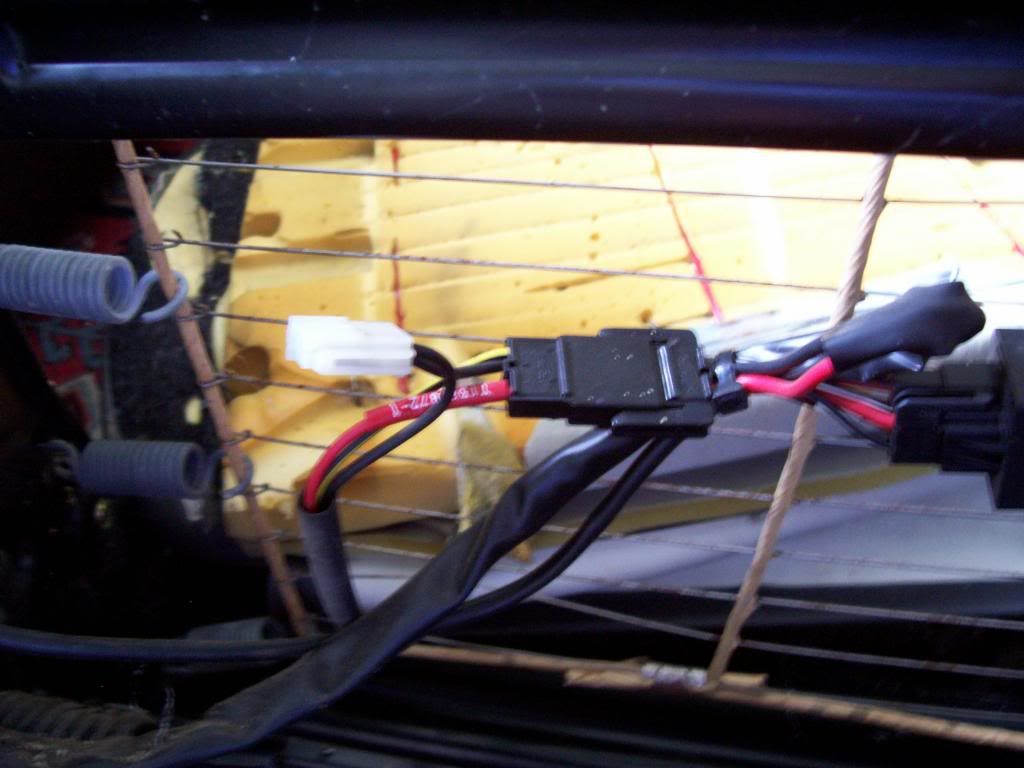 Now, I didn't want or need to remove the seat cover from the foam base of the seat. So there are no pictures of that, but it's pretty obvious when you look at the seat bottom that if you do need to remove the cover from the foam you are just confronting more of the hog rings, first of all at the sides of the seat and then, no doubt, there will be more of them holding the cover to the foam on the upper side, along the seams in the cover, just as with the back of the seat. Note: These are seats that were very kindly given to me by Brian (minesa240x3) about a year or more ago – or if they were not quite a gift, the price that he charged me was so generously low as virtually to constitute a gift. I should emphasise that despite appearances I am finally (I hope) getting round to putting them to use, not wantonly destroying them. Unfortunately (for various reasons that I'll detail elsewhere, if the project ever comes to fruition) it has not been as simple a matter as just bolting them into the car. Edit: link to original thread.
__________________
(Formerly) 1988 745 B230K (Phoenix) Last edited by cumbrianmale; Aug 6th, 2013 at 18:29. Reason: link back |
|
|

|
| Currently Active Users Viewing This Thread: 1 (0 members and 1 guests) | |
|
|