
|
|||||||
| 700/900 Series General Forum for the Volvo 740, 760, 780, 940, 960 & S/V90 cars |
 Information
|
|
940 GL fifty shades of grey turbo conversionViews : 16187 Replies : 167Users Viewing This Thread : |
 |
|
|
Thread Tools | Display Modes |
 Feb 25th, 2021, 11:11
|
#101 |
|
Go redblock or go home

Last Online: Yesterday 16:56
Join Date: Feb 2012
Location: UK
|
Postman has just been and dropped off the M56 gear selector trim... it fits the M90
 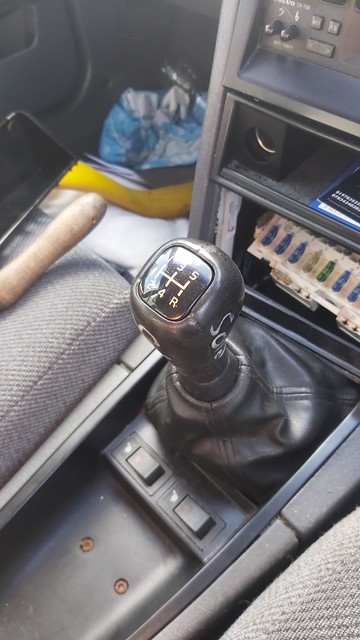 IMG-20210225-WA0027 by Luke Ryland - Flickr2BBcode LITE |

|

|
| The Following 3 Users Say Thank You to 360beast For This Useful Post: |
|
Feb 25th, 2021, 22:39
|
#102 |
|
Premier Member
Last Online: Apr 15th, 2024 09:22
Join Date: May 2012
Location: Lakenheath
|
It's all coming together nicely!

__________________
Cheers Dave Next Door to Top-Gun with a Honda CR-V & S Type Jag Volvo gone but not forgotten........
|
|
|
|
| The Following 3 Users Say Thank You to Laird Scooby For This Useful Post: |
|
Feb 25th, 2021, 23:41
|
#103 | |
|
Premier Member
|
Quote:
Reason I ask is that the gearbox bearings in my 740, which has the M47 gearbox, are shot. I've been trying to get a replacement M47 from Lakes, but no success so far - not helped by lockdown... So I'm wondering if an M90 conversion might be another way forward. Sorry for the thread hijack!
__________________
1989 740 GL 2.0 estate 2000 V40 2.0 (gone) 2005 Toyota Avensis 2.0 estate (gone) 2012 Ford Mondeo 2.2 TDCi estate 1999 Land Rover Discovery 2 TD5 |
|
|
|
|
| The Following 4 Users Say Thank You to stephend For This Useful Post: |
|
Feb 26th, 2021, 06:51
|
#104 | |
|
Go redblock or go home
Last Online: Yesterday 16:56
Join Date: Feb 2012
Location: UK
|
Quote:
 You need to remove the gearbox (much easier with the engine out). If you want to use the solid flywheel then you need to remove the clutch and flywheel assembly then remove the mainshaft support bearing in the back of the block and replace it with a retro turbo M90 conversion bearing. http://www.retroturbo.com/?product=m...ft-adapter-prt If you want to use a DMF then you just fit the flywheel. Then it is just a case of bolt it back in and fit the linkage and the M90 propshaft. If you would rather keep an M47 then the M47 I removed from this 940 is available. Edit: if using the solid flywheel you will also need to use an extended pivot ball for the clutch fork, the one in the M47 is longer so should work. Last edited by 360beast; Feb 26th, 2021 at 07:14. |
|
|
|
|
| The Following 4 Users Say Thank You to 360beast For This Useful Post: |
|
Mar 9th, 2021, 20:06
|
#105 |
|
Go redblock or go home
Last Online: Yesterday 16:56
Join Date: Feb 2012
Location: UK
|
Today I removed the N/S suspension arms and set about refurbishing and polybushing them.
It was a very nice day so I decided to set up a makeshift bench and work in the sun. How they were when I started  20210308_162017 by Luke Ryland - Flickr2BBcode LITE  20210309_101228 by Luke Ryland - Flickr2BBcode LITE After a bit of a clean up on the strut rod  20210309_093602 by Luke Ryland - Flickr2BBcode LITE As always I forgot to take a photo of them once all the rust had been removed. Then I used my very handy press to push the bushes out, it really would be a horrible job to remove and fit these bushes without a press.  20210309_104403 by Luke Ryland - Flickr2BBcode LITE Strut rod etch primed  20210309_122318 by Luke Ryland - Flickr2BBcode LITE And the finished strut rod 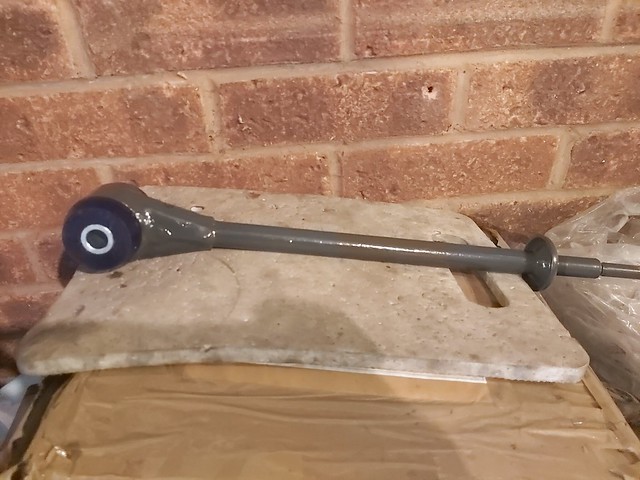 20210309_170037 by Luke Ryland - Flickr2BBcode LITE Control arm primed and polybush fitted 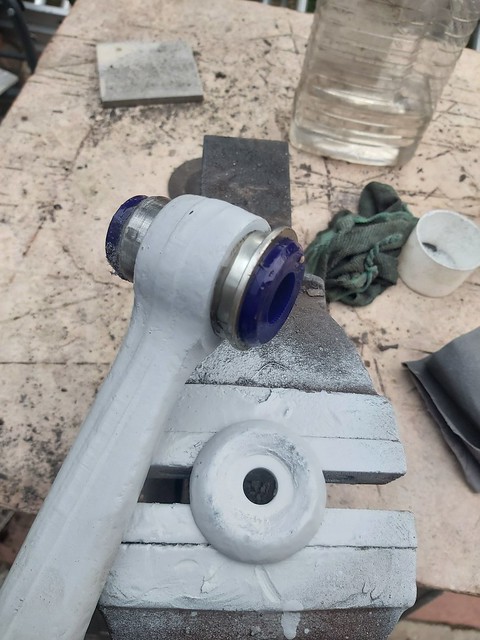 20210309_170855 by Luke Ryland - Flickr2BBcode LITE And finished  20210309_172237 by Luke Ryland - Flickr2BBcode LITE I have also done the spaceship bush washer and the bolt heads that were rusty after filing the rust off of them. |
|
|
|
| The Following 4 Users Say Thank You to 360beast For This Useful Post: |
|
Mar 11th, 2021, 19:30
|
#106 |
|
Go redblock or go home
Last Online: Yesterday 16:56
Join Date: Feb 2012
Location: UK
|
Today I fitted the N/S polybushed suspension arms, torqued them up and applied threadlock. This time I left the droplink off as I'm yet to polybush the new droplinks as I need to borrow a blow torch to burn the molded rubber eyelet bush out as I don't have anything small enough to support the droplink on my hydraulic press.
 20210311_115634 by Luke Ryland - Flickr2BBcode LITE  20210311_115629 by Luke Ryland - Flickr2BBcode LITE  20210311_115622 by Luke Ryland - Flickr2BBcode LITE I then took the caliper, carrier and disc off. Sanded the rust off the hub to disc mating face and applied some grease before fitting the disc on. The carrier was in bad condition, so out came the angle grinder with the flapper disc and my sanding attachment for my electric drill and I soon had it in good order. One of the sliders was seized solid! The boot had split allowing dirt and moisture in, a tiny bit of rust was enough to stop it moving. So I managed to free it off, remove all of the rust from it and inside the slider hole, grease it up and pinch the slider boot off of one of my spare carriers.  20210311_122755 by Luke Ryland - Flickr2BBcode LITE As per usual I was so engrossed in the job I forgot to take photos of how bad the carrier was and the after shot once it was cleaned up. The caliper was also pretty bad so a bit of a wire brush and hammered off the worst of the puffed up rust before fitting new pads with grease on all contact surfaces. Once it was all back together I torqued the bolts up and sprayed the carrier and caliper with some chain grease to prevent it from rusting again quickly, it shouldn't be too bad now it is going to be a car in a city rather than by the coast 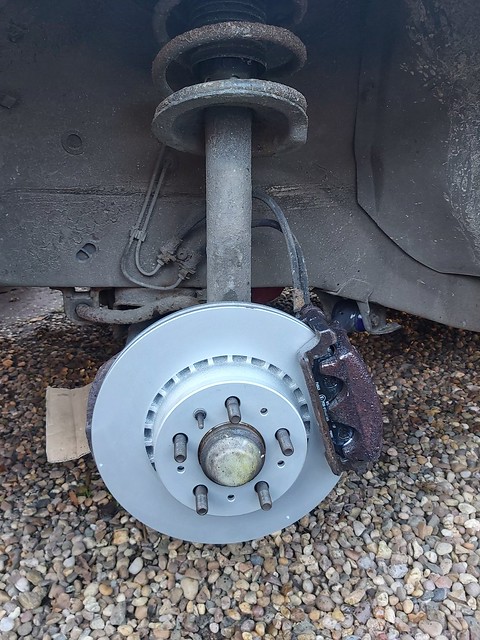 20210311_133452 by Luke Ryland - Flickr2BBcode LITE I then bled the clucth and got my wife to press the pedal to make sure the slave cylinder works and it does. Then I started bleeding the brakes, I started with the front left as I had the wheel off anyway, as it is non ABS there are two bleed nipples on the front calipers. They were both pretty rusty but I managed to clean the worst of the rust off them, one I could undo with an 8mm socket but the other one was already rounded off and rusty so I had to use mole grips on it. The rear N/S bleed nipple was also rusty and rounded off but again mole grips did the job, however the rear O/S was very rusty and when I went to undo it even with very little pressure the nipple snapped.  IMG-20210311-WA0016 by Luke Ryland - Flickr2BBcode LITE So after talking it over with the customer I'm going to fit a new pair of rear flexis, a good used bleed nipple from my parts horde and a good used caliper to the rear O/S. So once the flexis arrive we should be back in business. This is the fluid that came out of it, bearing in mind that it has been diluted with fresh fluid as I let it flow for a bit to make sure no debris is in the lines etc.  IMG-20210311-WA0012 by Luke Ryland - Flickr2BBcode LITE 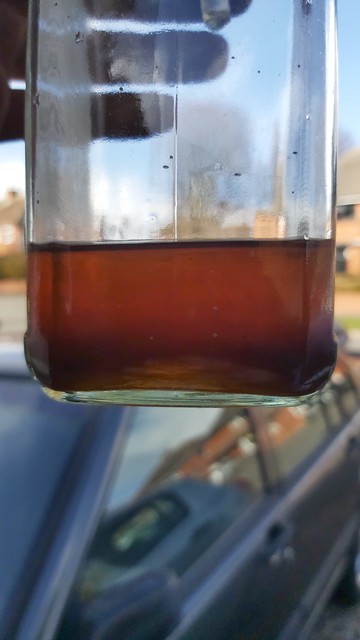 IMG-20210311-WA0014 by Luke Ryland - Flickr2BBcode LITE Last edited by 360beast; Mar 11th, 2021 at 19:39. |
|
|
|
| The Following 3 Users Say Thank You to 360beast For This Useful Post: |
|
Mar 11th, 2021, 19:54
|
#107 |
|
Premier Member
Last Online: Apr 15th, 2024 09:22
Join Date: May 2012
Location: Lakenheath
|
Great work there Luke!!!
If memory serves, a 22 or 24mm socket will support the drop link eyelet and a size a couple of mm smaller should push the rubber out and the new one in with a bit of silicone grease to help it slip in nicely. Either use an M12 bolt through the middle of the two sockets or use them as mandrels in your press.
__________________
Cheers Dave Next Door to Top-Gun with a Honda CR-V & S Type Jag Volvo gone but not forgotten........
|
|
|
|
|
Mar 11th, 2021, 20:05
|
#108 | |
|
Go redblock or go home
Last Online: Yesterday 16:56
Join Date: Feb 2012
Location: UK
|
Quote:
Last edited by 360beast; Mar 11th, 2021 at 20:22. |
|
|
|
|
| The Following 3 Users Say Thank You to 360beast For This Useful Post: |
|
Mar 12th, 2021, 00:17
|
#109 |
|
Premier Member
Last Online: Apr 15th, 2024 09:22
Join Date: May 2012
Location: Lakenheath
|
Point taken Luke but even if you buy a couple of sockets cheaply to do the job it'll be worth it. Makes the job a lot easier!
__________________
Cheers Dave Next Door to Top-Gun with a Honda CR-V & S Type Jag Volvo gone but not forgotten........
|
|
|
|
| The Following User Says Thank You to Laird Scooby For This Useful Post: |
|
Mar 12th, 2021, 10:40
|
#110 | |
|
VOC Member
Last Online: Oct 4th, 2022 16:02
Join Date: Jan 2016
Location: UK
|
Quote:
|
|
|
|
|
| The Following 3 Users Say Thank You to 827Roverman For This Useful Post: |
|
| Currently Active Users Viewing This Thread: 1 (0 members and 1 guests) | |
| Thread Tools | |
| Display Modes | |
|
|


 Linear Mode

