

|
|||||||
 Information
|
|
How to: C30 air conditioning condenser replacementViews : 5487 Replies : 0Users Viewing This Thread : |
 |
|
|
Thread Tools | Display Modes |
|
|
#1 |
|
Master Member
Last Online: Sep 3rd, 2020 12:03
Join Date: Mar 2013
Location: Leicester
|
Firstly, i accept NO responsibility for any damage you do to yourself or your car!
Secondly, this is a how to that assumes you have had your air con professionally emptied of gas and oil and NOT released into the Atmosphere (Thats illegal!!) Make sure that you get the condenser checked over by an air con specialist to ensure its the condenser thats leaking and not something else. They do this using a vacuum and pressure test. So, here we go! Remove headlights by pulling the skewer out and unplugging the connector then remove the front bumper. Red circles show screws and plastic trim clips that need to be removed, and green arrows show underneath screws that need to be removed.There are also 5 screws in the wheel arches on each side that need to come out, then unclip the bumper sides by pulling the bumper outwards from the wheel well. Bumper will now come off off but dont forget to unclip the fog light connectors! 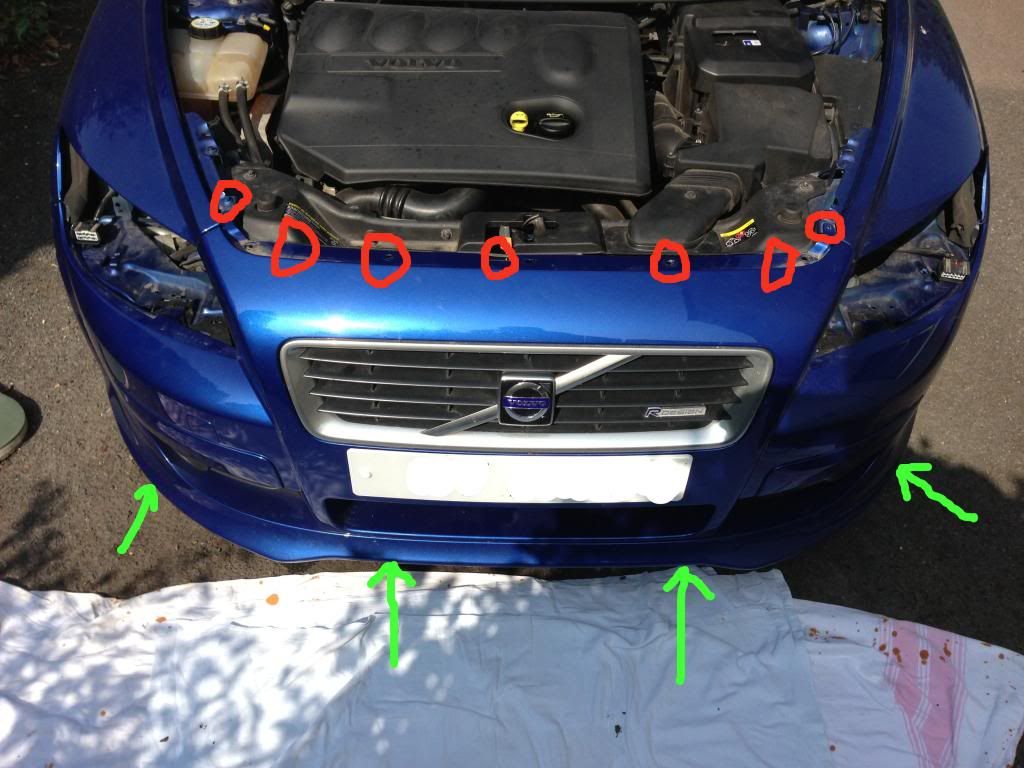 Next remove the front plastic undercover to allow access. The red arrows show 2 screws that need to be removed (located at the rear and screw into the corner of the arch liners) then pull it towards the front of the car and it will come out. 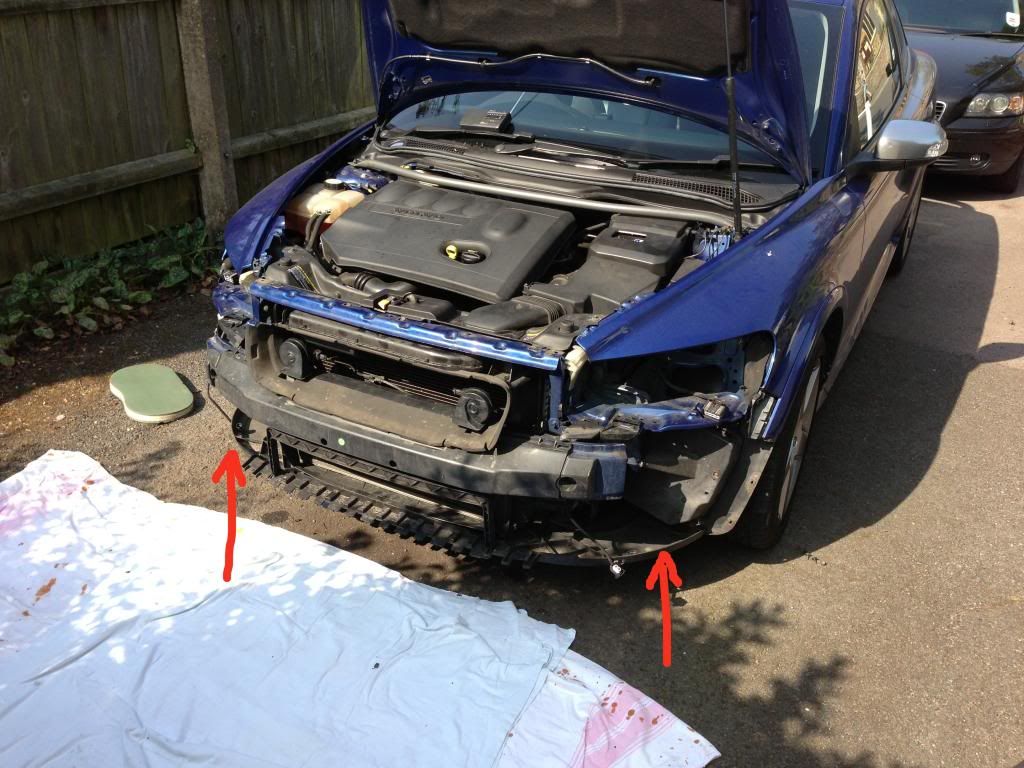 Unbolt the 2 horns and disconnect and put to one side. Remove the upper plastic air guide by undoing the 2 nuts at the top of the guide left and right.Pull the plastic crash panel cover by pulling towards you.It should now look like this. 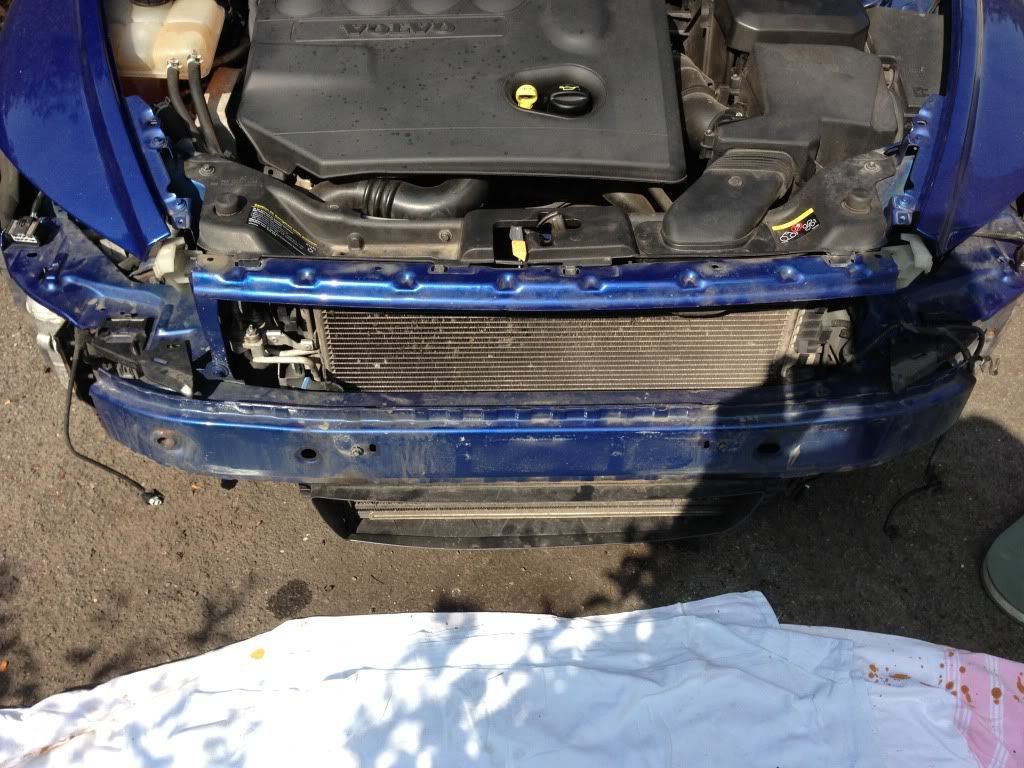 Remove the upper plastic cover at the front of the engine bay (3 bolts on it) and unclip the air piping by removing the 2 plastic clips and pull out the 90 degree turn from underneath it too. 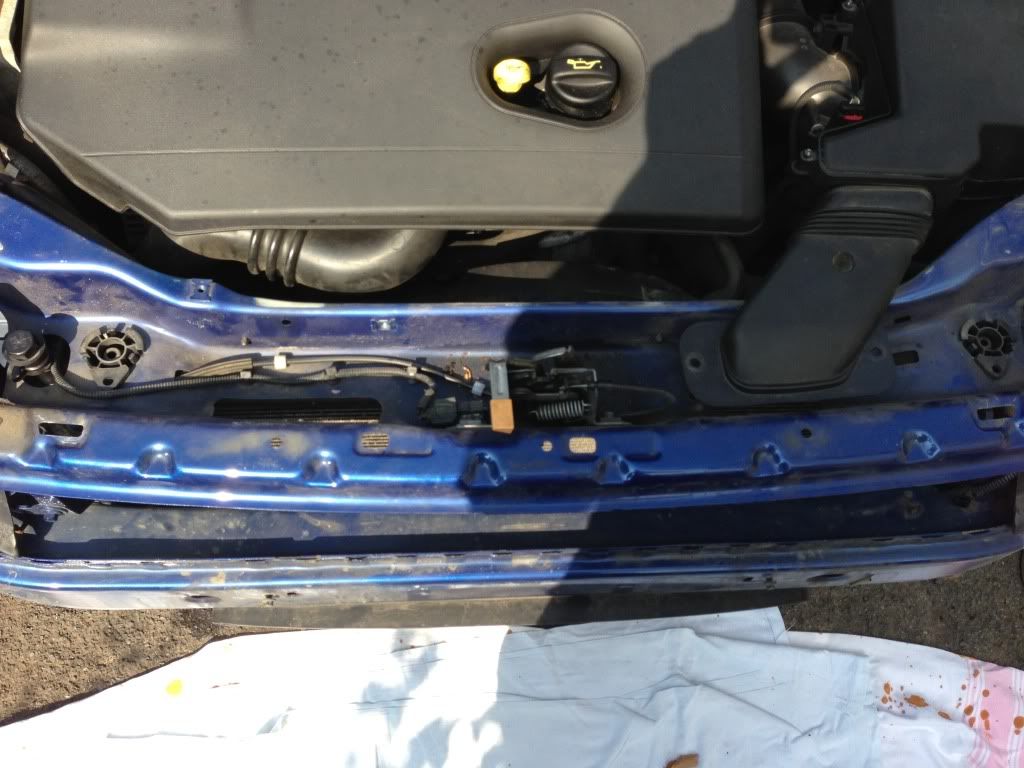 Put it all to one side 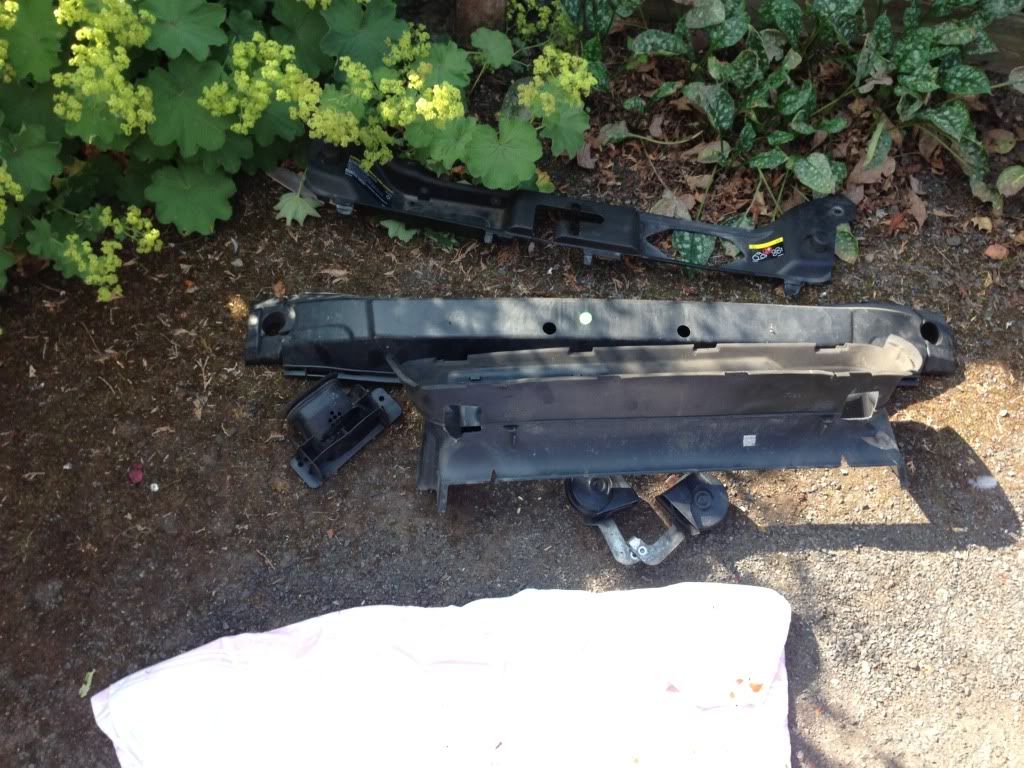 Next up, remove the intercooler and shrouding as follows.The intercooler is held on by 4 bolts and the 2 jubilee clips on the pipes. Unscrew the 2 jubilee clips from the piping on each side (they look like this) 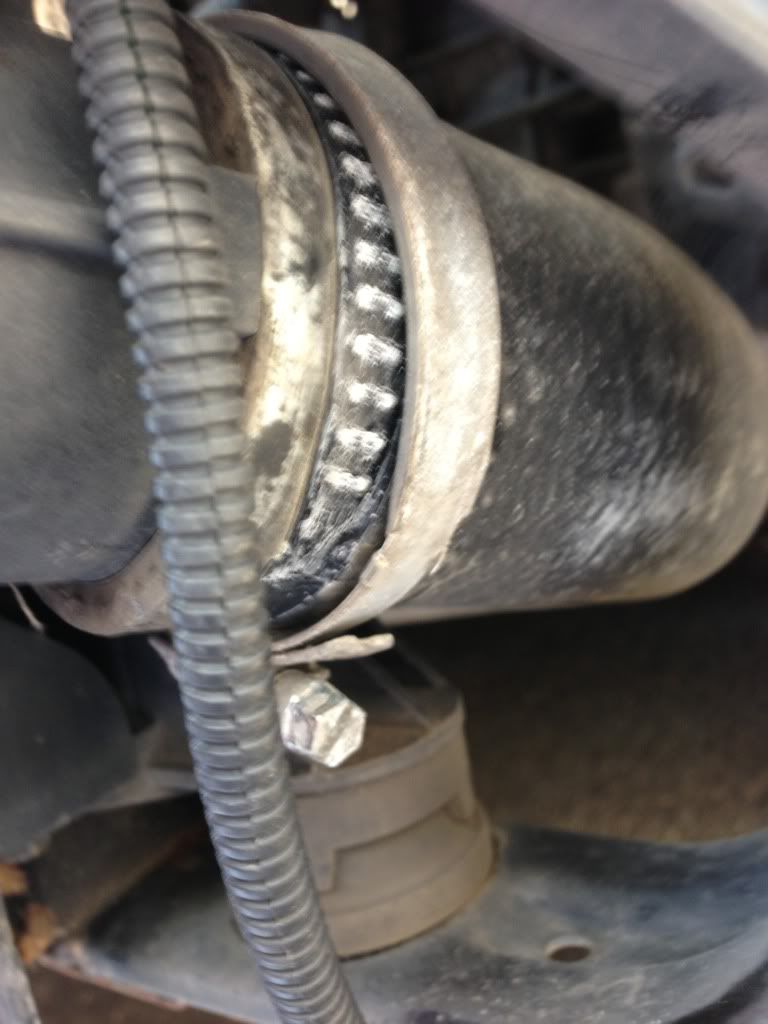 And undo the 2 bolts located on the underneath of the plastic sides of the intercooler 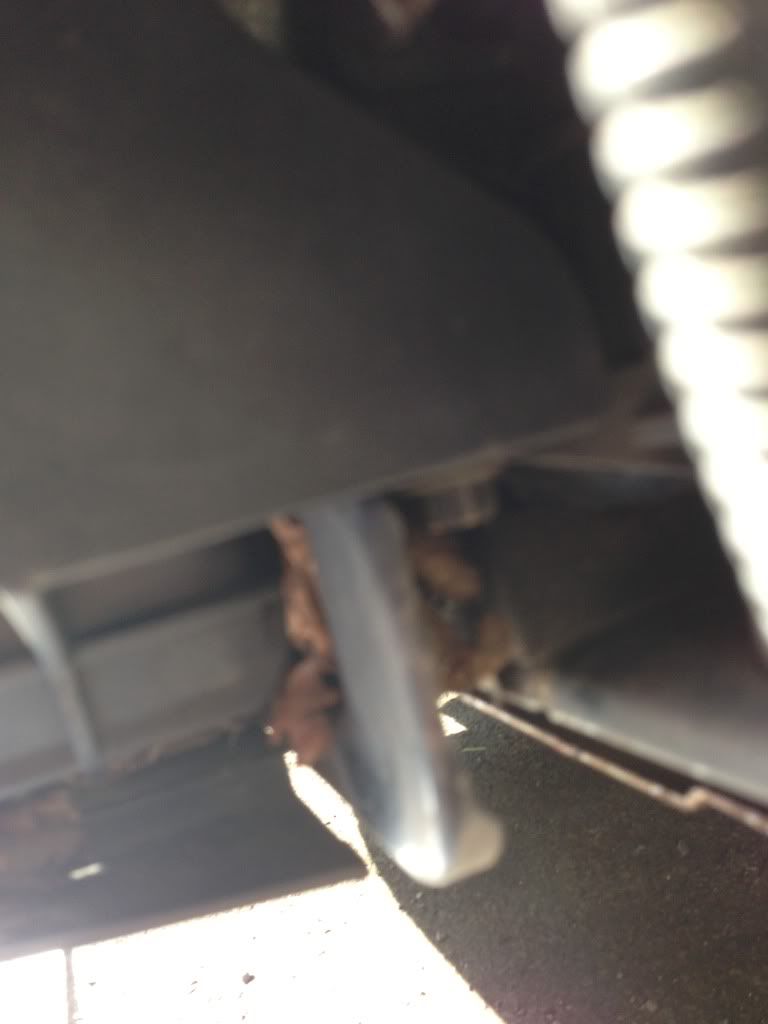 Then unscrew the 2 torx screws just behind the crash bar (PITA to get to!) 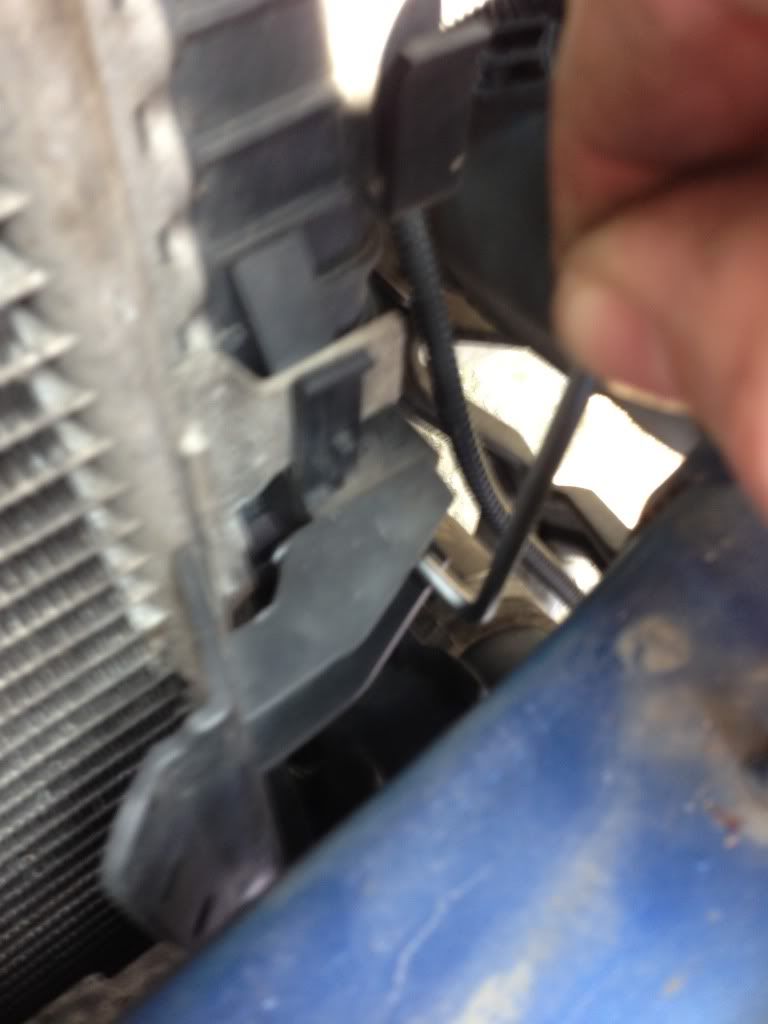 Now push the intercooler upwards from the bottom to unhinge it and it will drop down and come out.Put to one side and it should look something like this showing the condenser you want to replace. Be mindful that loads of leaves will probably fall out aswell after being trapped in there. 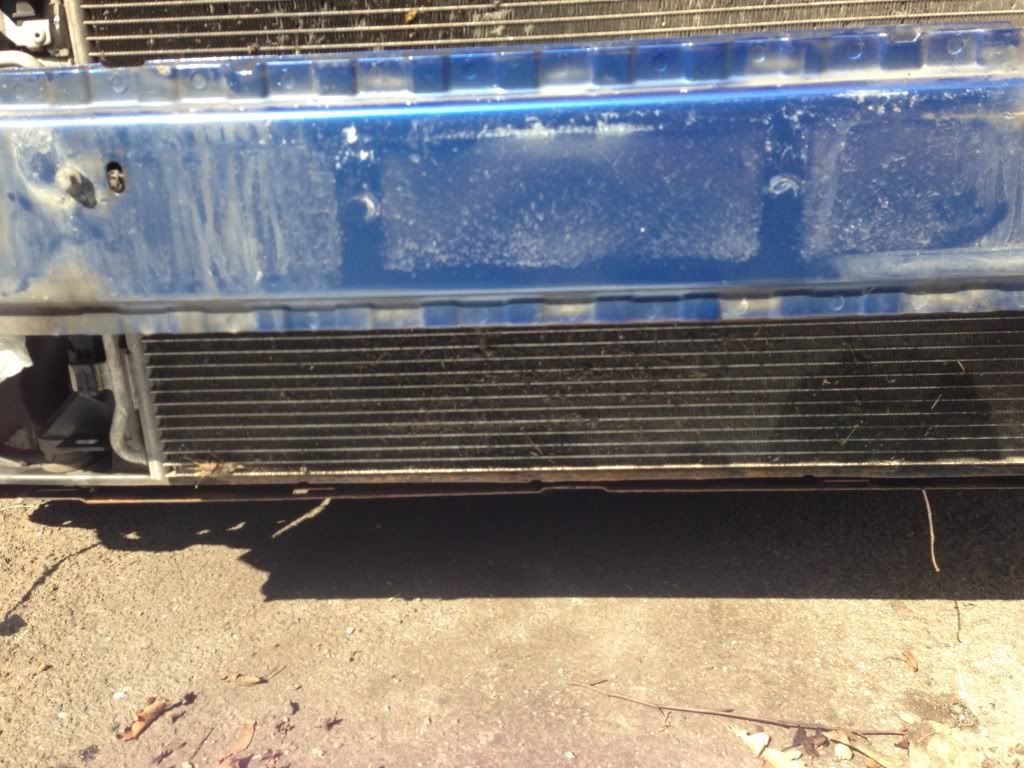 Now undo the 2 nuts holding the air con pipes into the condenser and lift the pipes upwards to release them (Green arrows), also unscrew the single torx screw (circled in red) to release the condenser from the holding bracket (Easier to do with an extension through the gap down the side of the valve made by removing the top front plastic cover shown in the second pic, circled in green). 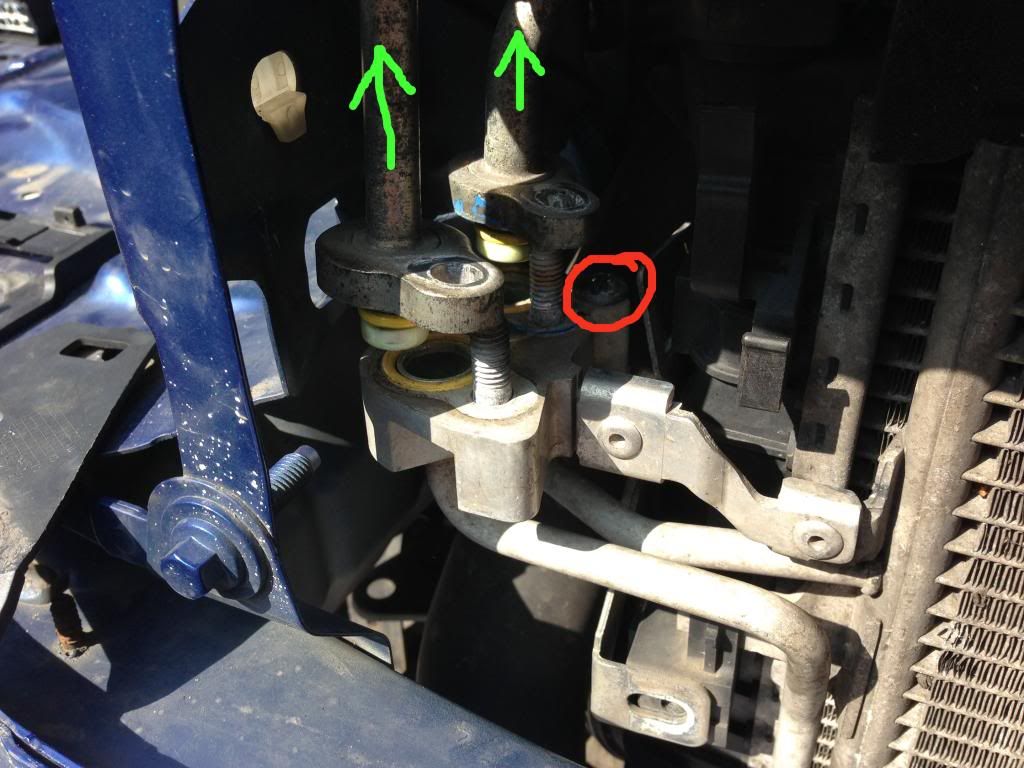 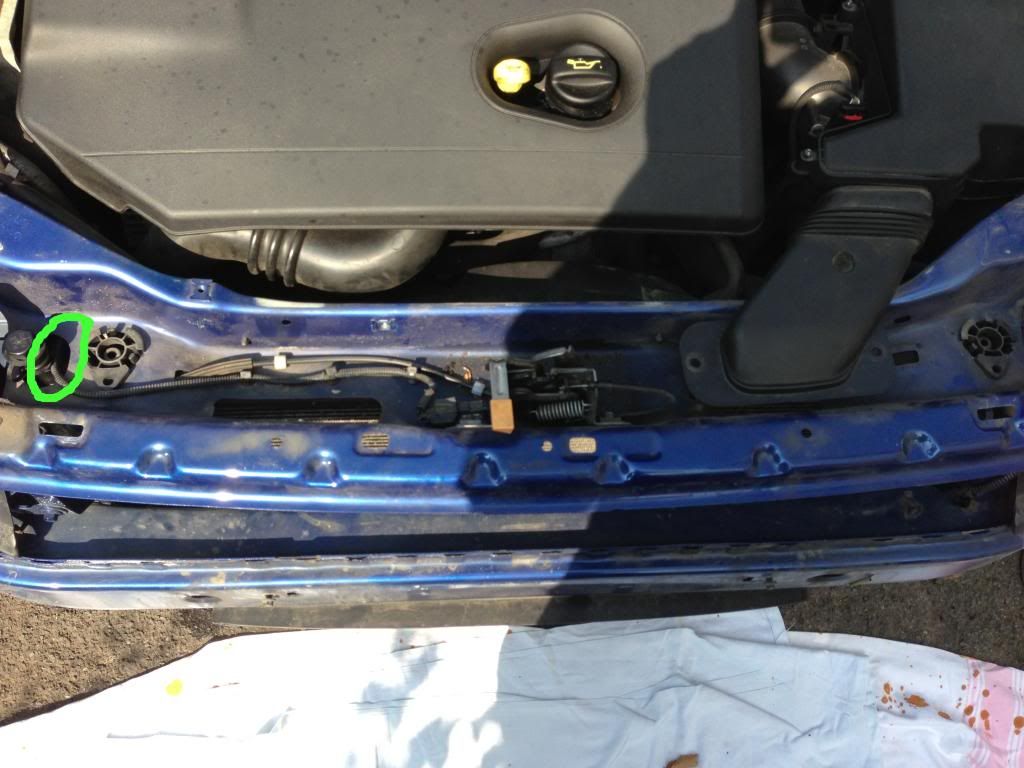 Next, push the condenser upwards from the bottom of it and it will slide upwards and release from the clips and drop down. Thats the condenser out! 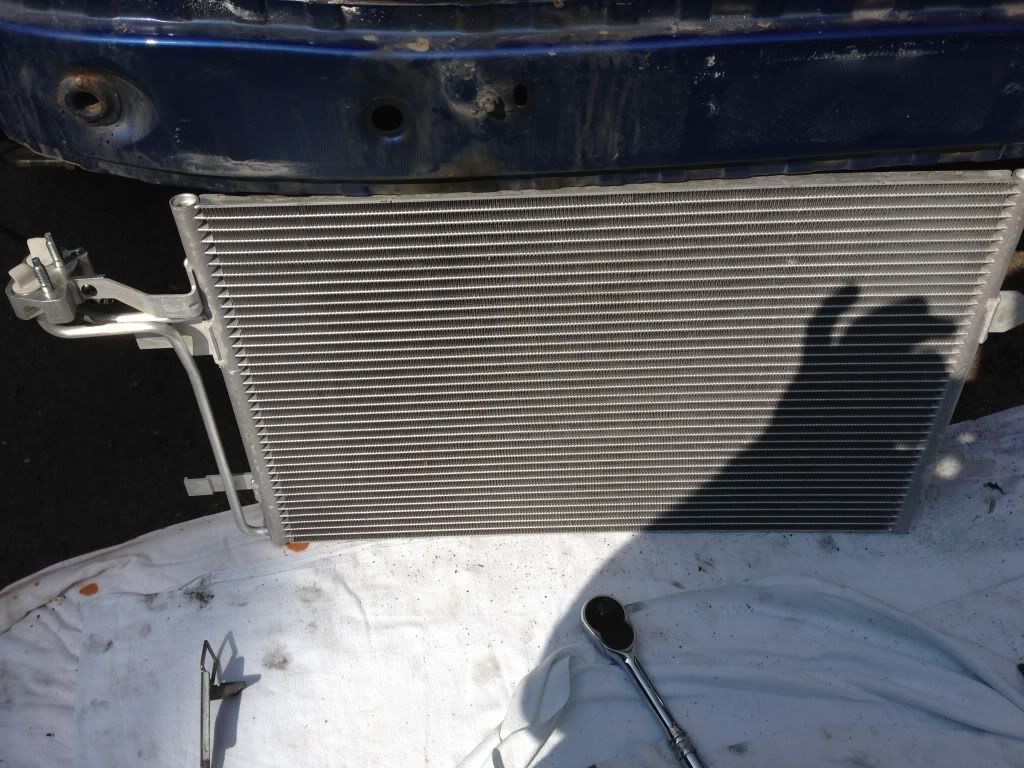 Pretty obvious where it was leaking from! 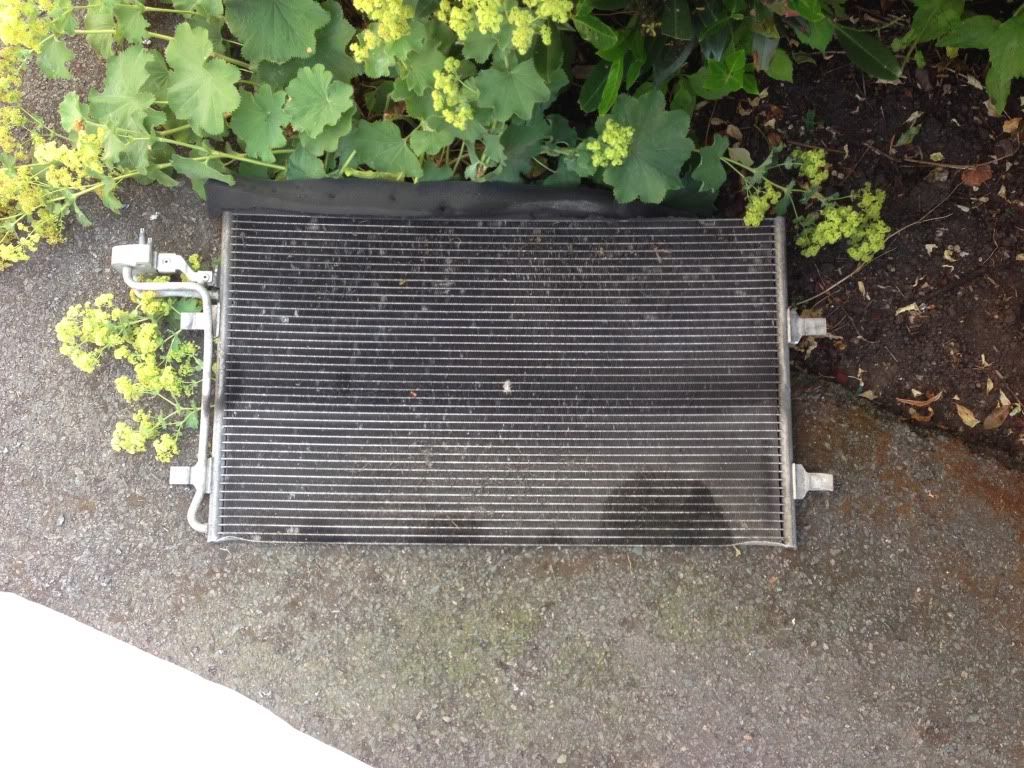 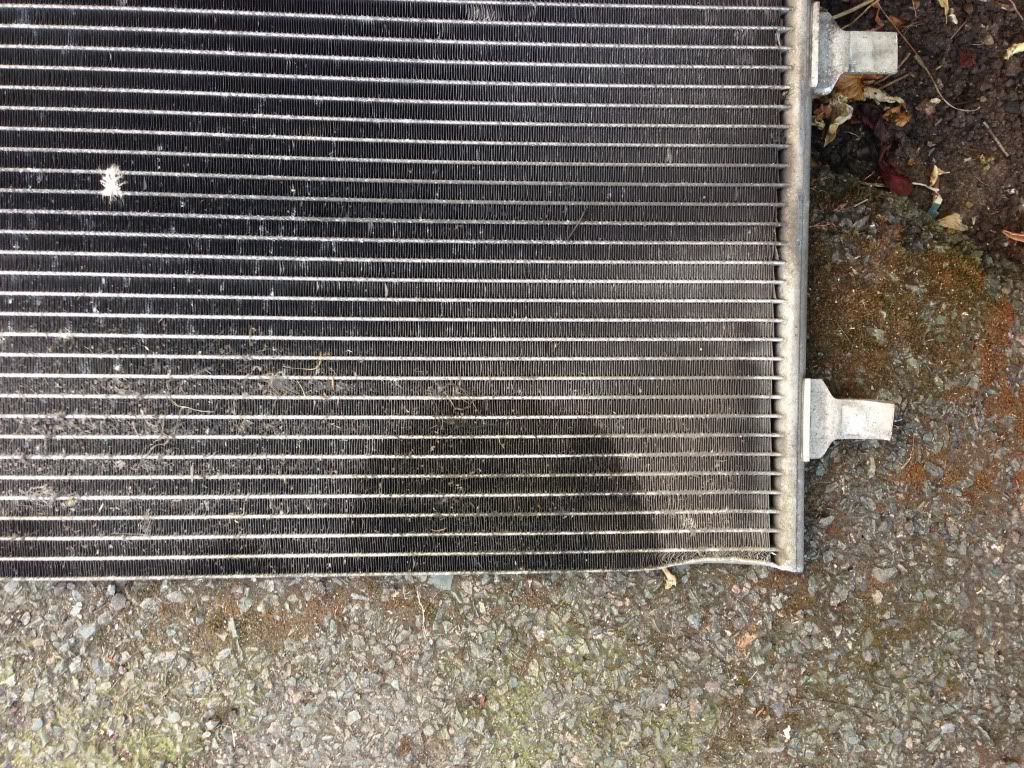 You will need to make sure you get the correct condenser for your car by measuring the internal diameter of the two tab holes that the pipes go into (There a 3 types i believe). Seen here with covers on them 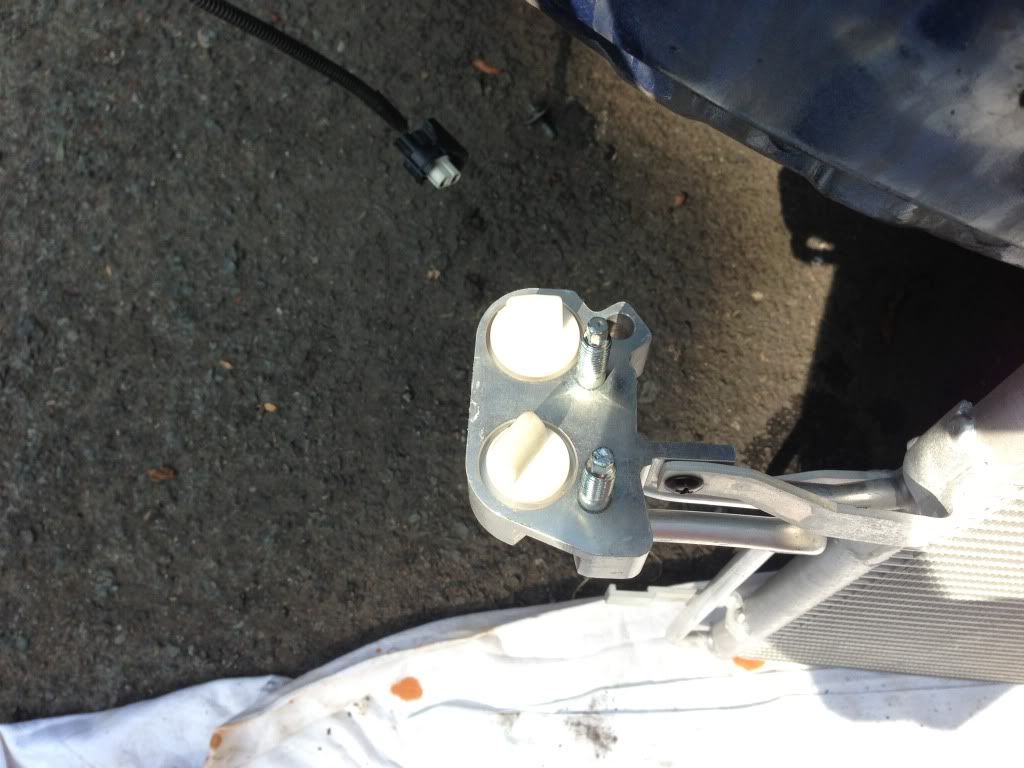 Slide the new condenser under the crash bar and up and over the clips and clip it into place ready for reassembly of the bits and bobs 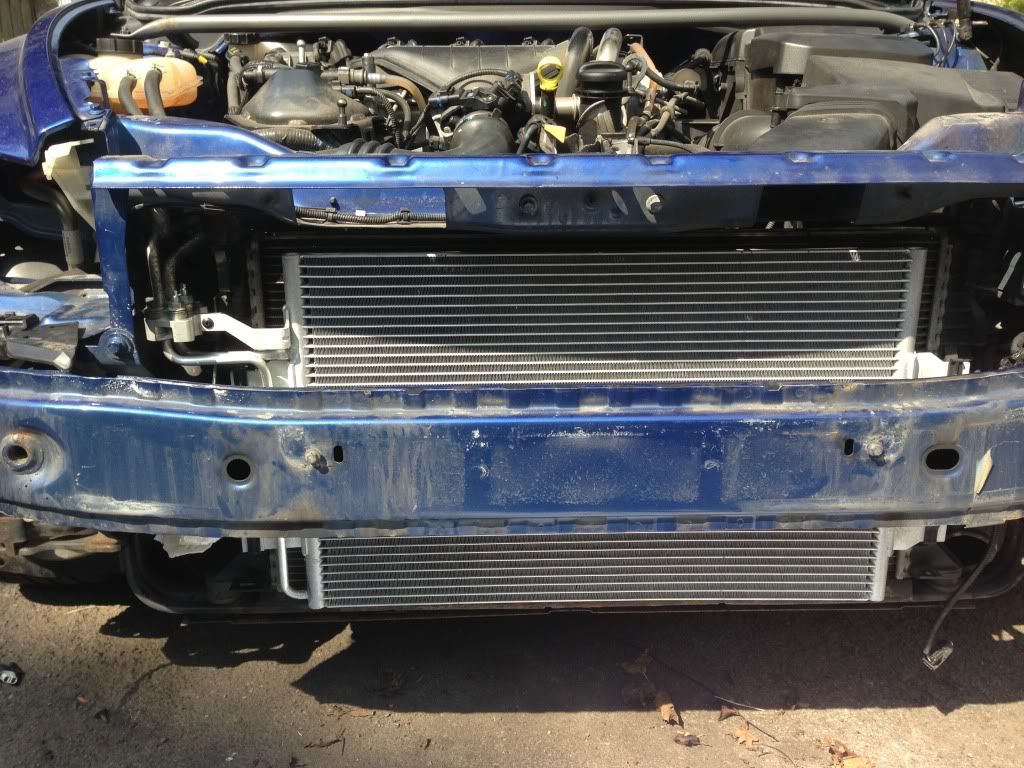 Once at this point, then rebuild the car in the reverse of the above. Once done, go and get it pressure tested and refilled and chilly days will be back again!! To re-iterate, again, I assume you have had the gas emptied from the system and if you damage your car, its not my fault!! Cheers for looking! Link to original thread.... Last edited by tt82; Aug 14th, 2016 at 15:46. |
|
|

|
| The Following 2 Users Say Thank You to mattievrs For This Useful Post: |
 |
| Currently Active Users Viewing This Thread: 1 (0 members and 1 guests) | |
| Thread Tools | |
| Display Modes | |
|
|