
|
|||||||
| 200 Series Articles How to's and Guides for the 200 series. |
 Information
|
|
How to change front springs/shocksViews : 21575 Replies : 17Users Viewing This Thread : |
|
|
Thread Tools | Display Modes |
 Dec 30th, 2007, 21:54
|
#1 |
|
Former contributor
Last Online: Jul 2nd, 2022 07:54
Join Date: Dec 2004
Location: Rhosgoch, Anglesey
|
Here is another in the "how to" series. Fortunately for me Dai was changing the front springs on his partner's 240. I was roped in and took the pictures detailing it. Lots of pictures to virtually make it self explanatory:
The first thing to do before starting this job is to make sure you have everything you need. Apart from normal tools you will specifically need a pair of good spring compressors (essential). You will also need a 24mm offset ring spanner and a good quality adjustable spanner for loosening shock retaining nut. Brake pipe spanner or very good quality open ended spanner 11mm. It is necessary to undo the metal brake pipes from the strut and it is possible the nuts will not undo. It is worth soaking these well in advance and possibly trying these to see if they will loosen before starting the main job and obtaining replacement copper pipes if necessary. This is also a good time to undertake any other replacement parts at the same time e.g. brake discs, rotors, calipers, flexis, track rod ends, bottom ball joints, front wishbone bush, anti-roll bar tie rod bushes, strut top mounting. Check these out before starting to ensure all parts needed are available. To actually start dismantling the first job is done with the car on the floor. Remove the plastic cap covering the shock retaining nut:  Next use the 24mm offset ring spanner to undo the nut holding the piston stem with a strong adjustable spanner - do not use an ordinary spanner - it will not be strong enough: 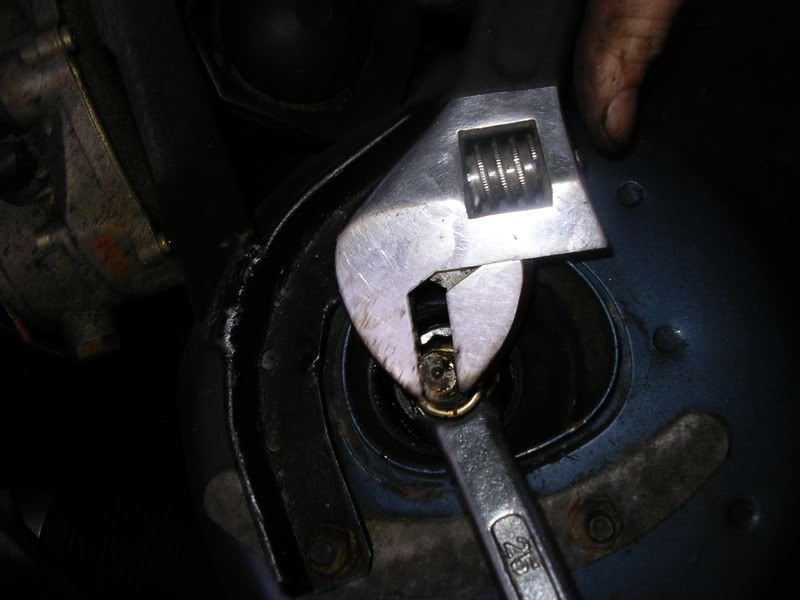 Undo it until the nylon of the locking nut has cleared the thread. WARNING! Do not completely undo this nut at this stage it retains the spring under high tension: 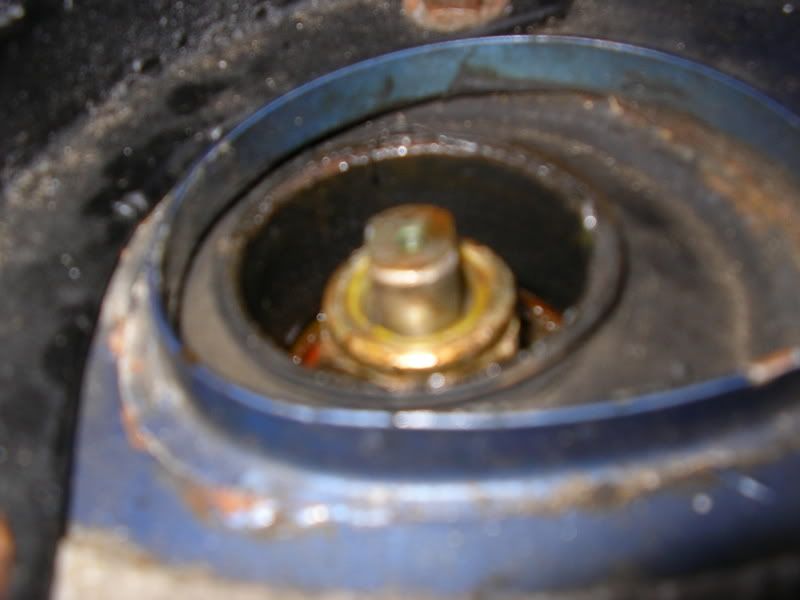 Next jack up the car and remove the wheel: 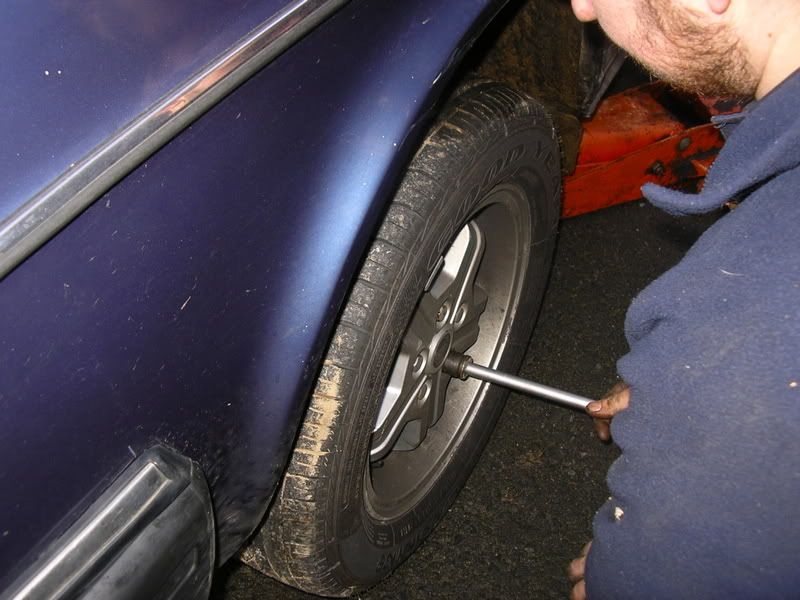 I normally place the wheel under the cross member in case the jack or axle stand fails - it will keep the vehicle up off the floor:  Give the brake pipes a further squirt: 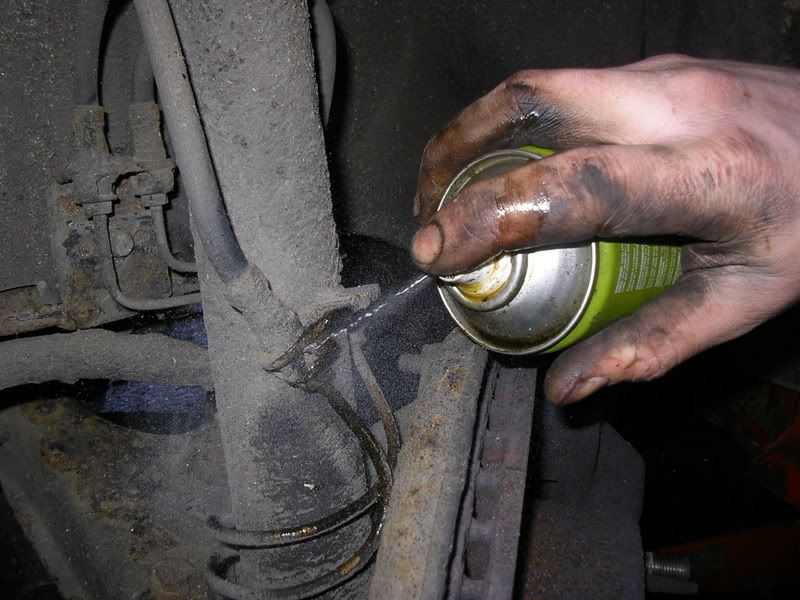 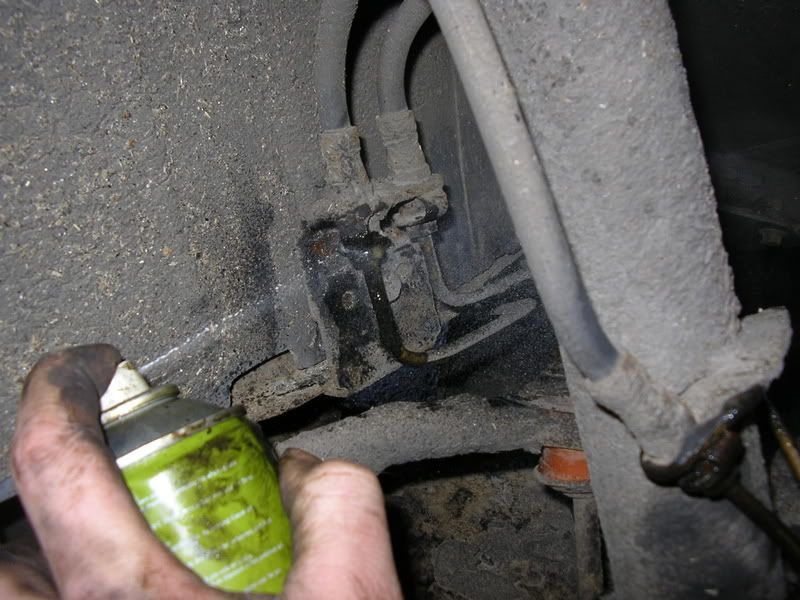 Next the track rod end needs undoing . Brush all the dirt out with a wire brush and apply a minimal amount of penetrating oil without allowing it to run down. We used an impact wrench with the track rod end forced into the hub by a jack with a brick on it. 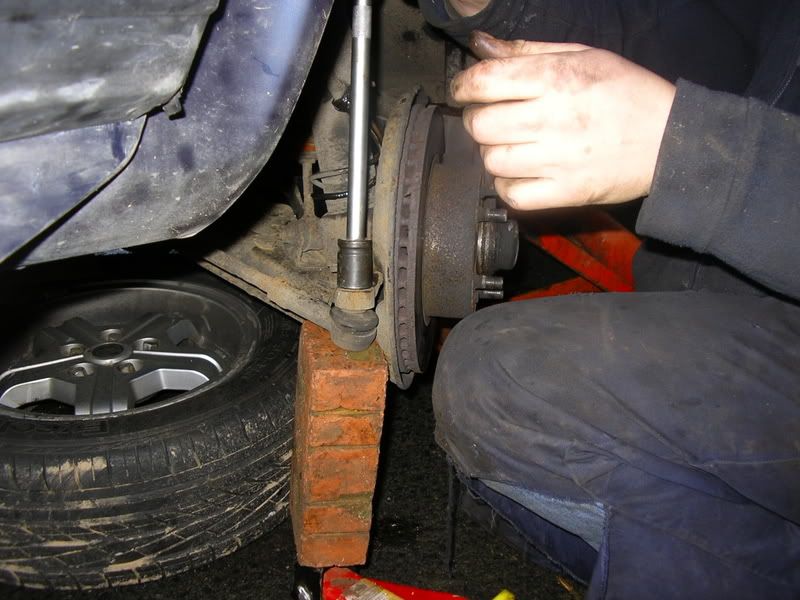 I would recommend using a spanner so you can see it is not turning - if this occurs try increasing pressure with the jack. If this fails drop jack and hit the joint upwards (it is a taper fit) and reapply the jack. Leave the nut on by one turn. The ball joint then needs splitting. Remove the jack and either use a ball joint splitter (I would nit recommend the wedge hammer in type as it can damage the rubber gaiter) My preference is to hit it with a 2lb or lump hammer in the manner illustrated below 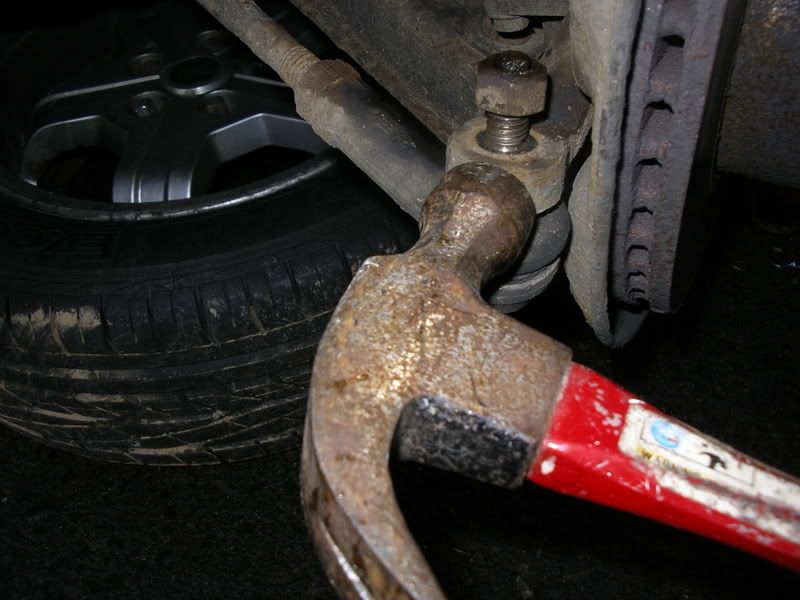 The nut stops it dropping off: 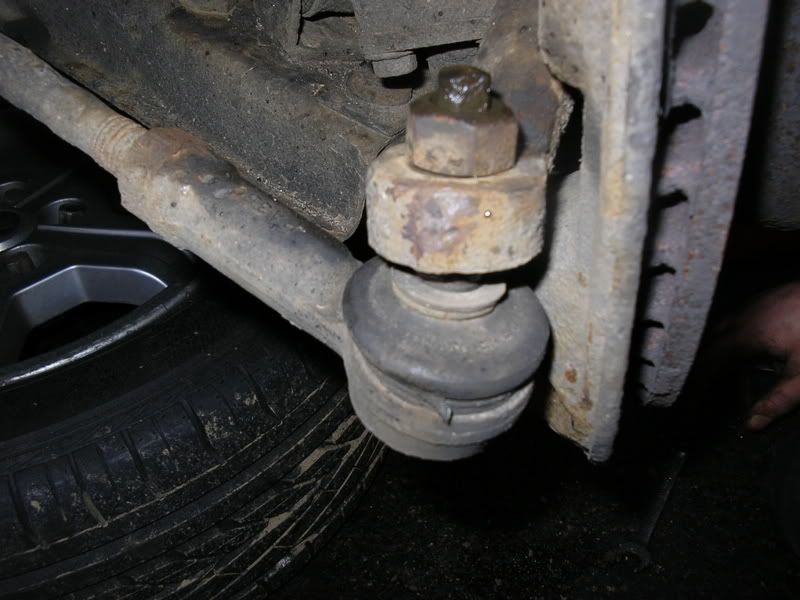 The nut can be removed by hand and the track rod disconnected (keep the nut safe back on the rod a couple of turns: 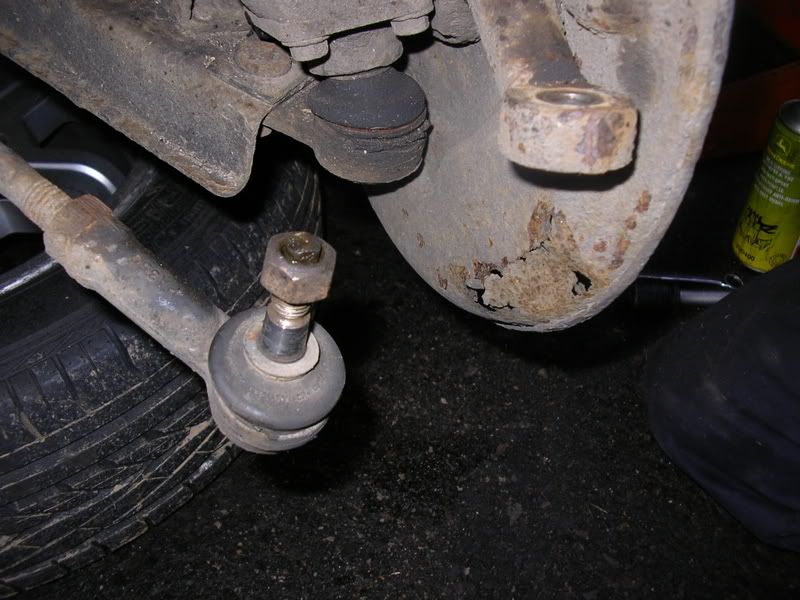 Now back to the brake pipes. To avoid a lot of building use a brake pipe clamp on the flexi (do not use mole grips - risk of damage to flexi) These should be clean and well soaked in penetrating oil. These need undoing on the strut. The set up is the brake flexi goes into the bracket with a spring on the other side with the nut of the metal pipe. This means there is tension on this nut which is brass and soft. Hold this with your good quality 11mm spanner and turn the nut on the flexi by half a turn to release the joint. The nut on the metal pipe can then be undone.  Next the bottom ball joint needs removing - the 19mm nuts retaining it are under the wishbone the outer two can be removed from the plate with two threaded bars fitted to it. The inner one needs a spanner on the top side:   The ball joint can then eased downwards off the wishbone: 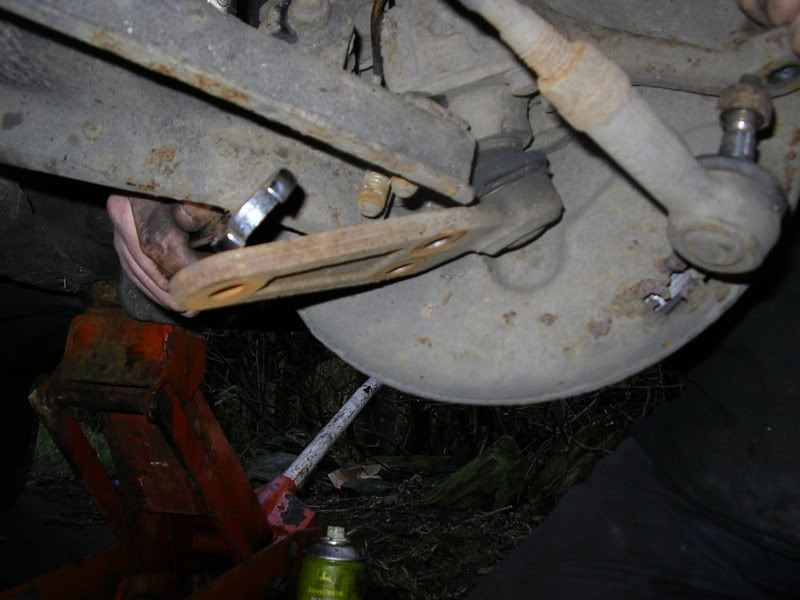 This completes the bottom work. Now return to the top. Mark the position of the strut with some tipex 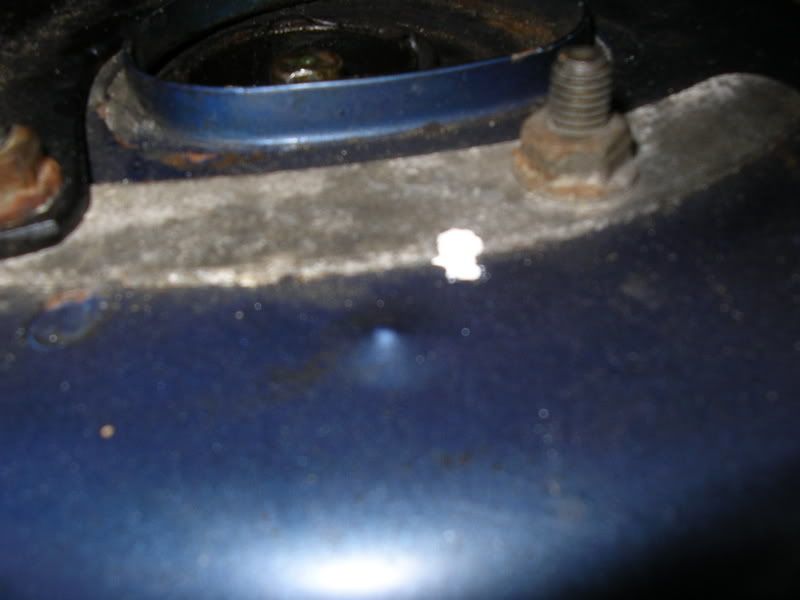  Remove the back nut completely (the black bracket is not standard -bracket for lpg equipment): 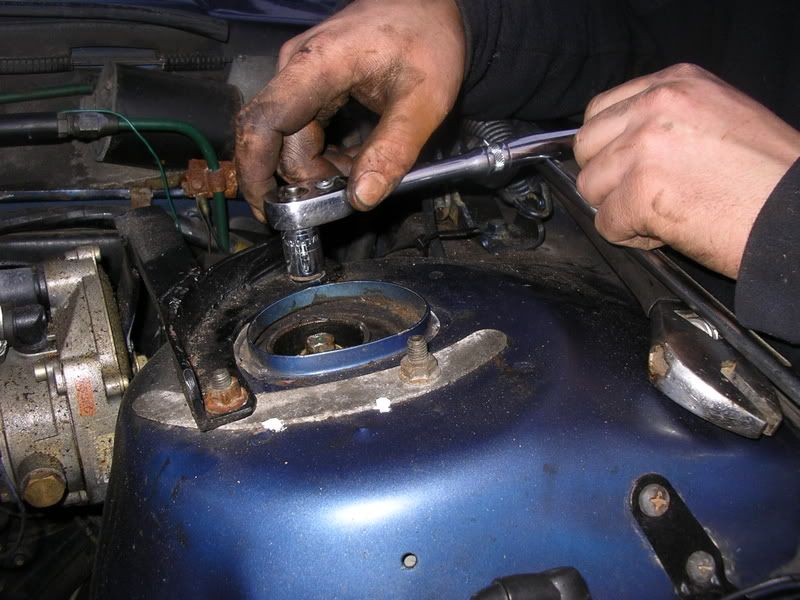 Now remove one front nut completely and take the other virtually all the way off now: 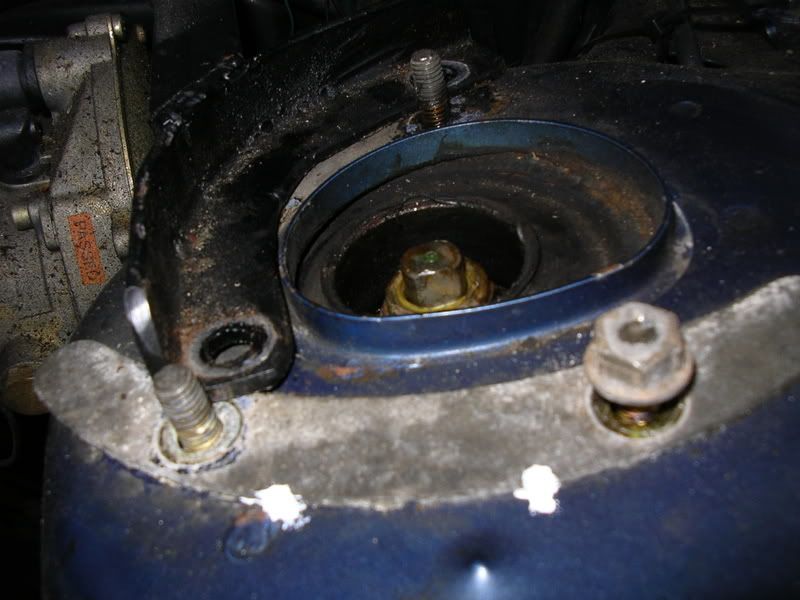 The next step needs an assistant unless you are strong. Hold the strut from underneath (resting it on the wishbone can make it easier) 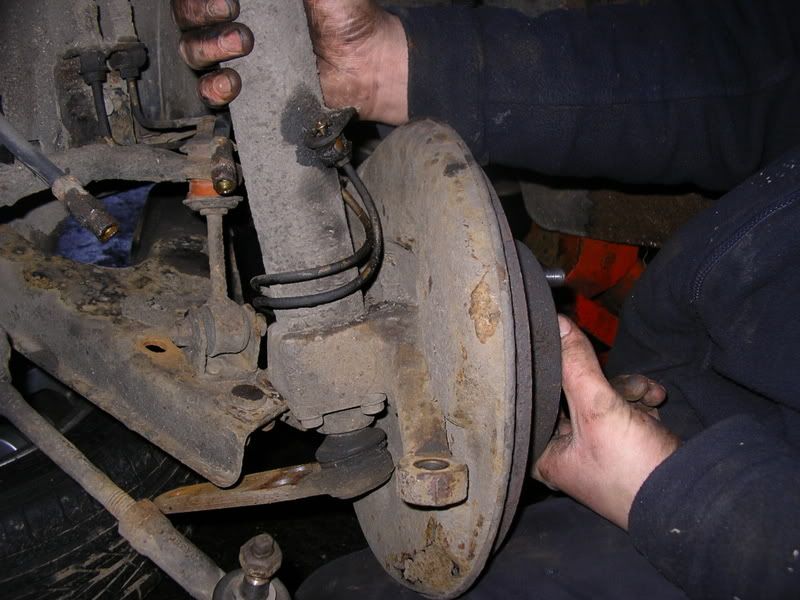 The strut can now be lifted out ready for dismantling. The spring will need compressing to be able to dismantle safely. This picture shows the difference in lengths between the uncompressed spring and when it is fitted:  As can be seen from this picture the spring compressor when fully open will cover four coils: 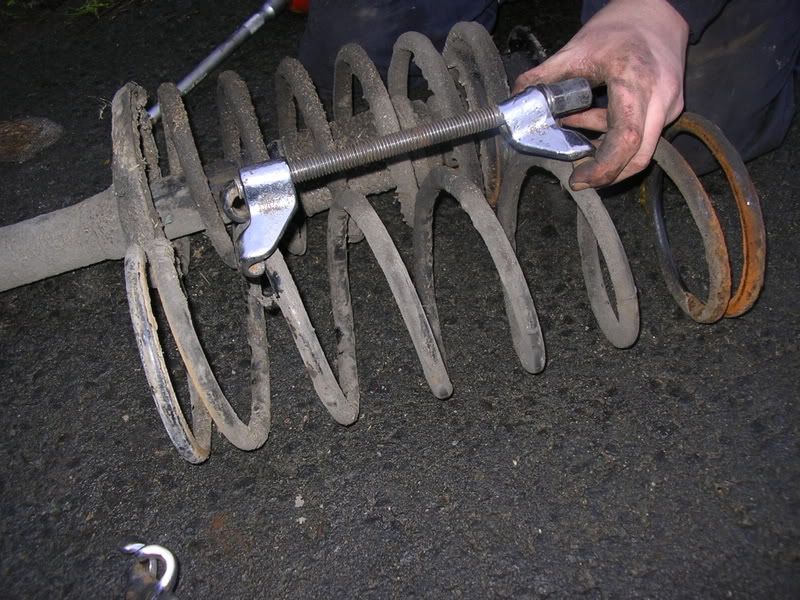 As you can see here the compressor is nothing like fully extended so make allowance when fitting as you will need to be able to remove the compressors afterwards if new springs are being fitted: 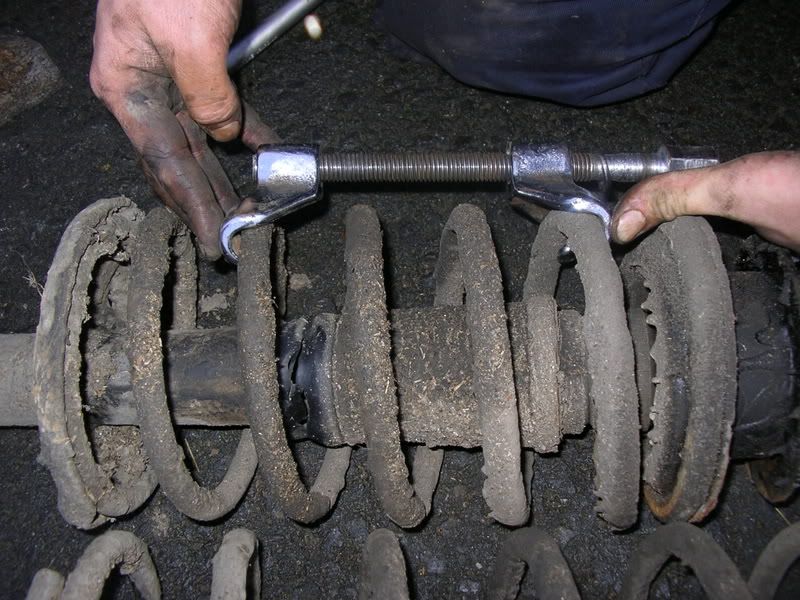 Next tighten up the compressors evenly - use either a ratchet or a power driver if you have access to one - it speeds the job up a lot: 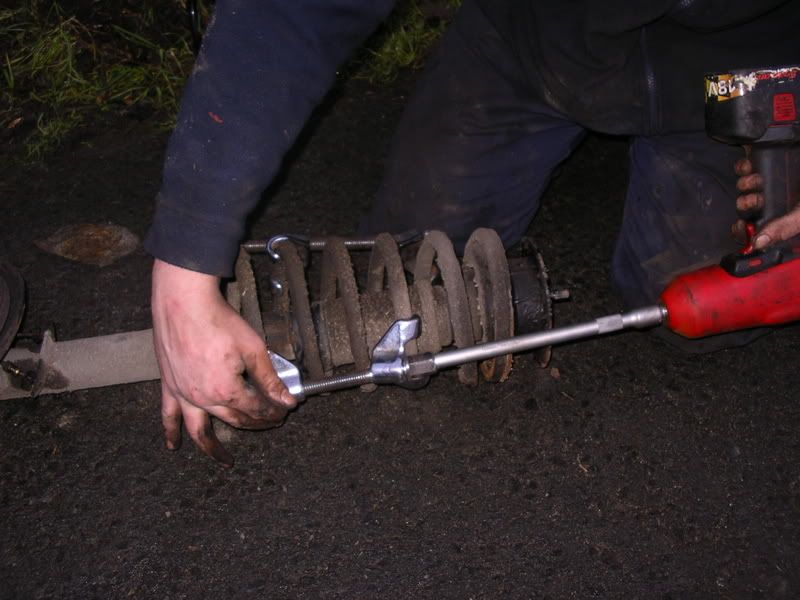 When it is tightened up it can be seen to be pulling away from the end cups: 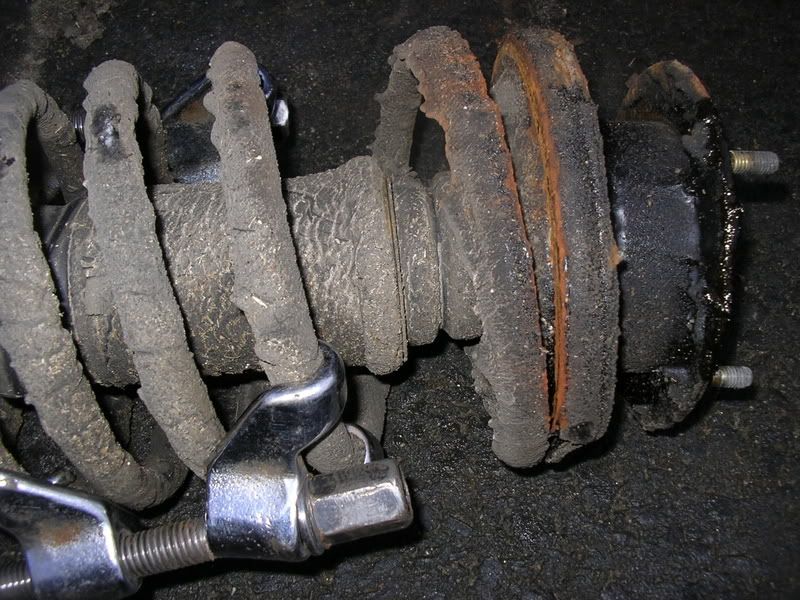 The nut can now be undone - it pays to stand to one side in case the spring is still under slight tension:  The spring may need prising off the cup:  This picture is effectively an exploded diagram of the parts as they are removed: 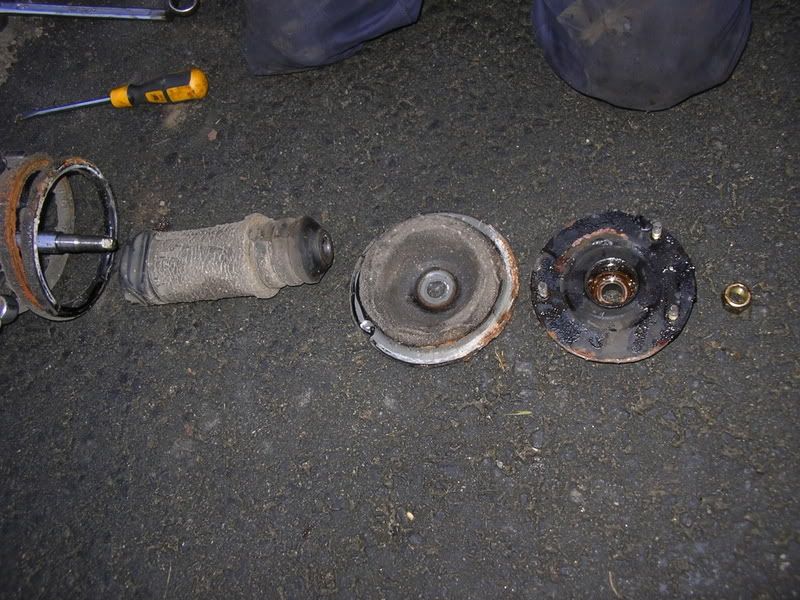 If the shock is being changed the nut at the top has to be undone - a pair of stillsons or a drift should undo it if you haven't the correct C spanner: 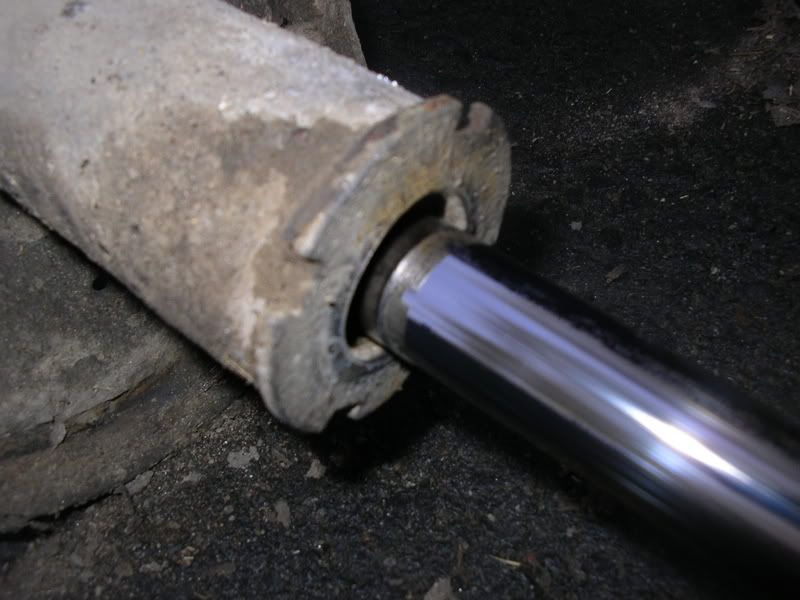 Be careful when removing the shock as some struts may have a spacer in the base. Inspect the cup at the base of the strut and scrape any suspect area. They are prone to corrosion. Time permitting a good clean-up and repaint could be in order. Here is an example of a corroded strut:  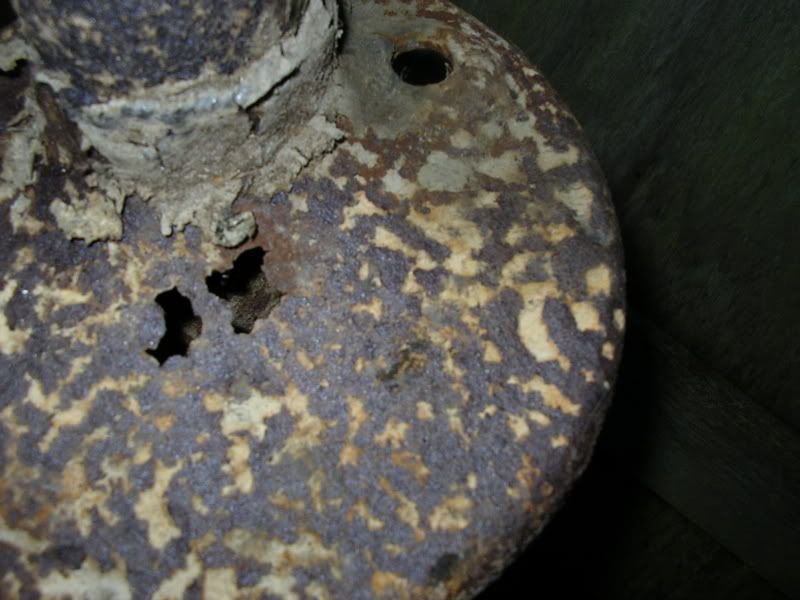 To reassemble the strut first the spring needs compressing - some lowered springs can be fitted without. Make sure the cup is correctly positioned on the spring: 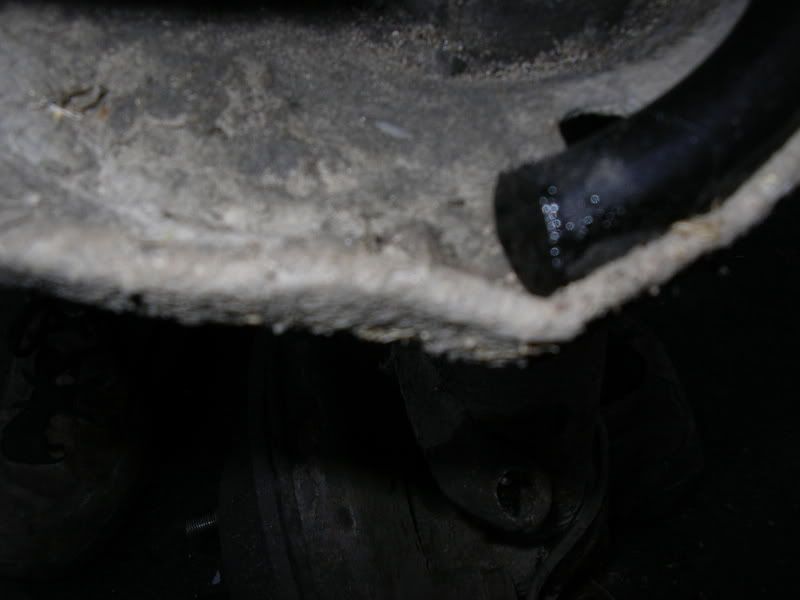  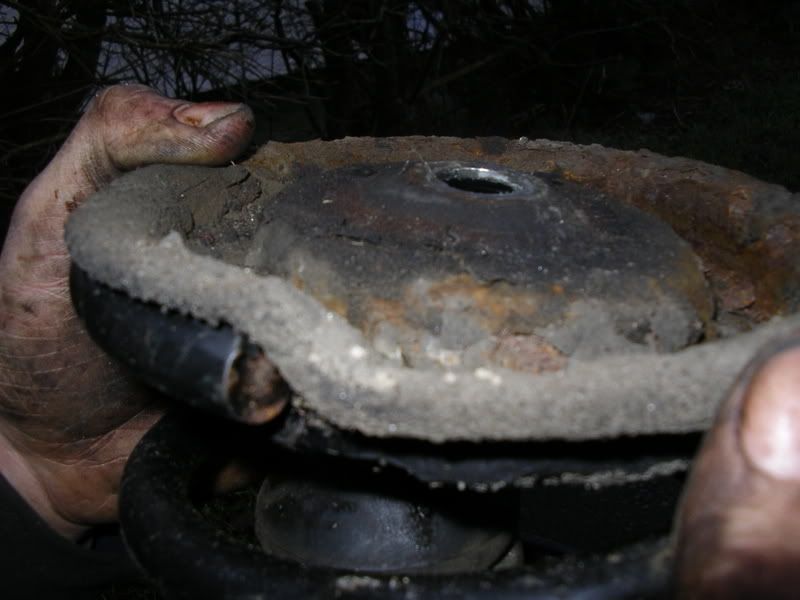 In this case lowering springs were being fitted which are quite a bit shorter and only needed slight compression:  The shock needs fully extending to get everything back into place - the shock will tend to drop back down so it is necessary to try and stop this. It is easier to have a second pair of hands to help: 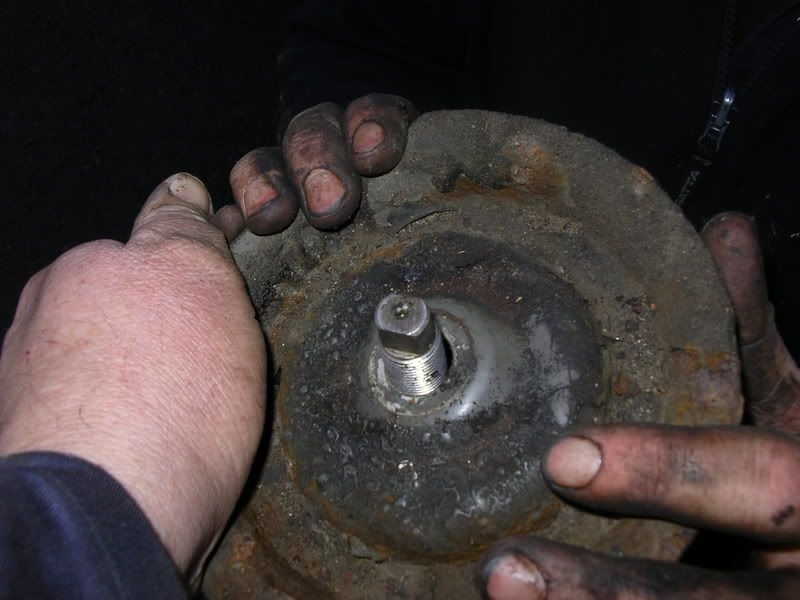 The nut can now be tightened holding the cup in position as you go: 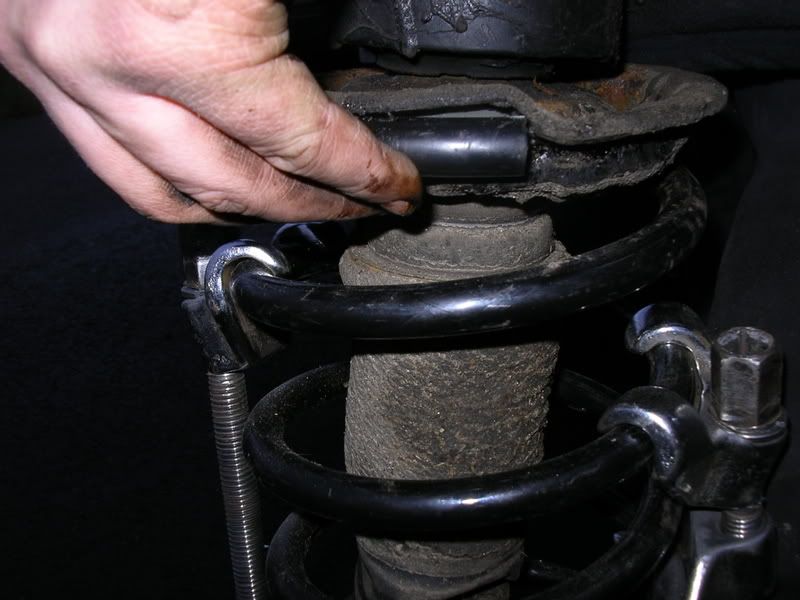 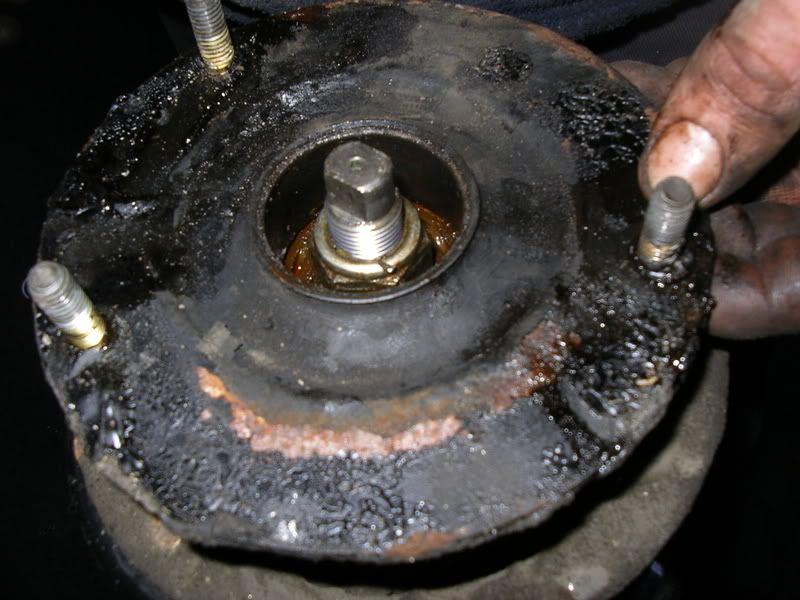 The spring compressors can now be removed. The next job is to start refitting (provided any other jobs needed have been done). The strut needs lifting up into the holes (assistant needed for the top) The secret here is as soon as the studs are through the hole that one nut (forget washers or the plate) is put on as quickly as possible to take the weight: 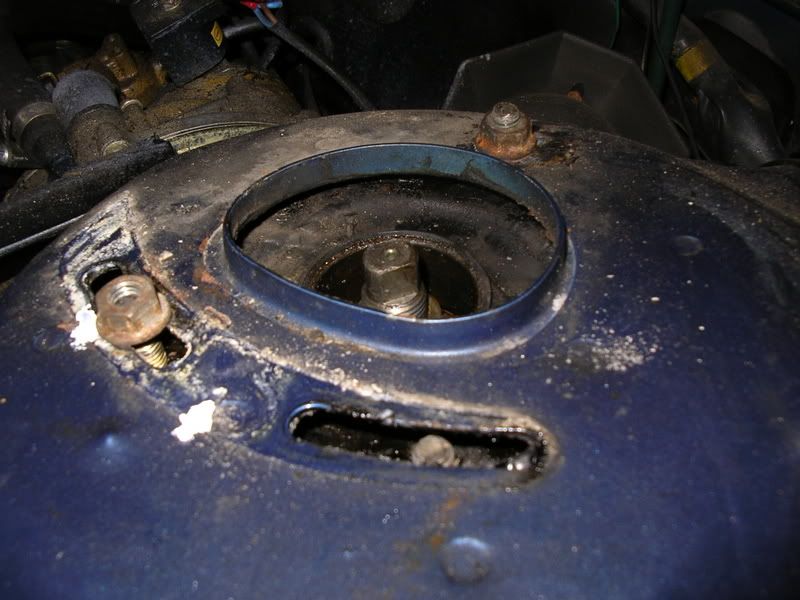 By juggling nuts around it is possible to fit all washers and the plate by always leaving at least one in place. Make sure the marks align: 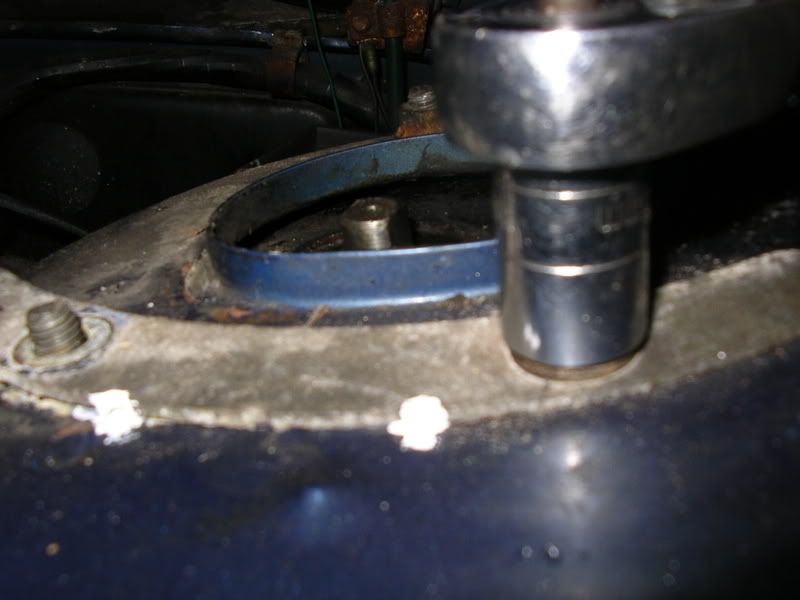 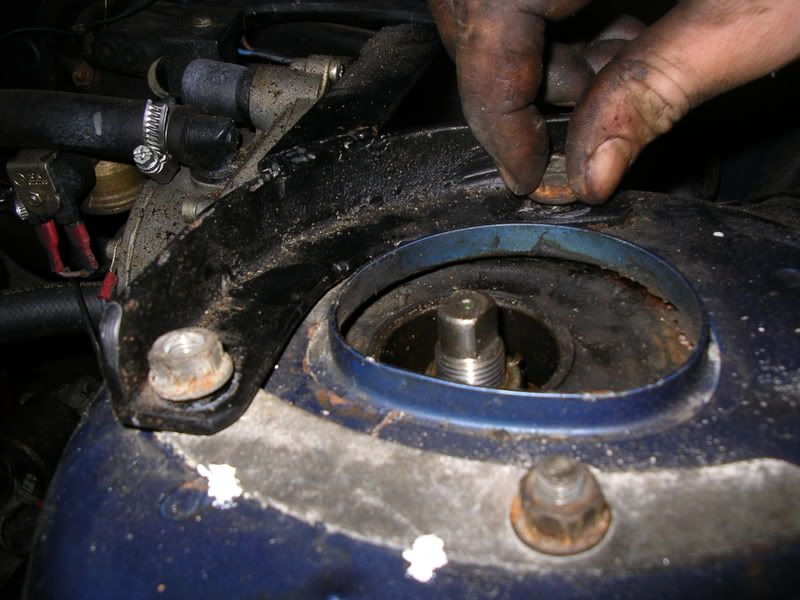 It's now time to start refitting the bottom. First is the wishbone - use a lever (eg jack handle to lift the wishbone so the bottom ball joint can be fitted: 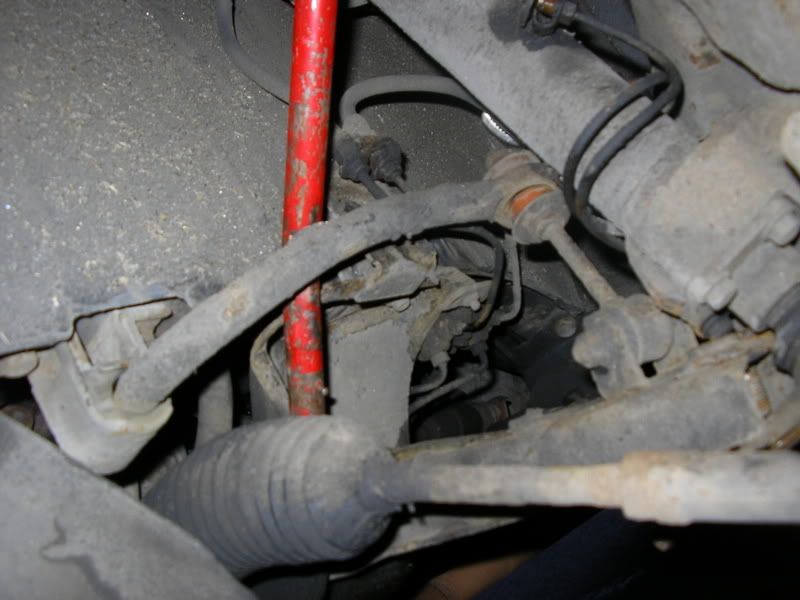 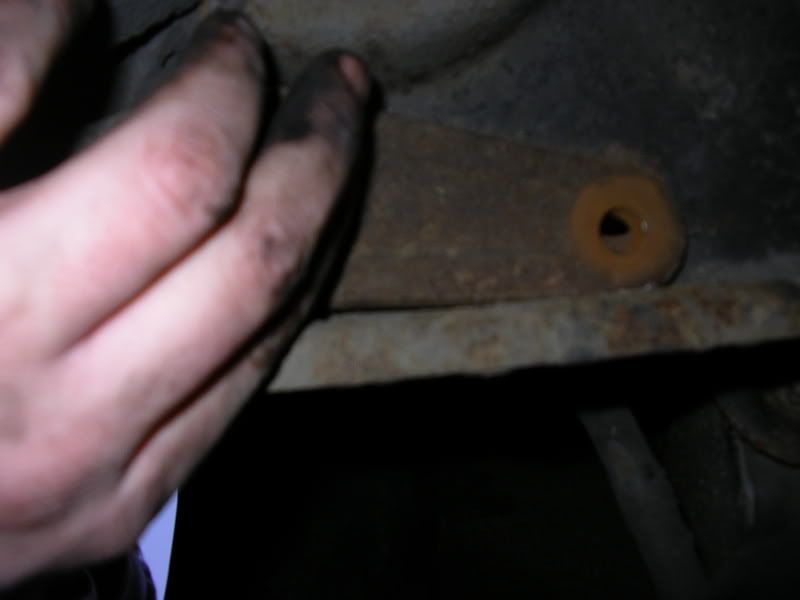 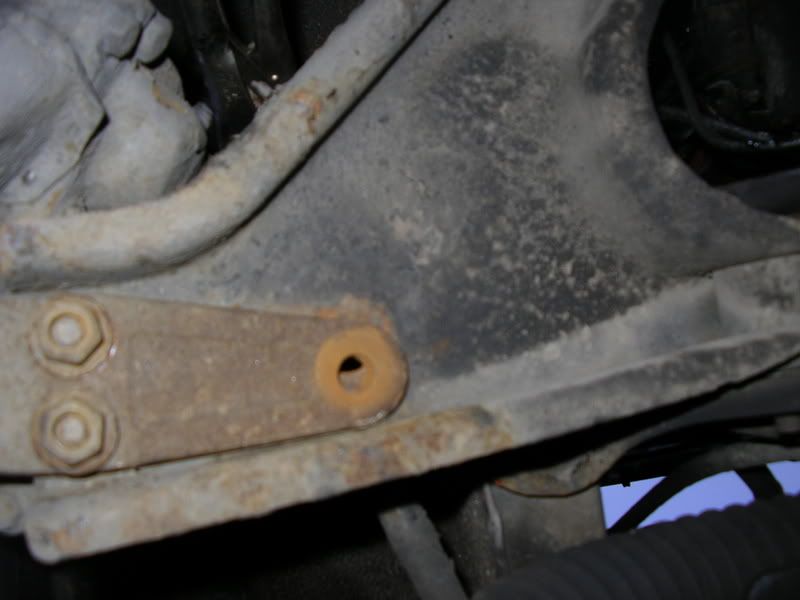 Now push the track road end back in, support with jack, and tighten with ring spanner so you can see that it is not turning. Increase jack pressure or use hammer if this happens. 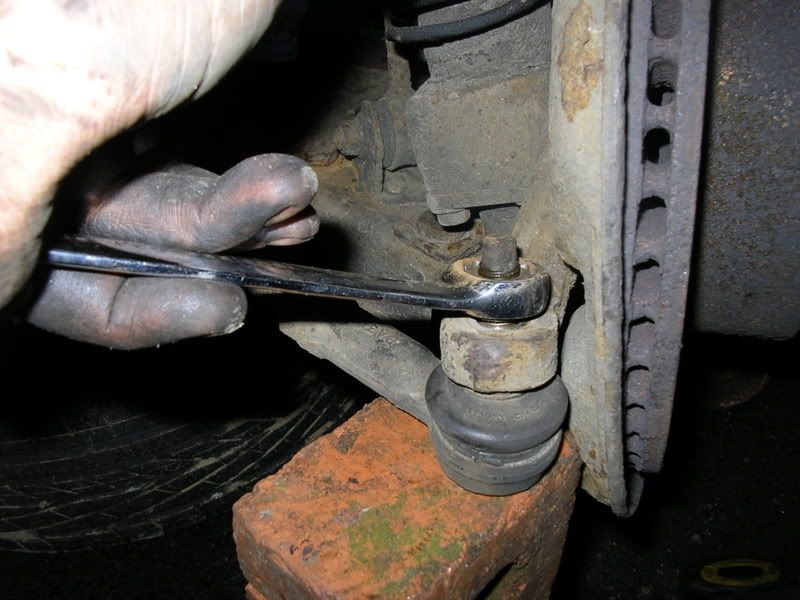 Next refit the brake pipes - I always use some penetrating oil to wash any dirt off the thread and ensure they do up easily. 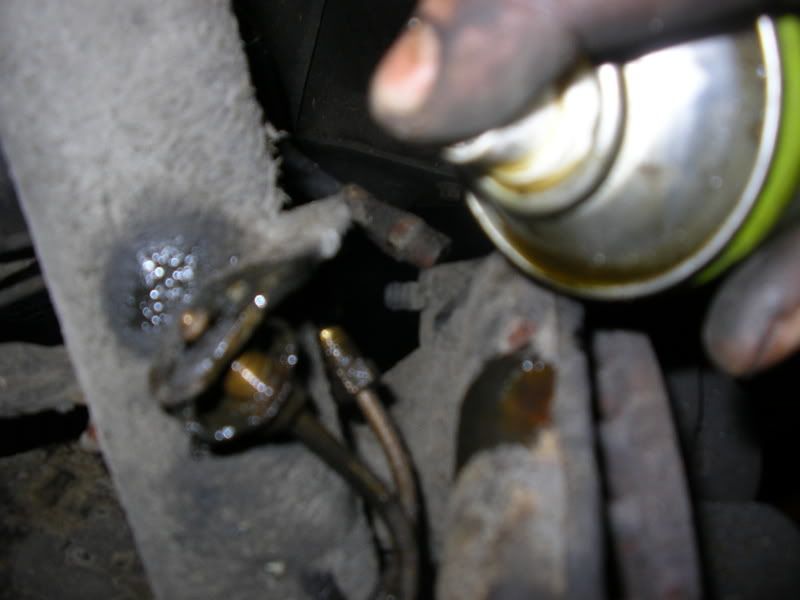  Now the brakes need bleeding, recheck evrything is tight and refit the cover on the shock top. Ideally the full front steering geometry should be checked for not just tracking but also camber which is set by the strut position. This is essential if lowering springs have been fitted. Recheck eveything for tightness after 1-300 miles. Best of luck! Mike
__________________
A Volvo is for life not just for Christmas!  
|

|
| The Following 2 Users Say Thank You to Mike_Brace For This Useful Post: |
| Currently Active Users Viewing This Thread: 1 (0 members and 1 guests) | |
|
|


 Threaded Mode