
|
|||||||
| 140/164 Series Articles How to's and Guides for the 140/164 series. |
 Information
|
|
140/164 chrome trim fitmentViews : 15872 Replies : 0Users Viewing This Thread : |
 |
|
|
Thread Tools | Display Modes |
 May 27th, 2012, 19:06
|
#1 |
|
VOC Member
|
I dislike the standard Volvo push-on plastic clips for the chrome side trim. Fitting or (even more so) removing the trims creates a risk of damage to the trim and/or bodywork.
I have developed an alternative method using m5 stainless steel nuts and bolts. This method makes future removal and refitting of the trims very easy. It is not difficult, but is is fiddly. Not recommended if you're impatient or working to a tight deadline! 1. Shape bolt-heads with a grinder, until they are a snug sliding fit inside the chrome trim 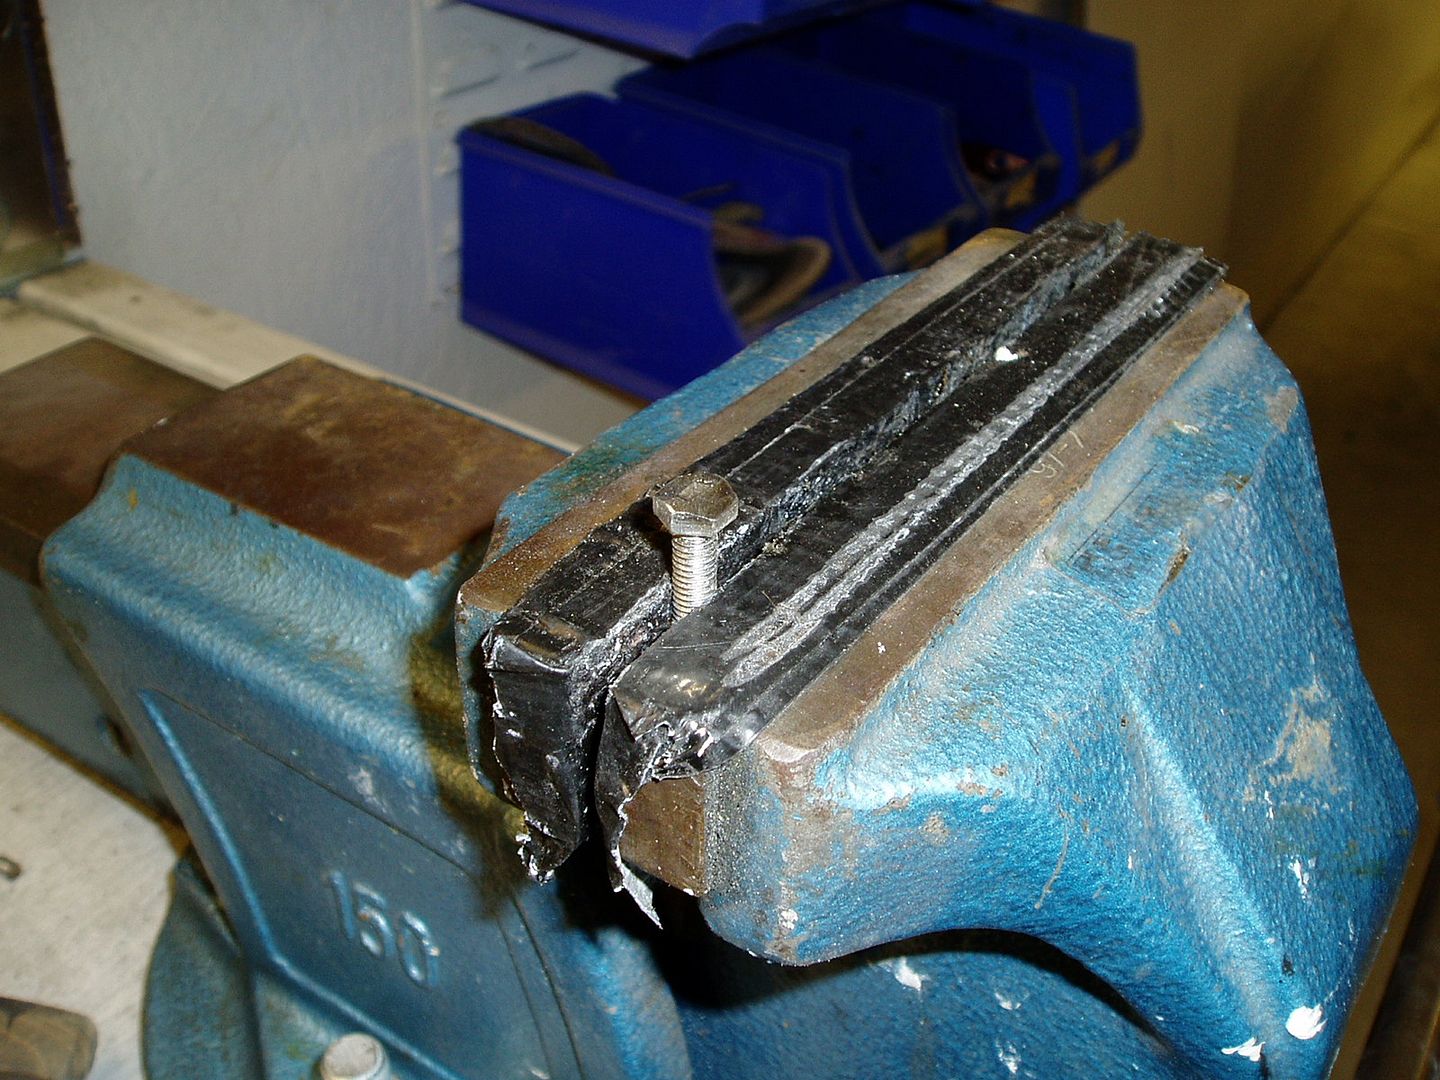 2. Only where necessary due to clearance issues, measure and shorten bolts 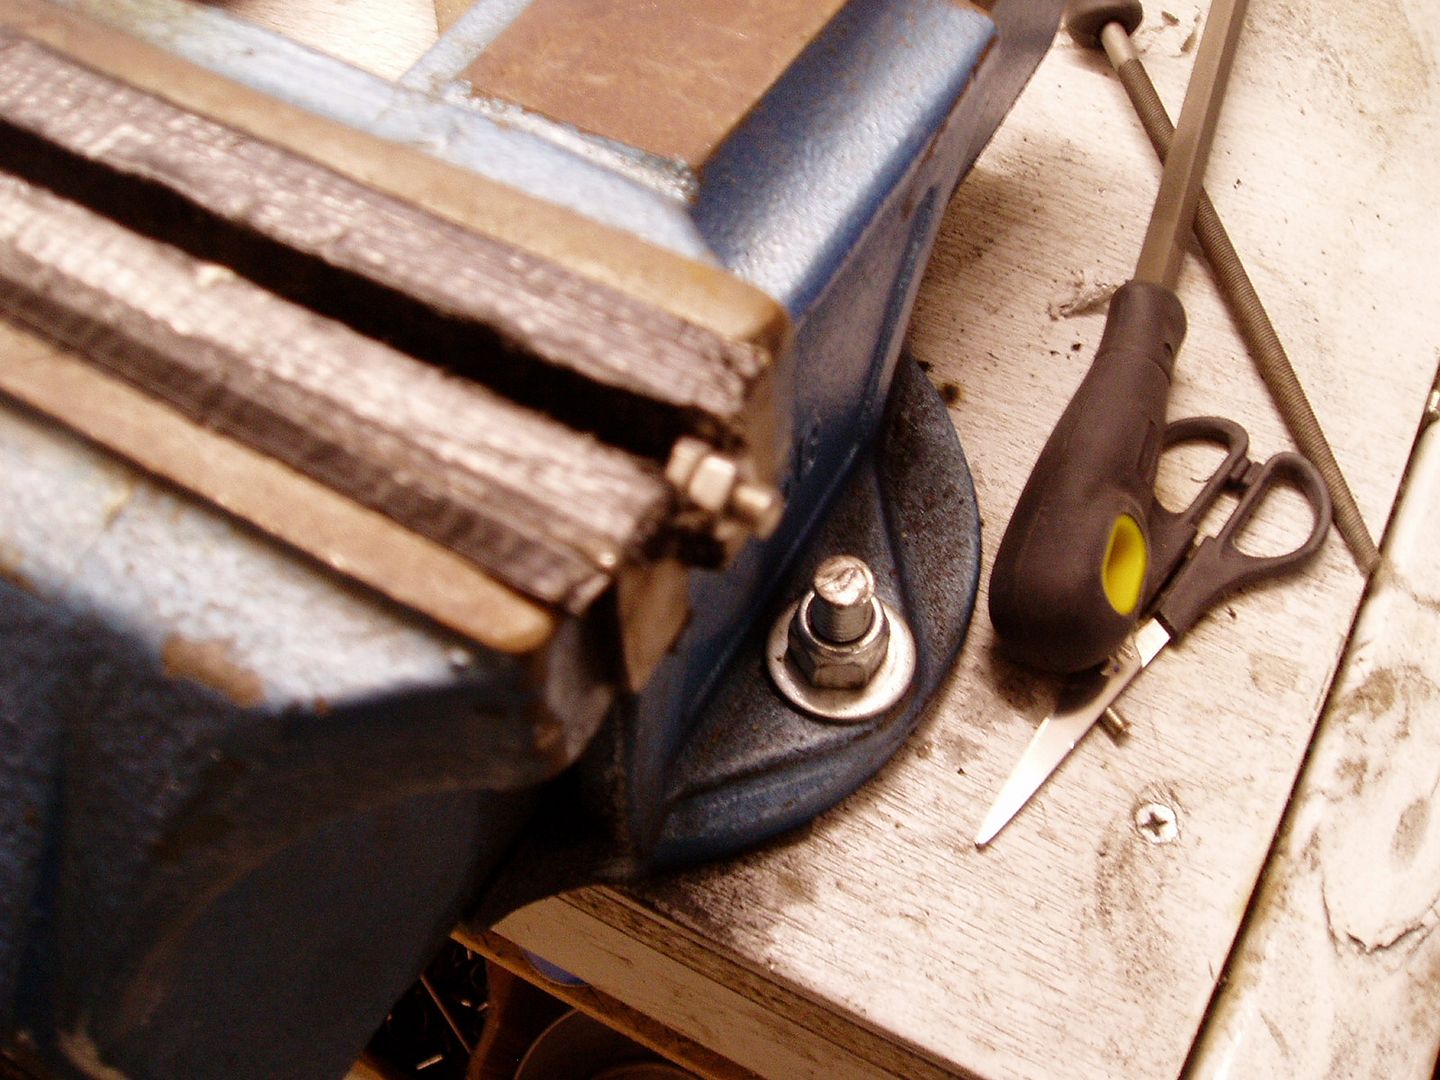 3. Mark on the trim where the fitting holes are. This does not have to be exact; there is scope for adjustment during fitting. 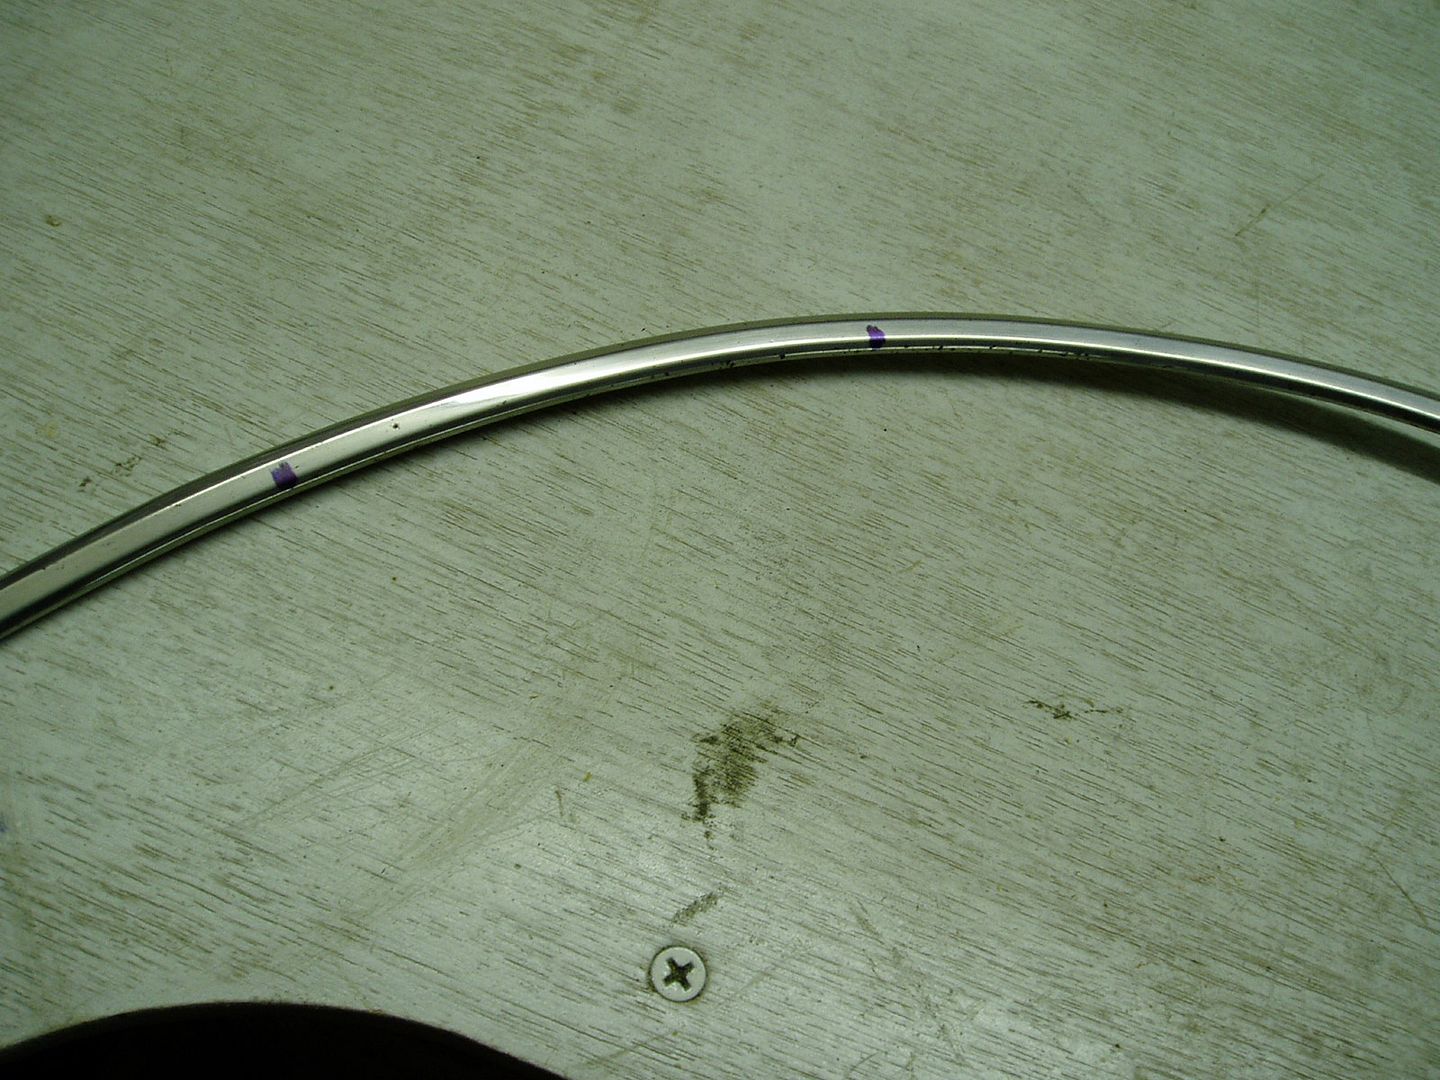 4. Apply rustproofer to the mounting holes, back and front  5. Clean inside the trim with thinners, then slide bolts into the trim from the gap at either end 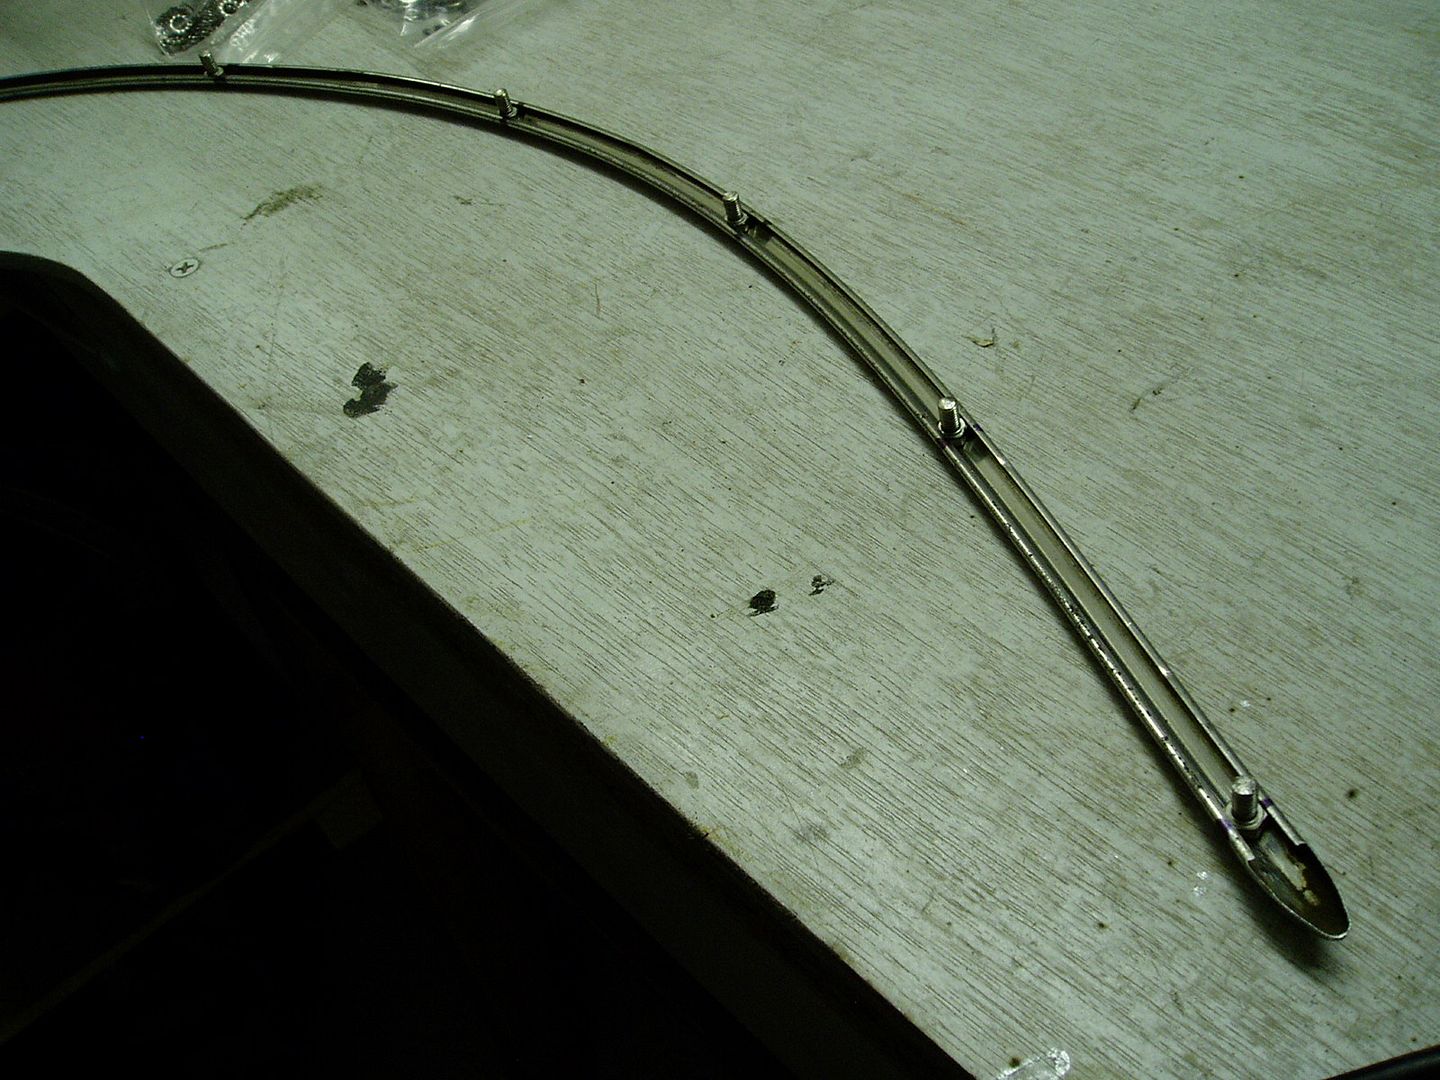 6. Carefully apply carbond or similar bonding sealant. Move the bolts around slightly to ensure the head is covered with the carbond. Wipe off excess so that no sealant is visible for above or below the trim. 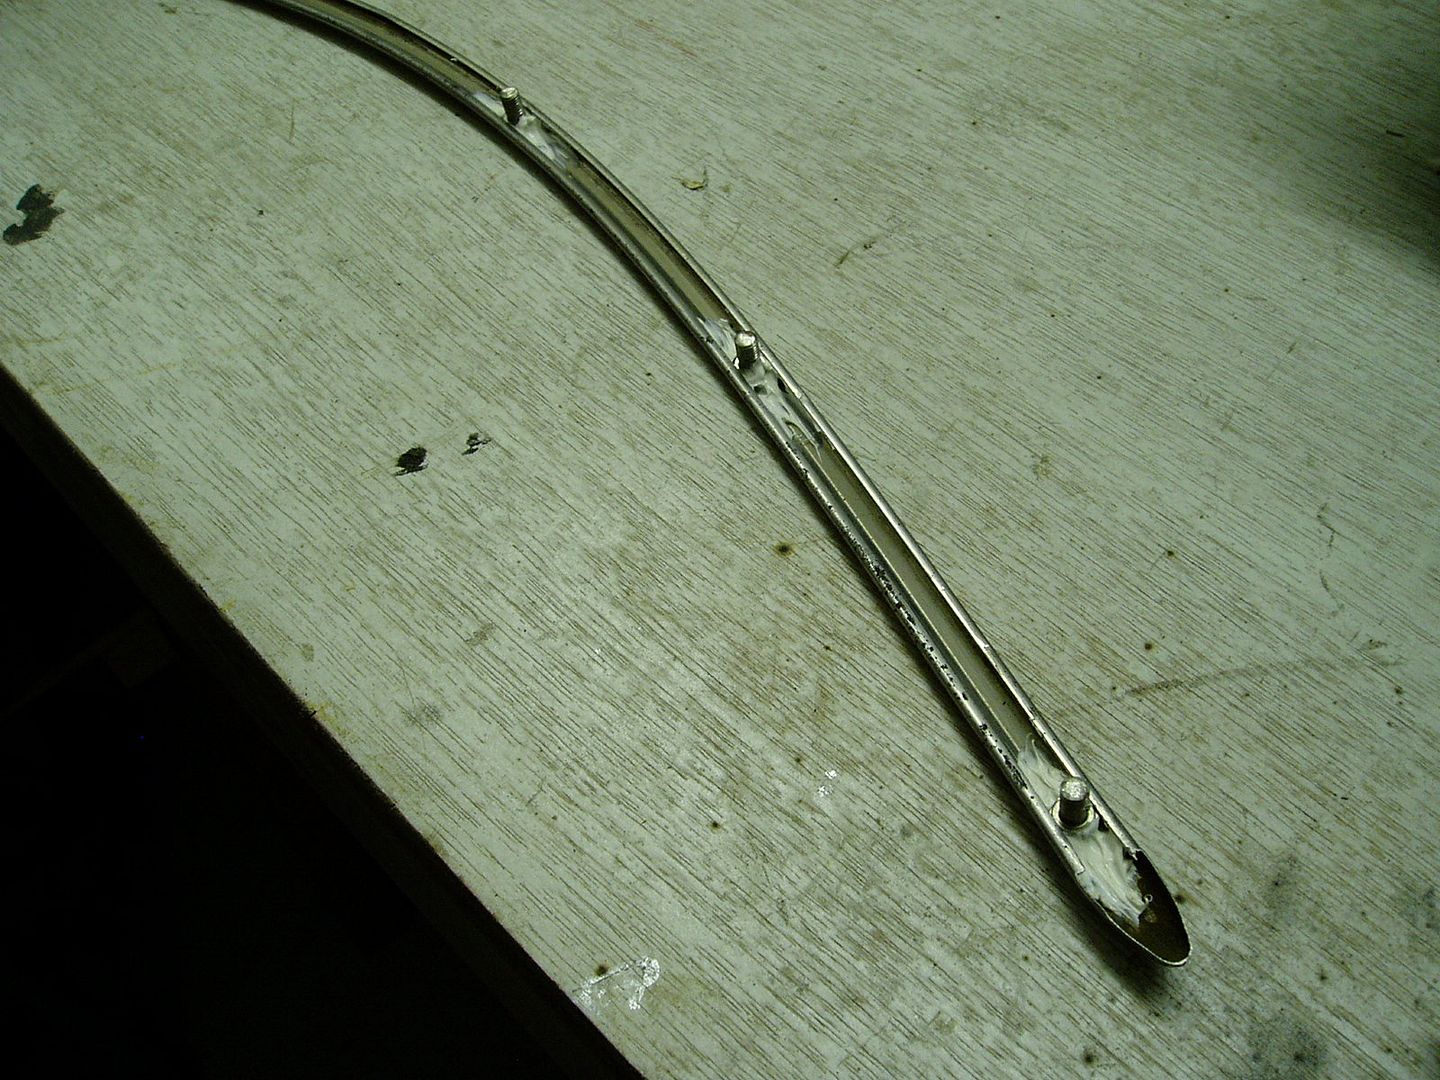 7. Mount the trim, using a nylon washer. anti-vibration lock washer and a nut at the back of each bolt. Tighten hand-tight only, to locate all components correctly. 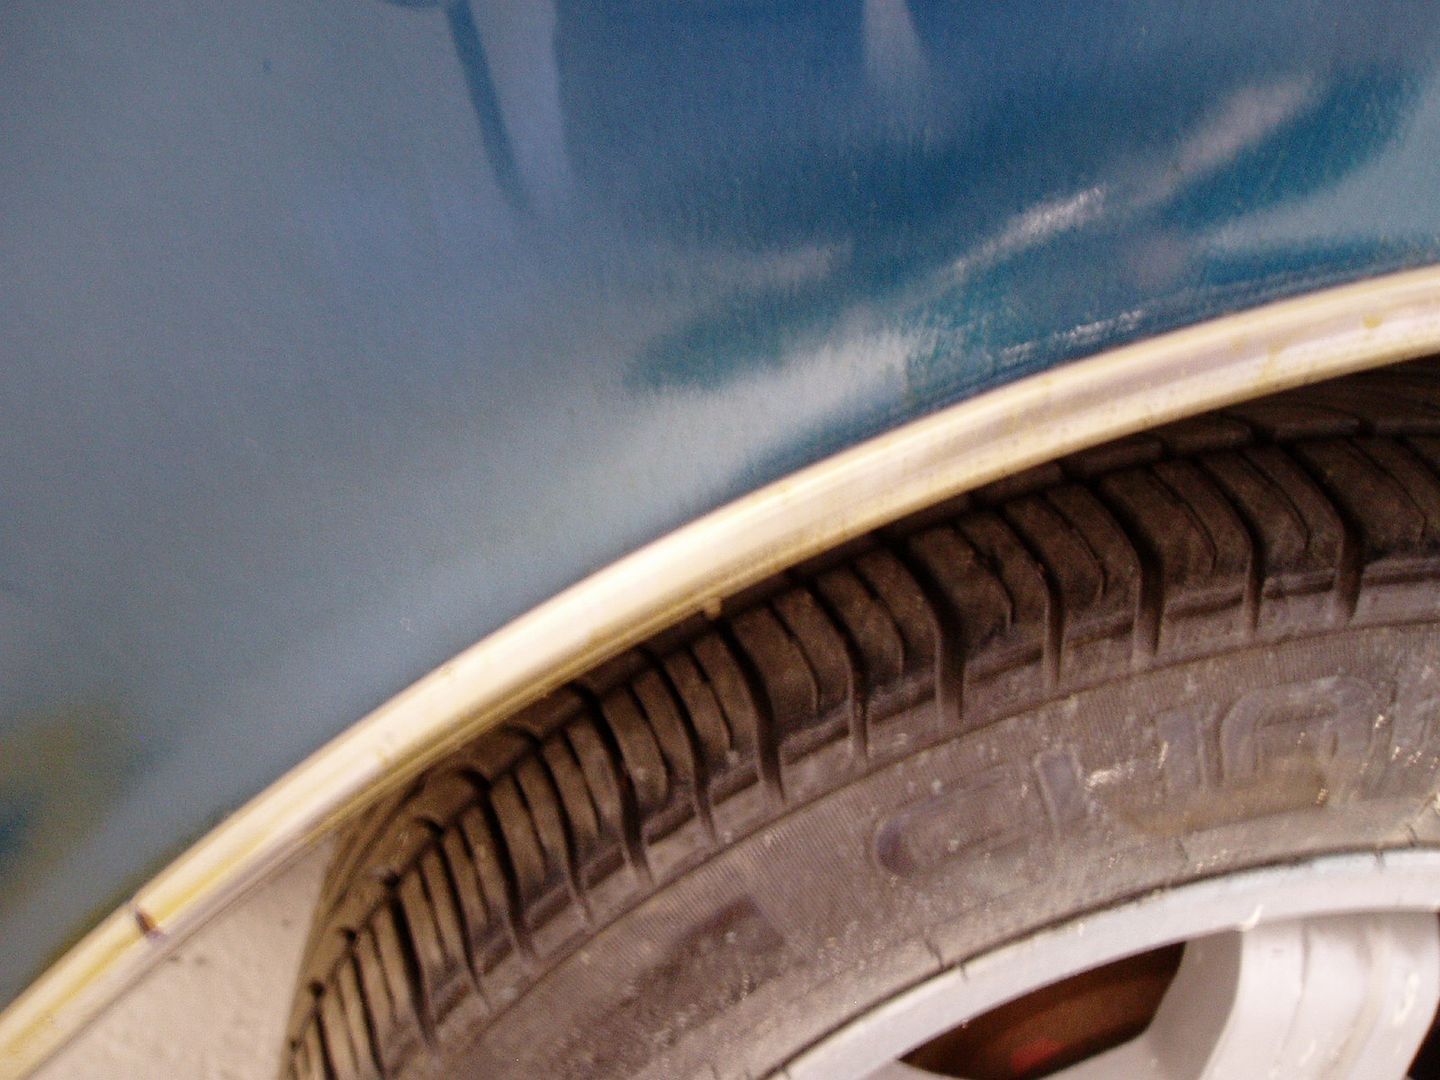 8. Leave over-night for the carbond to set, then tighten a little more. Notes: 1. Most mounting holes have reasonable access to the back. A couple in the doors are hard to get to, and in those cases you can use one of the original plastic clips. Alternatively, as I did, you can drill a larger hole to allow access at the back with an 8mm socket, then fit a grommet, or drill a new trim mounting hole a few mm along, where you can get access to the back. 2. The technique will work with trims that have very slight damage, but not if they are bent or squashed. The bolts need to be able to slide along inside the trim. 3. The technique works for the square-section trim on the rear panel. Good and bad news: the shape of this trim means that you don't need to reprofile the bolt-heads. However, the material is very much softer than the side trims, so avoid tightening too much, or the trim will distort. Good luck! John
__________________
XX 
Last edited by foggyjames; Jun 1st, 2012 at 21:18. |

|

|
| The Following 11 Users Say Thank You to john h For This Useful Post: |
|
| Currently Active Users Viewing This Thread: 1 (0 members and 1 guests) | |
|
|


 Linear Mode

