
|
|||||||
| S40 / V40 '96-'04 General Forum for the Volvo S40 and V40 (Classic) Series from 1995-2004. |
 Information
|
|
GUIDE: Changing P1 to P2 headlights (4 pin)Views : 14645 Replies : 51Users Viewing This Thread : |
 |
|
|
Thread Tools | Display Modes |
 Mar 5th, 2012, 14:49
|
#11 |
|
Senior Member
Last Online: Oct 20th, 2013 20:24
Join Date: Aug 2007
Location: Derbyshire
|
Step 28 - Connect the blue with white stripe (ground) on the car to the second pin on the light connector (the top pin is unused, sidelights)
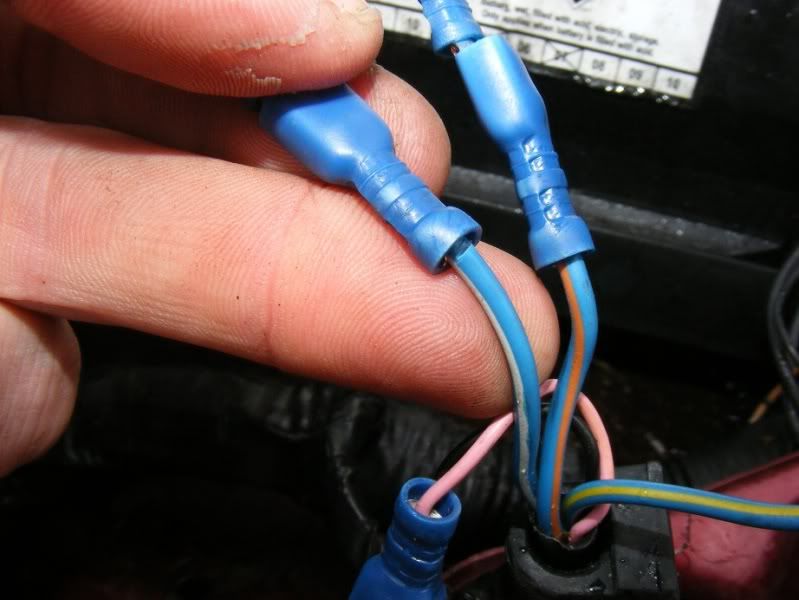  Step 29 - Connect the blue with orange stripe on the car to the bottom pin on the light connector 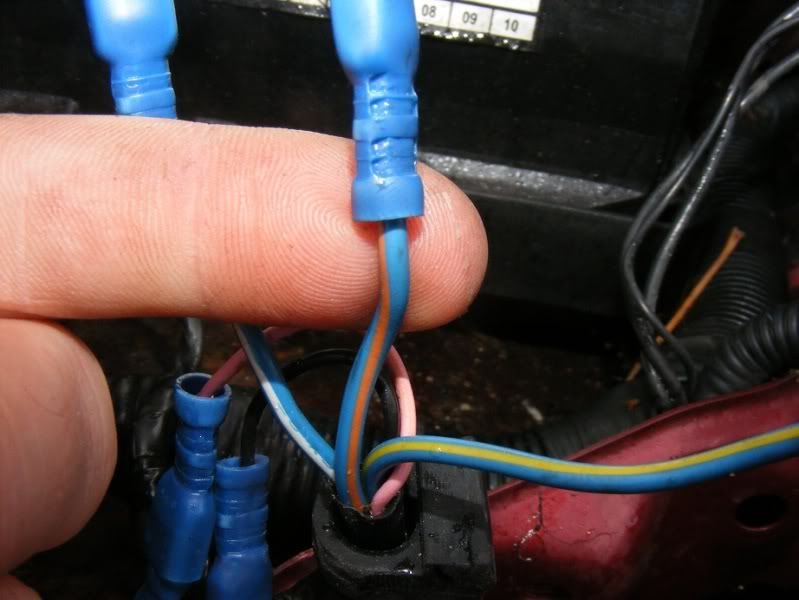 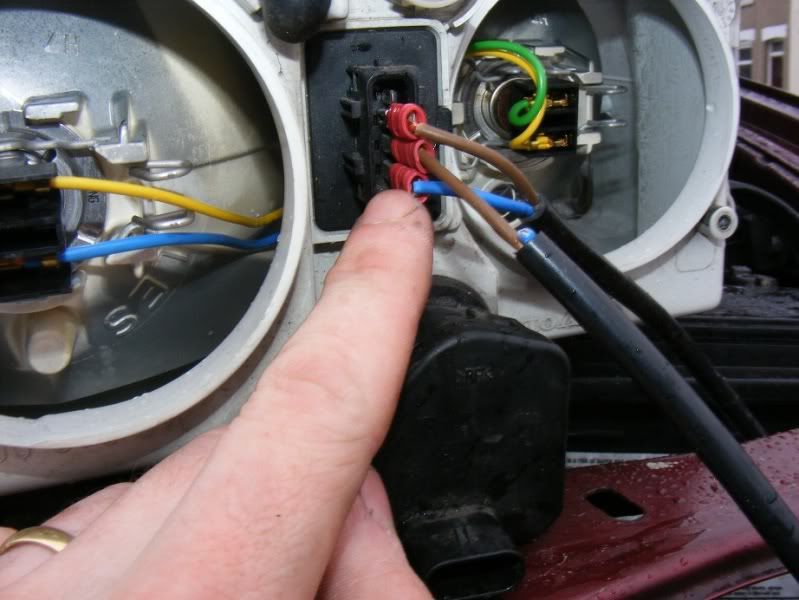 Step 30 - Connect the blue with yellow stripe on the car to the third pin down on the light connector 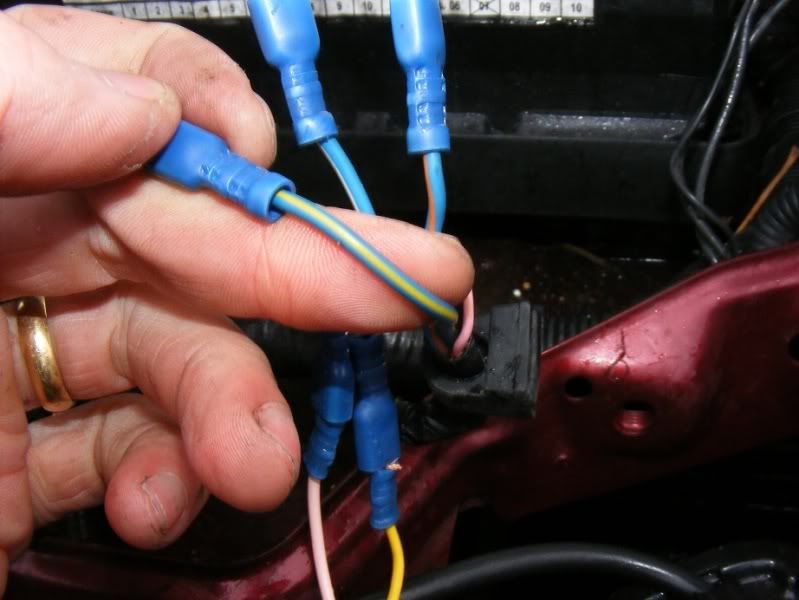 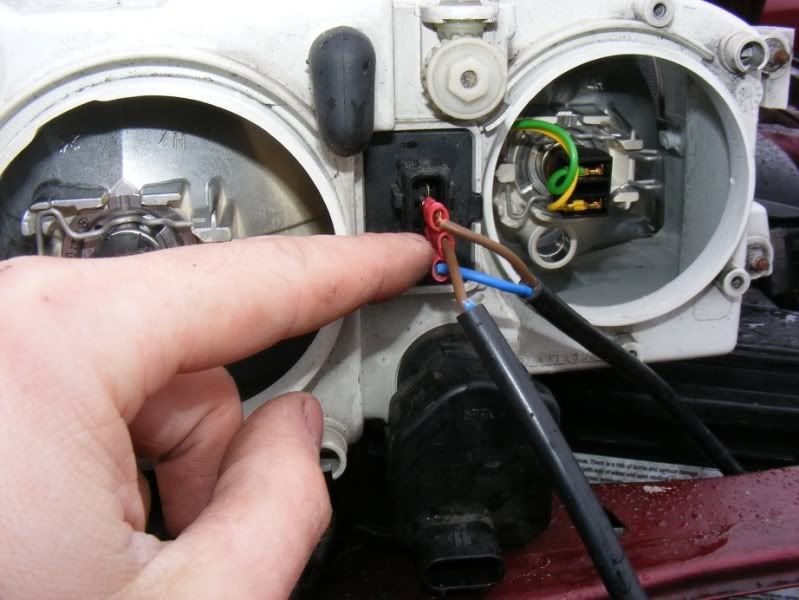
__________________
Click here for guides |

|

|
|
Mar 5th, 2012, 14:49
|
#12 |
|
Senior Member
Last Online: Oct 20th, 2013 20:24
Join Date: Aug 2007
Location: Derbyshire
|
Step 31 - Check your sidelights, dipped headlights and main beam work and then you can put it all back together
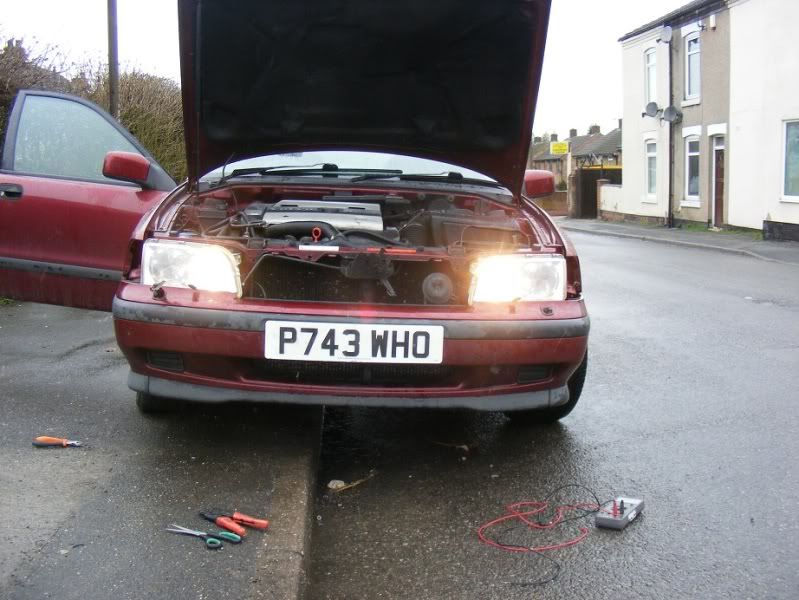 Step 32 - Refit the 4 nuts 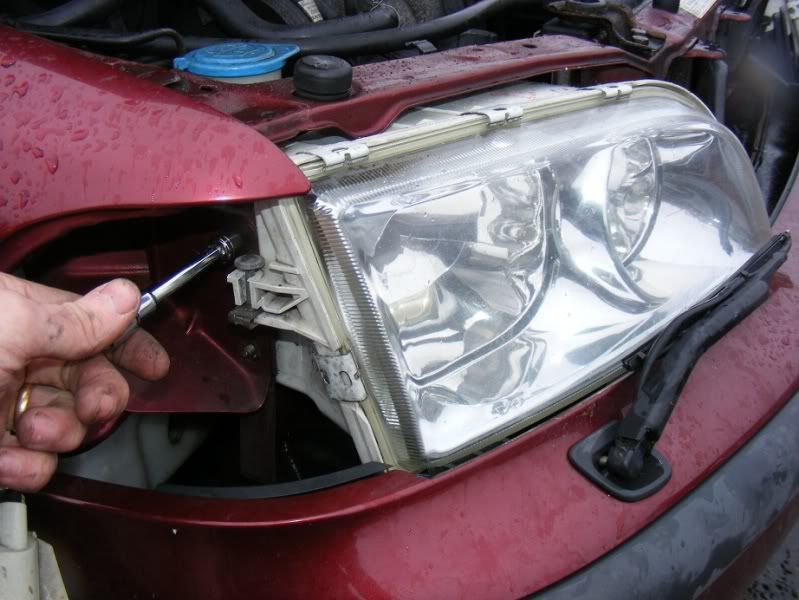 Step 33 - You can use the P2 indicators (below) which are clearer while you are doing this change, up to you 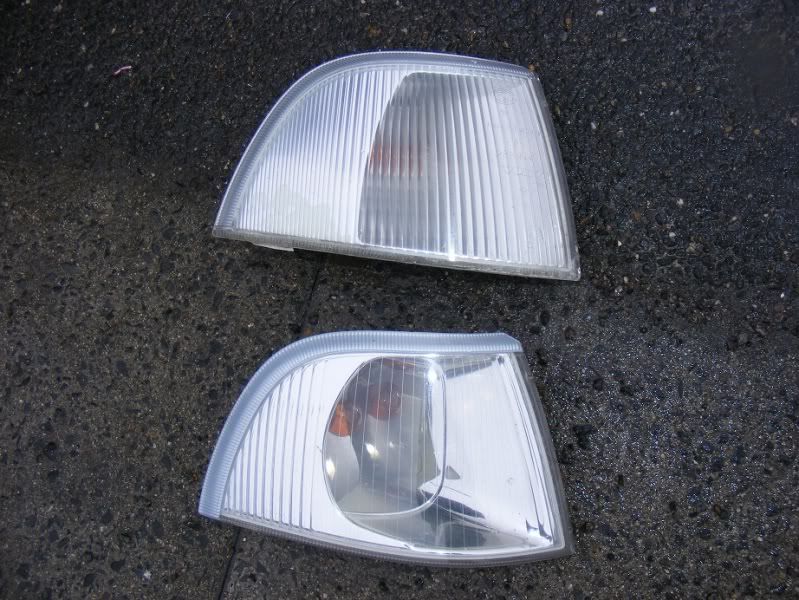 Step 34 - The final article, all back together 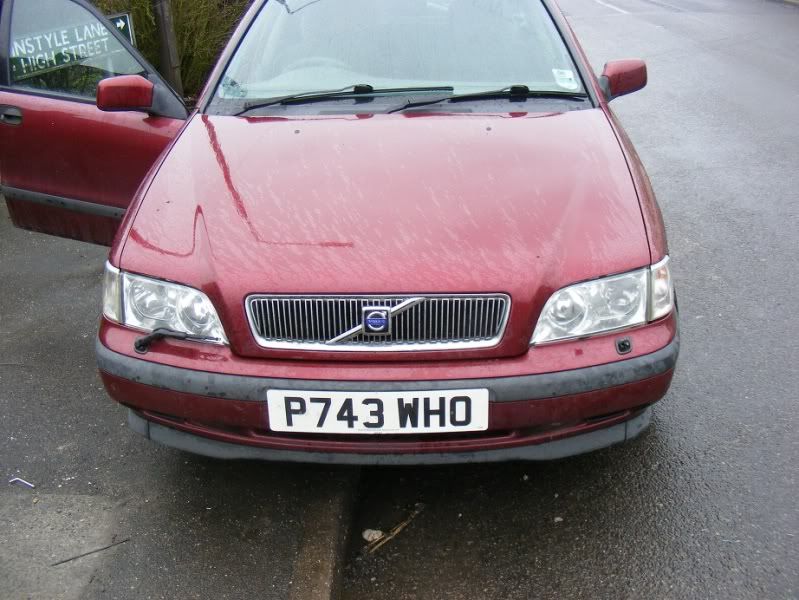
__________________
Click here for guides |
|
|
|
|
Mar 5th, 2012, 14:50
|
#13 |
|
Senior Member
Last Online: Oct 20th, 2013 20:24
Join Date: Aug 2007
Location: Derbyshire
|
Step 35 - You will notice one problem which is that when you have your lights on normally (switch at 1 o clock position), you can put full beam on but you lose your dipped headlights. A mod is required! Head into the cabin and underneath the steering column there is a piece of trim to remove, take out the 3 screws
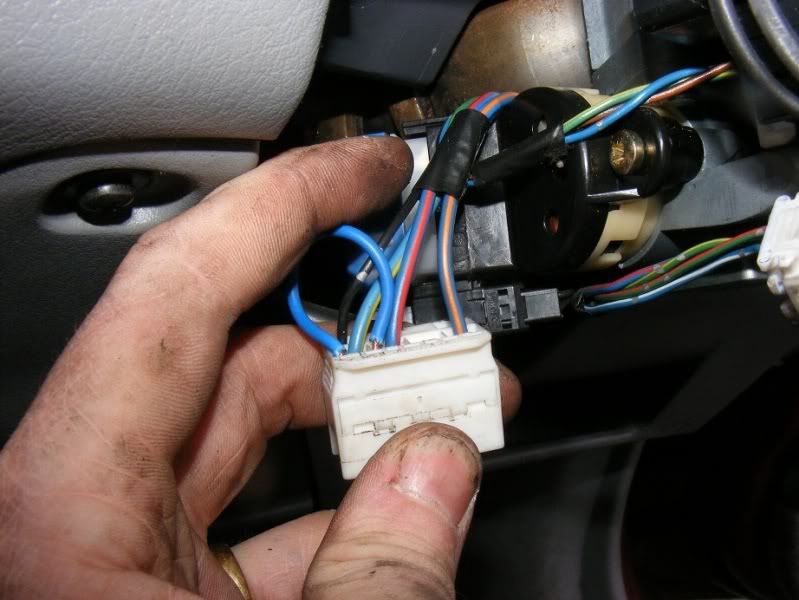
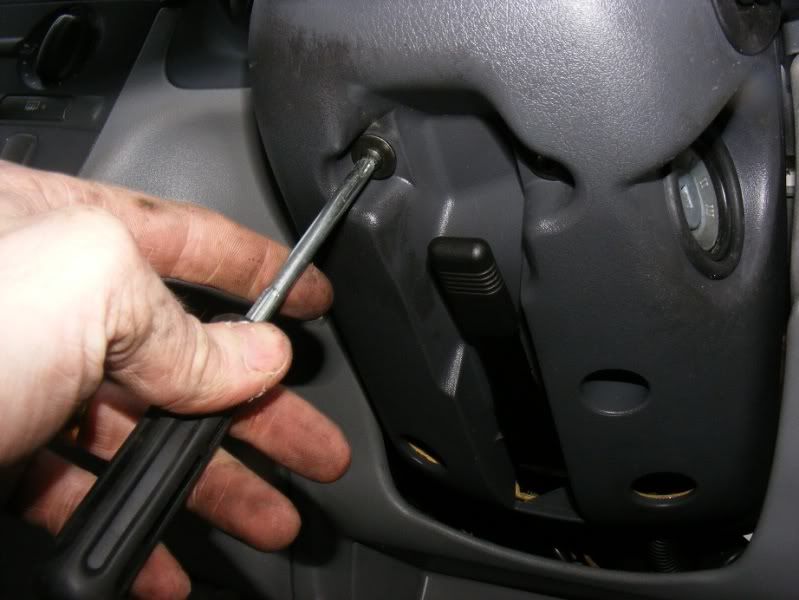 Step 36 - Undo the 2 plastic clips either side of the wheel by squeezing the plastic and then pull the trim down, unhook it over the ignition barrel (picture 2) then you will have access to the light connector we need 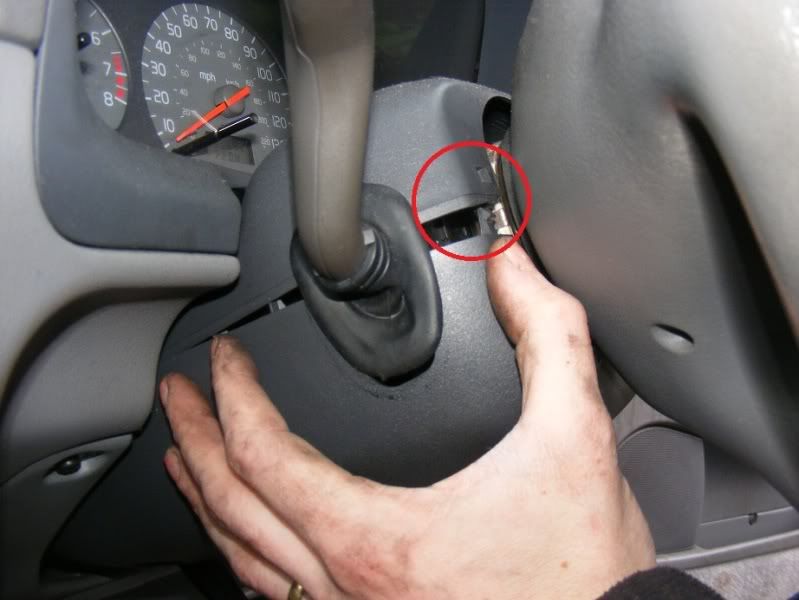 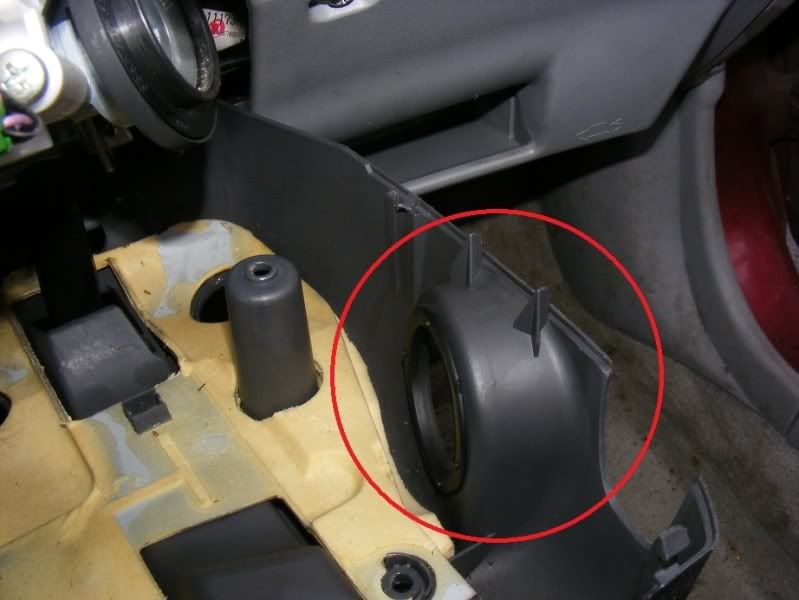 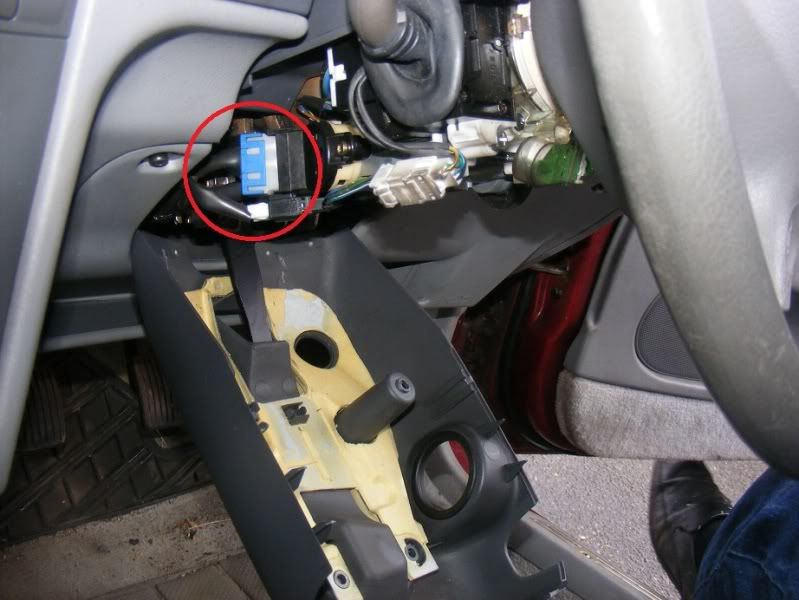 Step 37 - Push the tab and slide the connector out 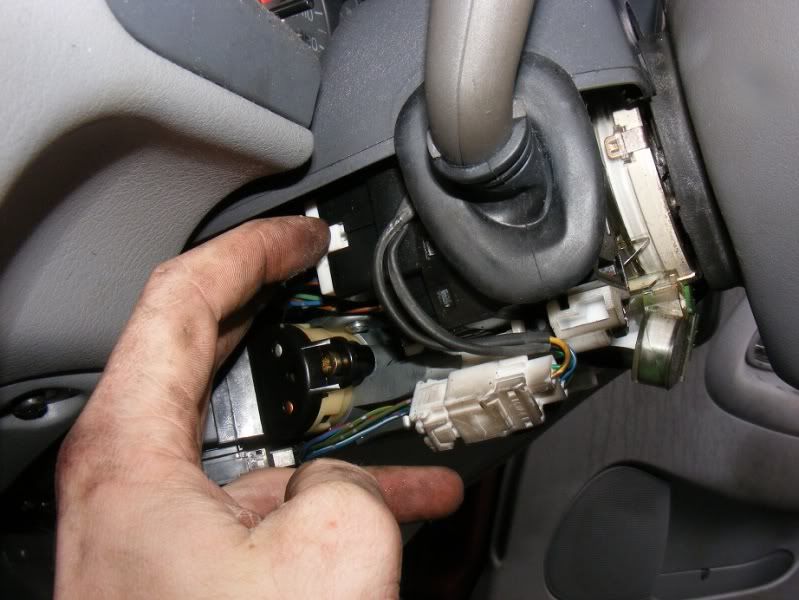 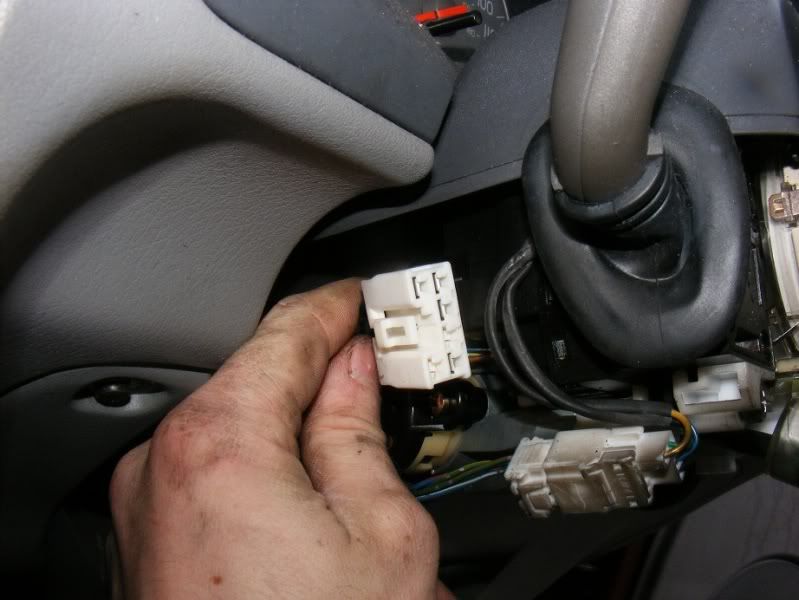
__________________
Click here for guides |
|
|
|
|
Mar 5th, 2012, 14:51
|
#14 |
|
Senior Member
Last Online: Oct 20th, 2013 20:24
Join Date: Aug 2007
Location: Derbyshire
|
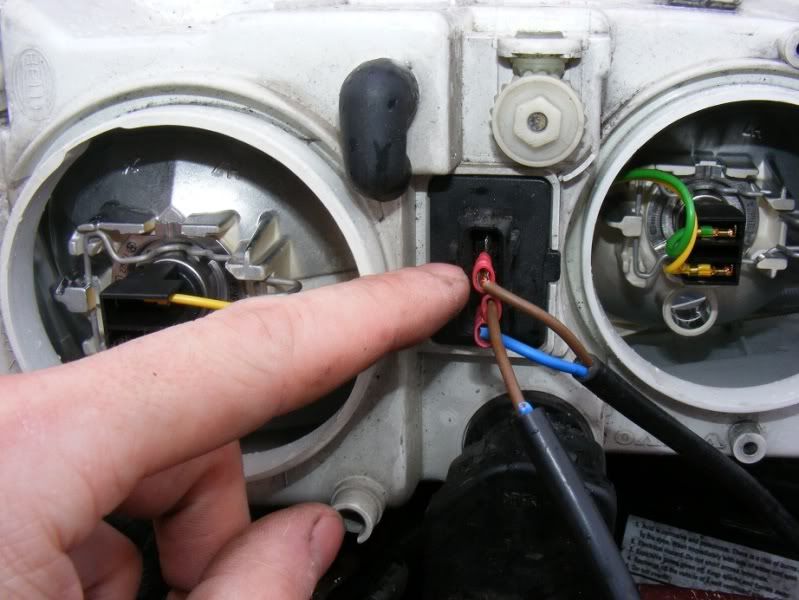
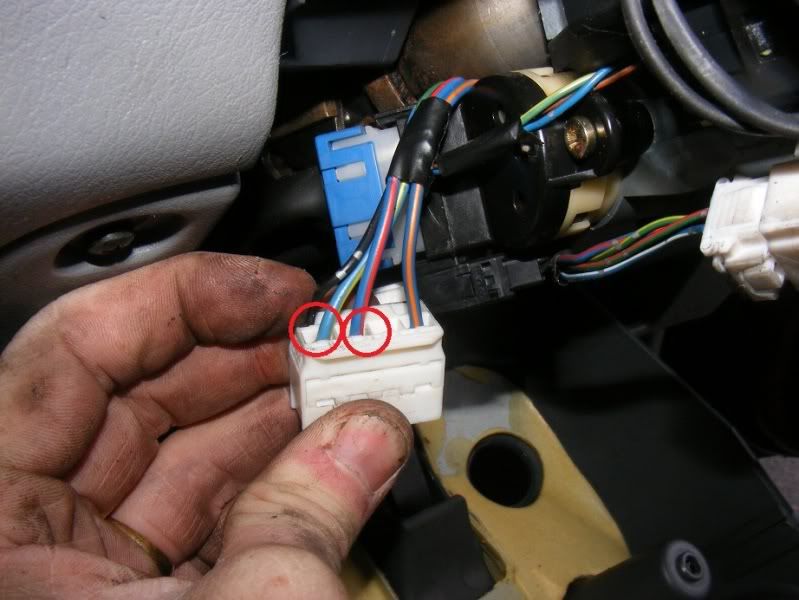
Step 38 - You need to short pins 5 and 6 which are the blue and red & blue and yelow wires. You can do this with a link as shown, soldering the joing, a sotch block, whatever you have around
  Step 39 - Now refit the trim and screws and run a full test of the lights 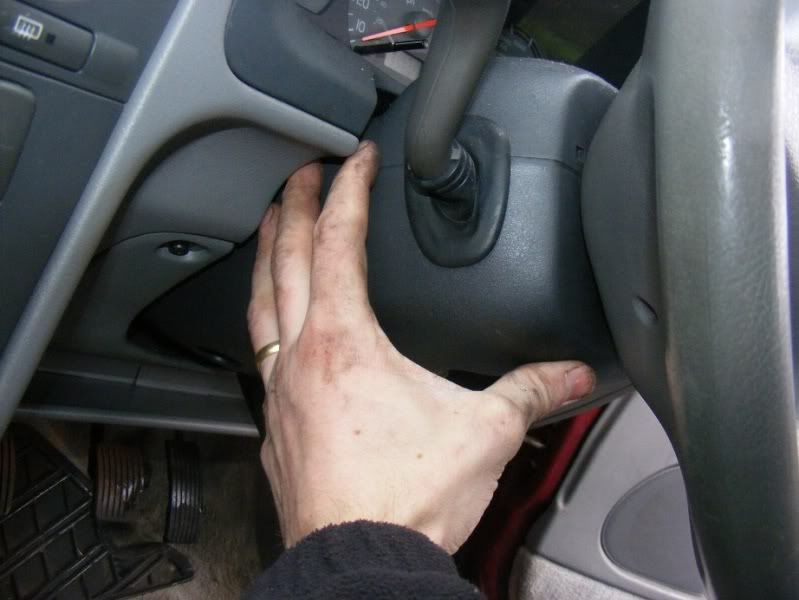 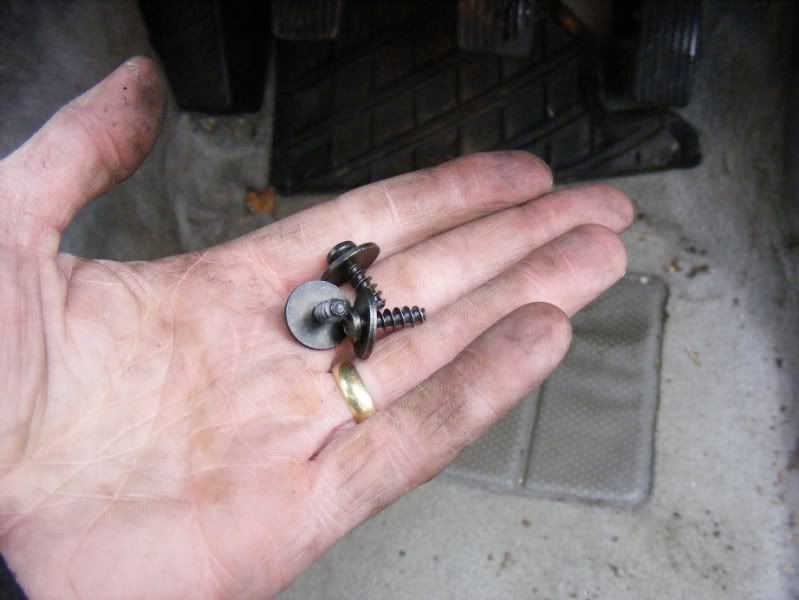
__________________
Click here for guides |
|
|
|
| The Following 11 Users Say Thank You to JSeaman For This Useful Post: |
|
Mar 5th, 2012, 15:32
|
#15 |
|
Insane!!

Last Online: Oct 19th, 2015 08:58
Join Date: Jul 2011
Location: Ramsey, Isle of Man
|
Thank you very much for this guide, it is a job I will be doing very soon!! My car is about the same age as yours an my headlights are awful (partly due to them being phase 1 and partly due to the reflective surface inside the headlight just being a surface inside the headlight and not reflective at all!!)
I will be doing this your way as I do not have a soldering iron available but crimps and connectors I have!! I'll let you know how I get on and let you know if mine differs in any way.
__________________
 '01 V40 2.0 Ph2 141,000mi (lower than the last one) '98 Honda CR-V 2.0 Auto (as this is the car I'm teaching SWMBO to drive in) Previous: '97 V40 2.0CD with 173,000mi on the clock and now sold!! |
|
|
|
|
Mar 5th, 2012, 16:03
|
#16 | |
|
Senior Member
Last Online: Oct 20th, 2013 20:24
Join Date: Aug 2007
Location: Derbyshire
|
Quote:
__________________
Click here for guides |
|
|
|
|
| The Following User Says Thank You to JSeaman For This Useful Post: |
|
Mar 5th, 2012, 19:43
|
#17 |
|
Robmac999
Last Online: Aug 13th, 2023 16:14
Join Date: Sep 2011
Location: Ashby de la Zouch
|
 A really clear guide, unlike my lights! Many thanks.
__________________
robmac999 Current: Volvo V40 1.8 S 2002 (51) Previous: Volvo S40 1.6 XS 2000 (W) |
|
|
|
|
Mar 5th, 2012, 20:05
|
#18 |
|
Senior Member

Last Online: Sep 6th, 2015 15:44
Join Date: Dec 2011
Location: Norfolk
|
the car looks 1000 times better...... does seem tricky though.
great guide!!
__________________
2002 Volvo S60 T5 SE |
|
|
|
|
Mar 5th, 2012, 21:36
|
#19 |
|
Senior Member
Last Online: Oct 20th, 2013 20:24
Join Date: Aug 2007
Location: Derbyshire
|
Thank you for the feedback guys, it's not too tricky just take your time and you'll be OK
__________________
Click here for guides |
|
|
|
|
Mar 8th, 2012, 15:00
|
#20 |
|
New Member
Last Online: Mar 8th, 2012 15:24
Join Date: Feb 2012
Location: aberdeenshire
|
i wish you had did my head lights.who ever had the car before made a mess of wires behind the head lights and i really dont fancy tryin to sort it out.very nice job you did there

|
|
|
|
|
| Currently Active Users Viewing This Thread: 1 (0 members and 1 guests) | |
|
|


 Linear Mode

