

|
|||||||
| PV, 120 (Amazon), 1800 General Forum for the Volvo PV, 120 and 1800 cars |
 Information
|
|
Home made Amazon estate roof rackViews : 2326 Replies : 10Users Viewing This Thread : |
 |
|
|
Thread Tools | Display Modes |
|
|
#1 |
|
Junior Member
Last Online: Aug 29th, 2018 23:03
Join Date: Sep 2015
Location: North Wales
|
hay folks,
I'm not an accomplished fabricator by any measure, however i fancied a project to build up some confidence. And i figured a roof rack would be ideal, how hard could it be... I thought i would share my learning highs and lows with you all just in case there are others out there thinking of doing something similar. Having looked at a few pictures of roof racks I had an idea of what i want, I intend to modify the original designe slightly so i can strap my surfboards on safely and easily. First I bought a few lengths of 22mm by 1.5mm 304 stainless pipe. My guess was it would be easy to work with, polish up well and corrosion resistant. To start i wanted to get a bend that would mach the curvature of the roof, I found I could bend the pipe with reasonable acuracy buy putting each end on axel stands and bouncing in the middle. 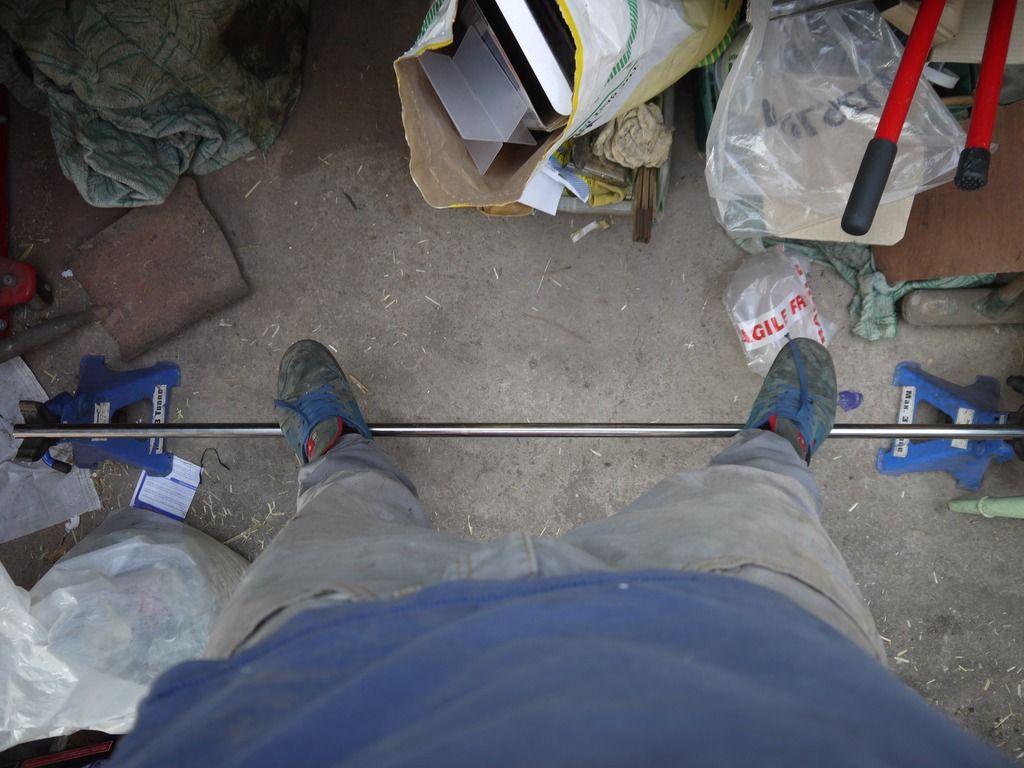 I was surprised how different sections of pipe would bend easer then others, so go slow! 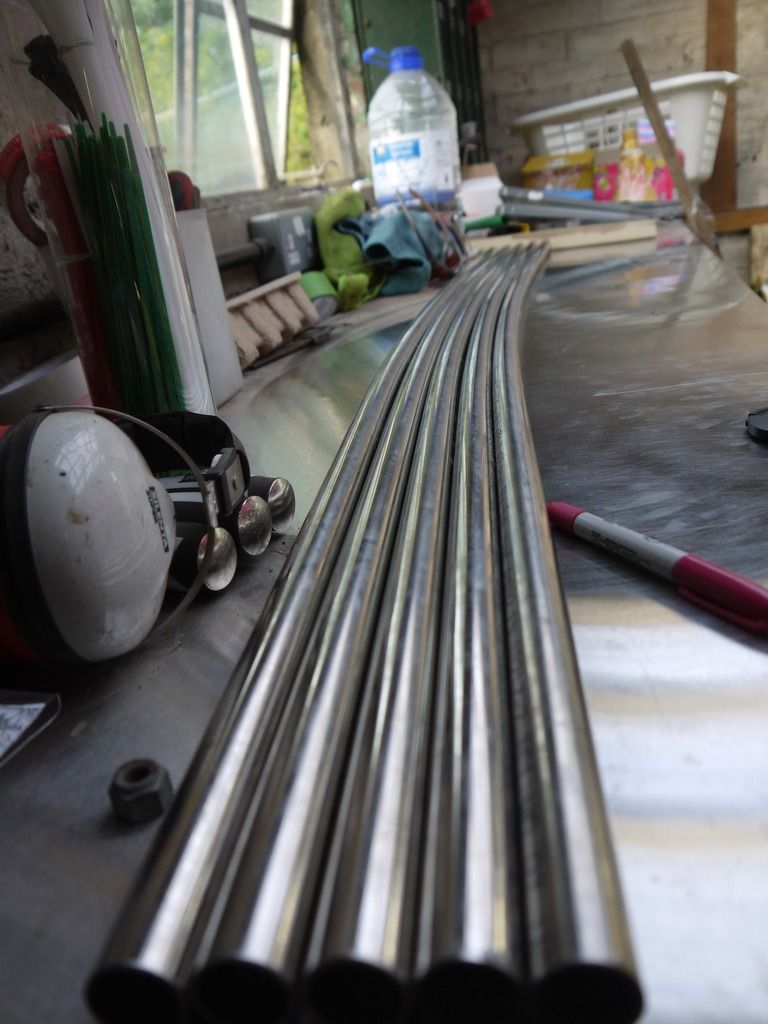 Next was to bend a pipe that goes from front to rear, My first attempt ended like soo... 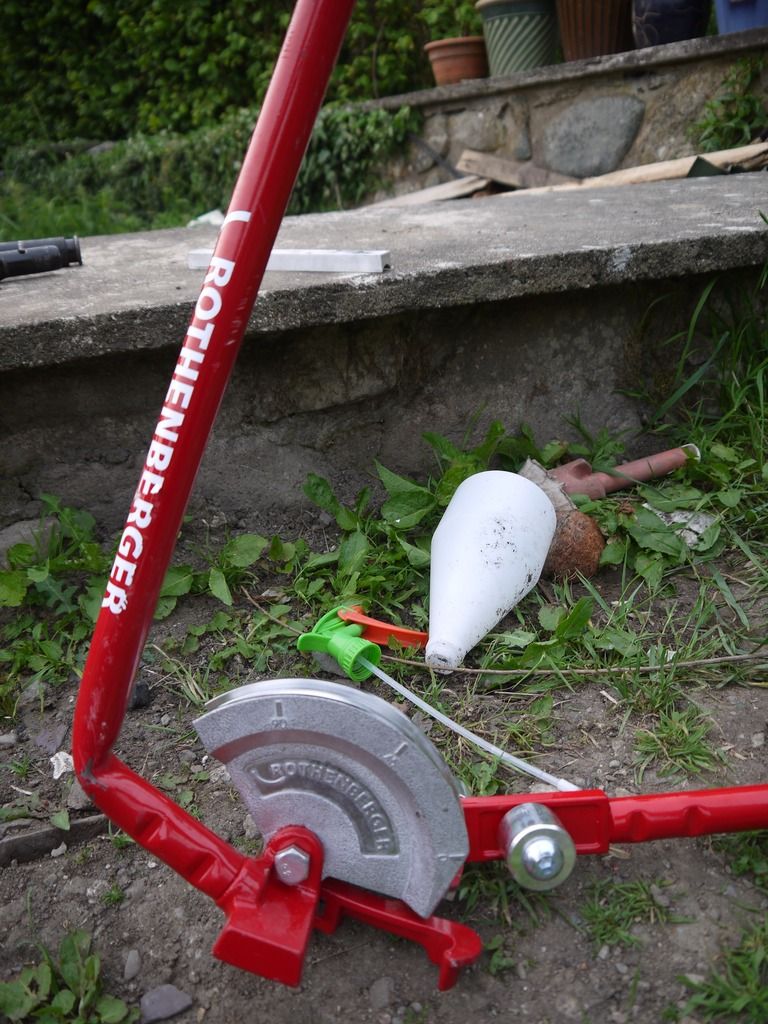 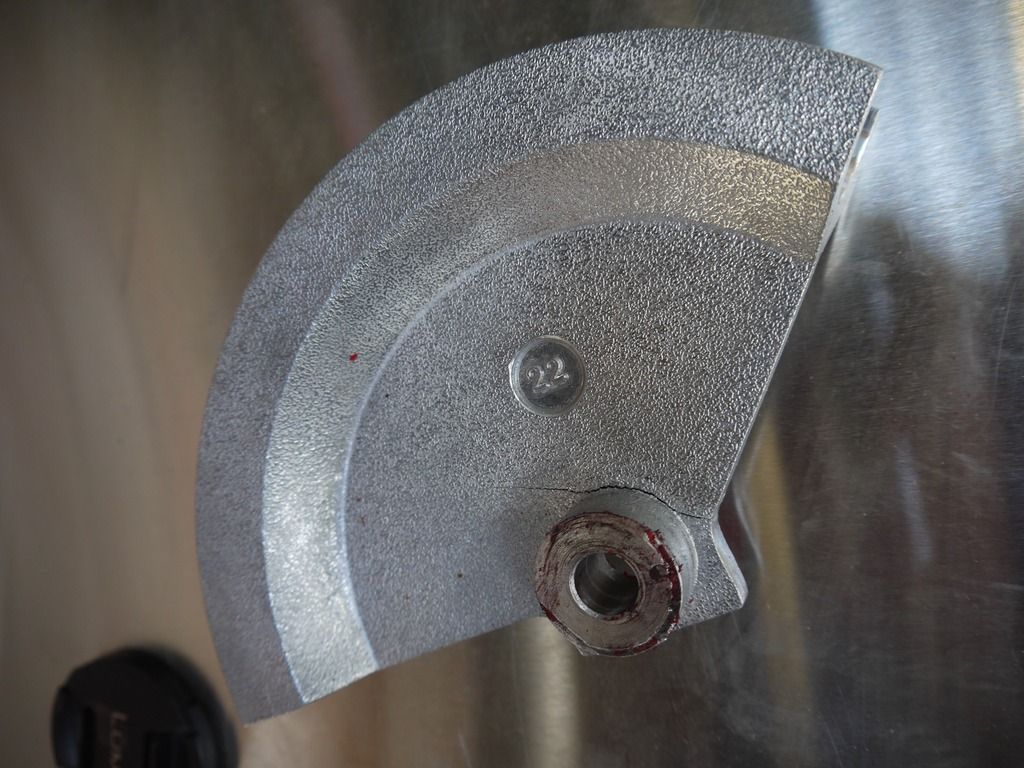 In the end i rented a conduit bender for a day, I did have to use the guide and roller from the mangeld bender. I would make a bend then match it to the car and adjust until i was happy. 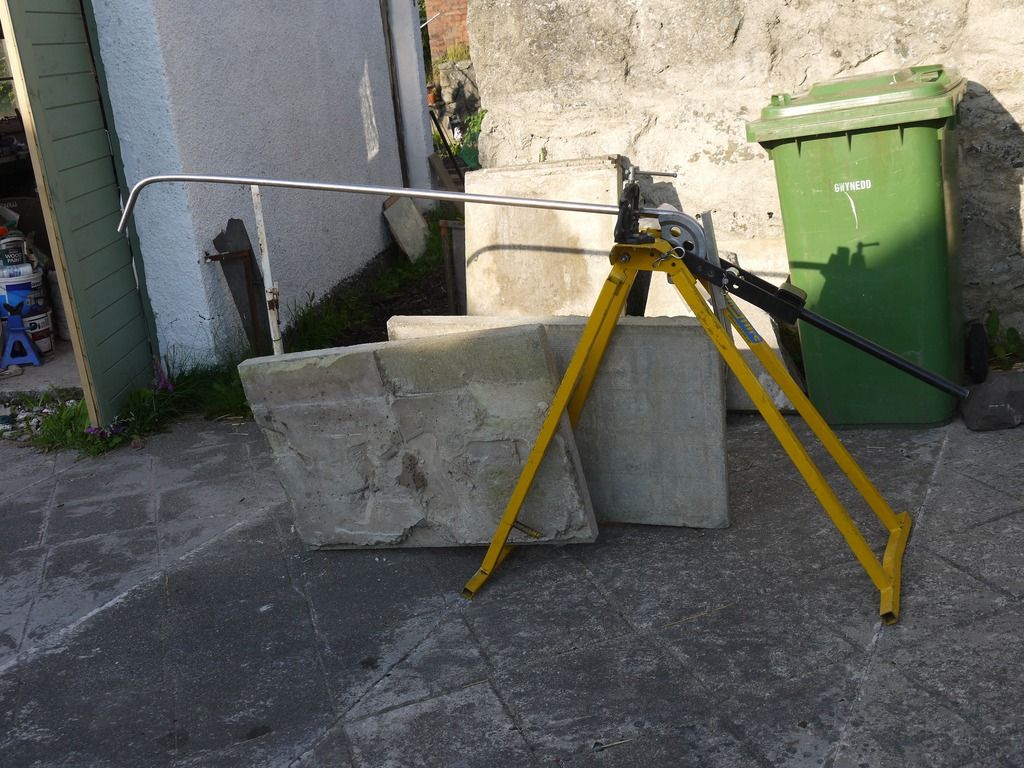 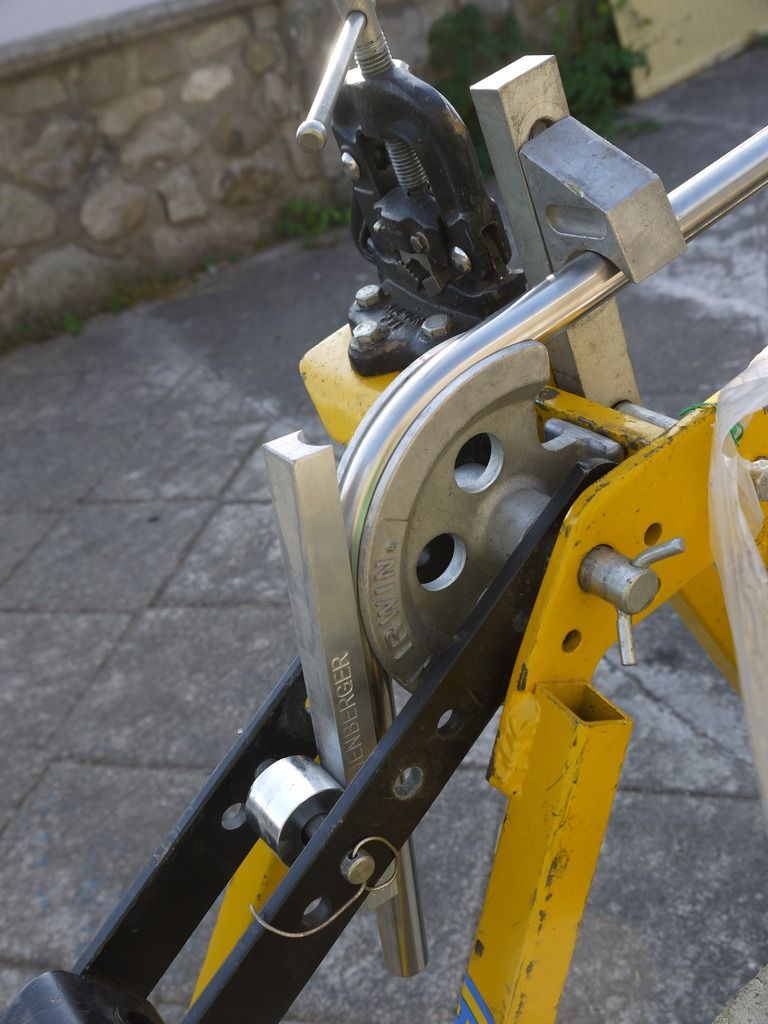 Next was the support that meets the B pillar, after finding the desired length. I used the '3rd pipe diameter cut line' method, to start the join. Green tape = throat line, this defines the angle of the join Measure 1/3 pipe diameter from throat line then draw a triangle back the the throat line, these are the cut lines 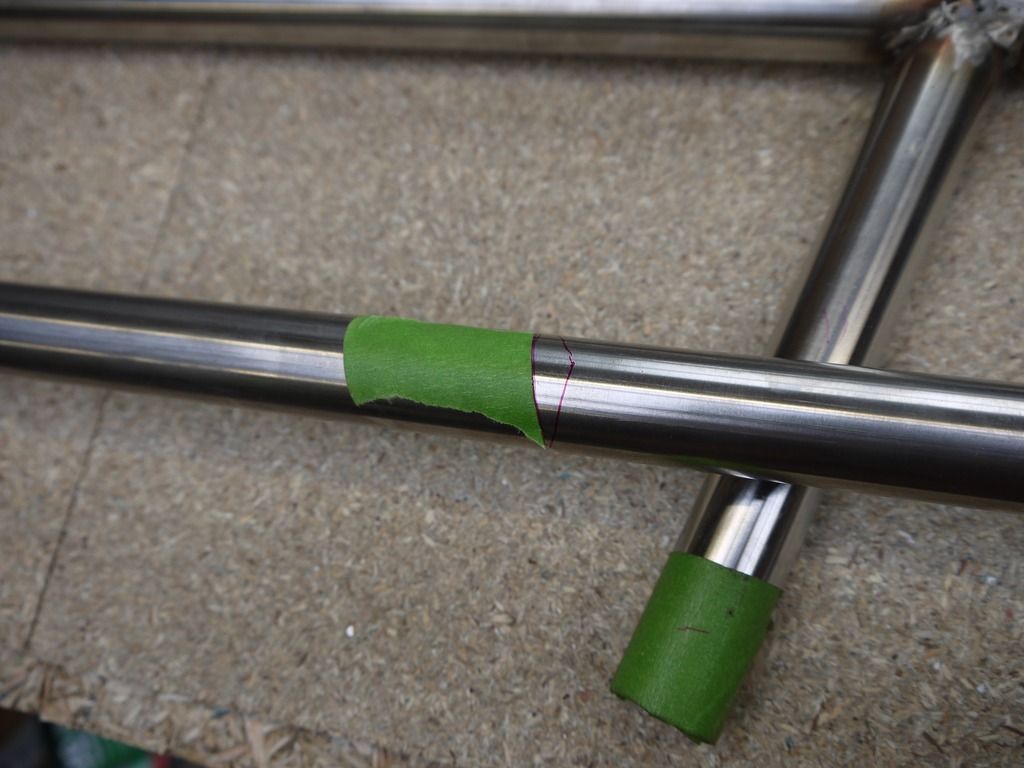 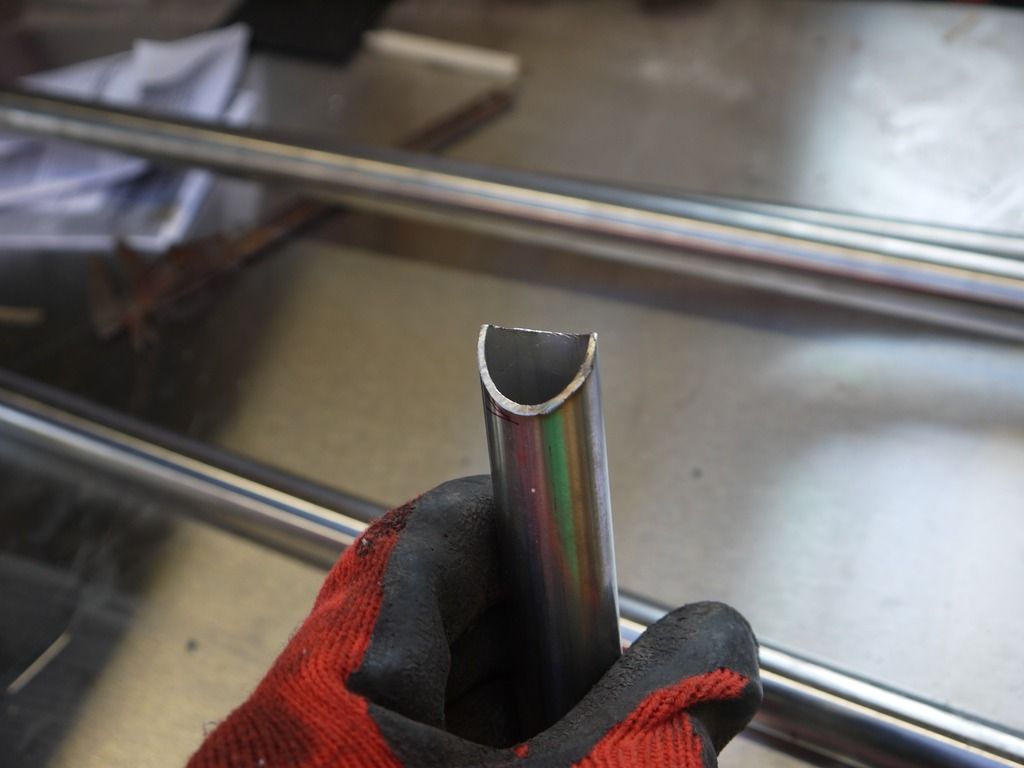 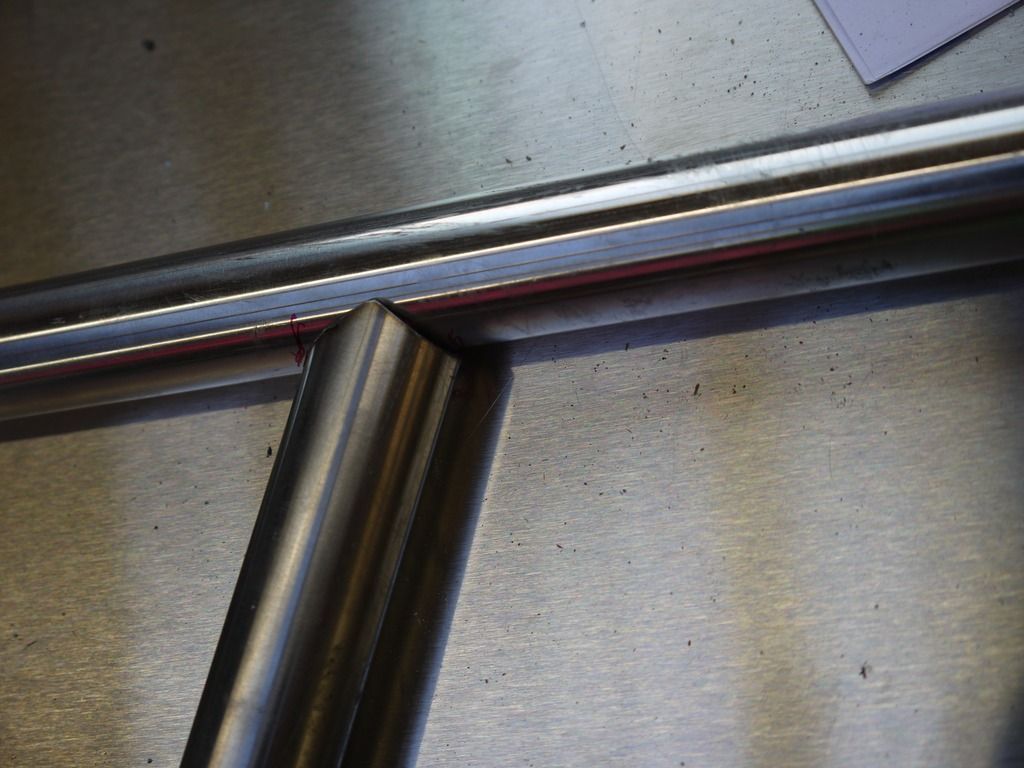 Simple and effective. 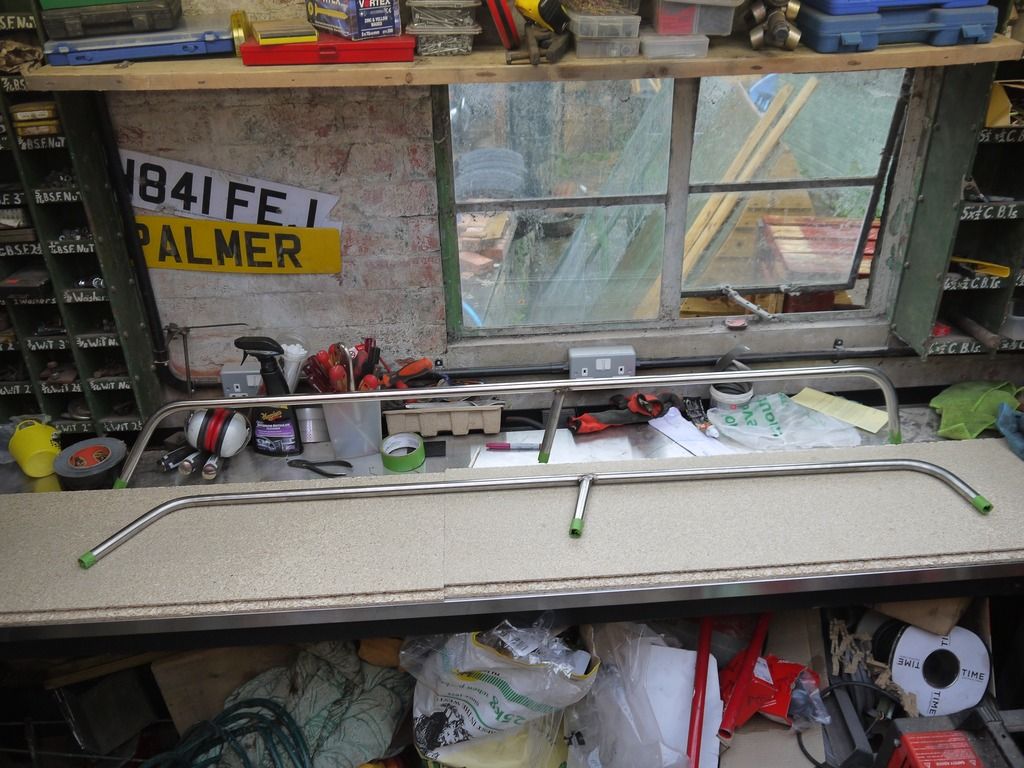 For the intermideate rales, i found an old medicin tin to be ideal as a go-no-go gauge. and using the above method... 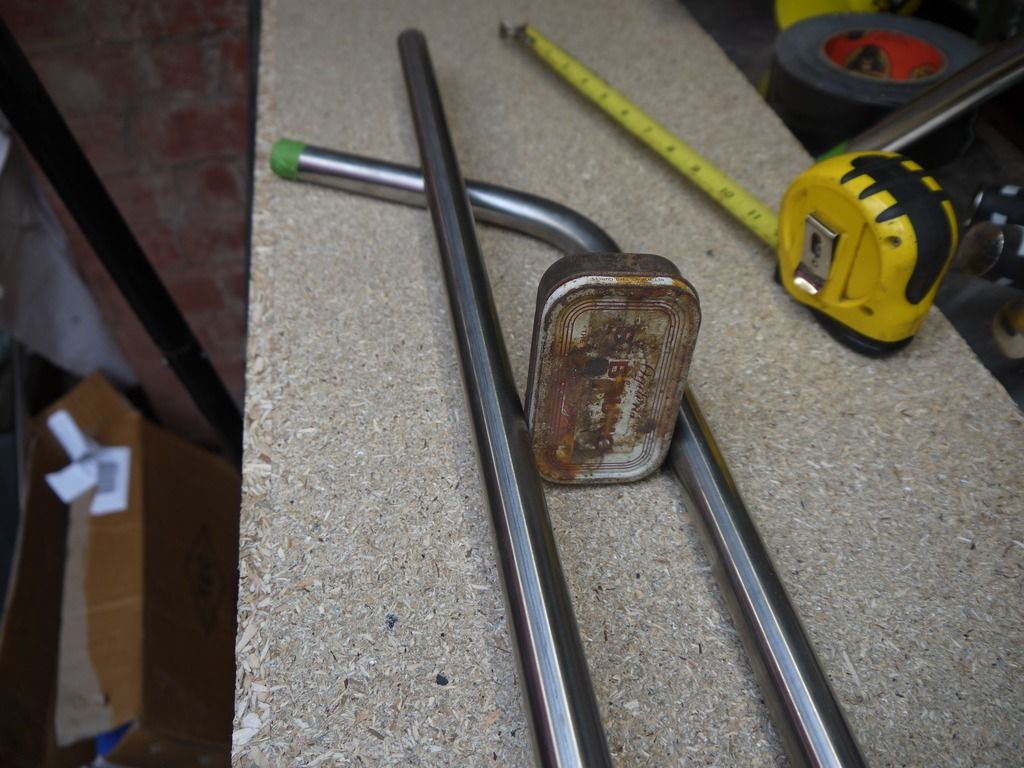 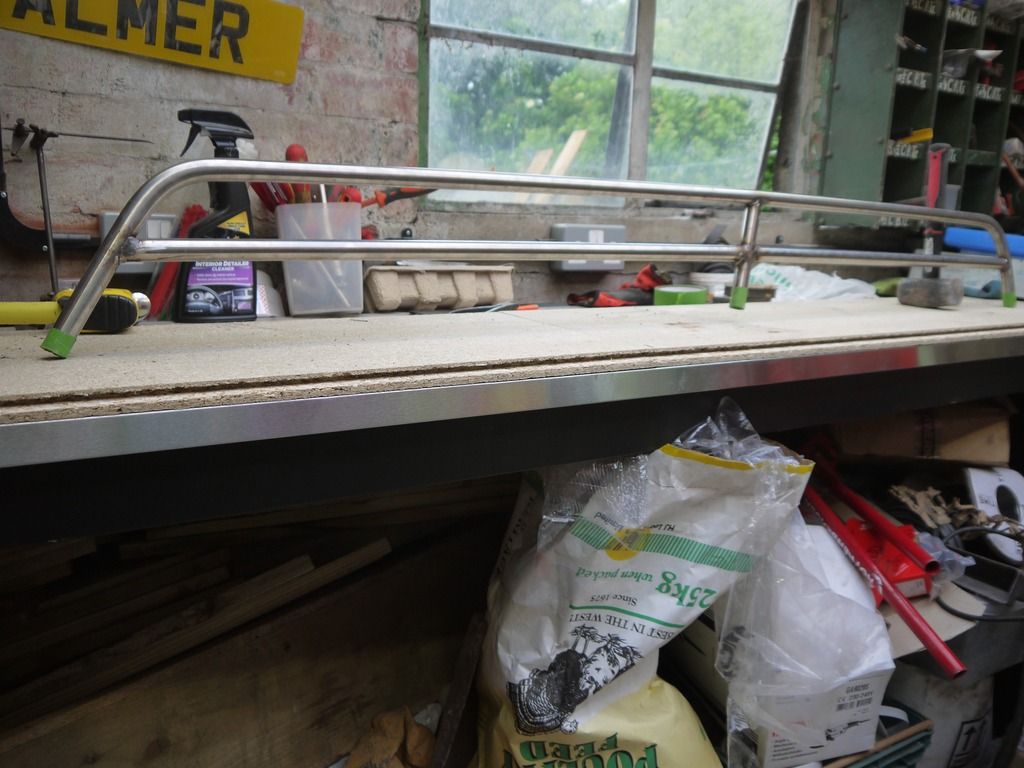 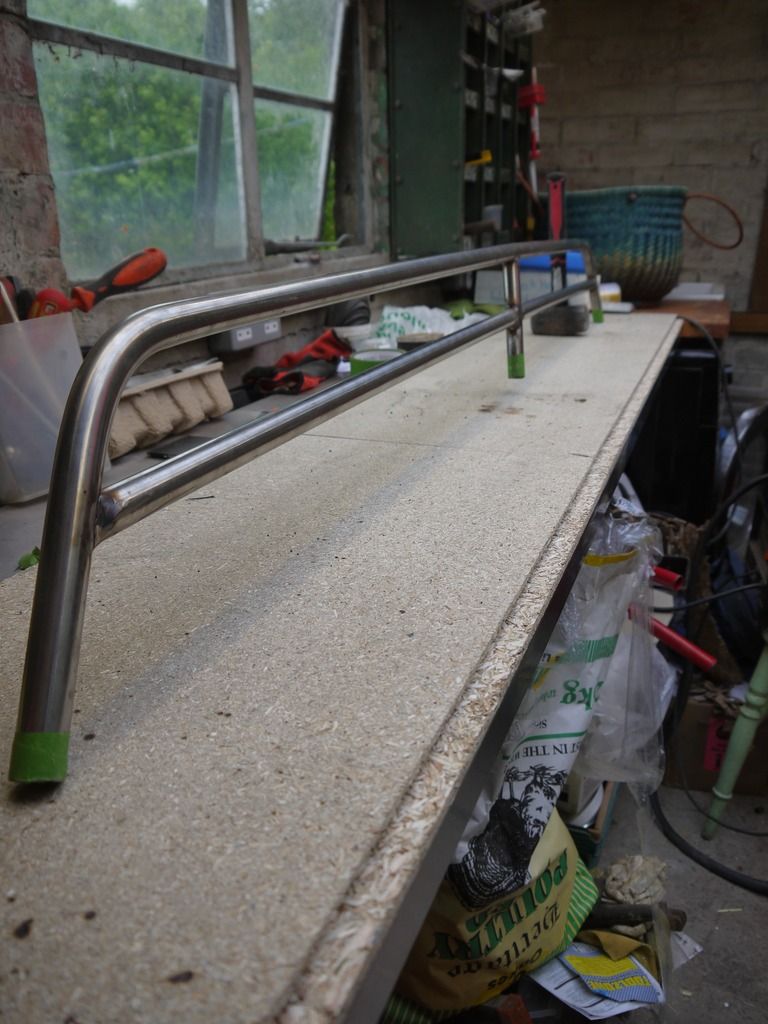 My welding skills are awful, however i did find the £8 role of stainless mig wire and argon gas could produce strong welds easily, and wouldn't blow holes. To get the pipe to fit in the gutter i tried crushing it in the vice, 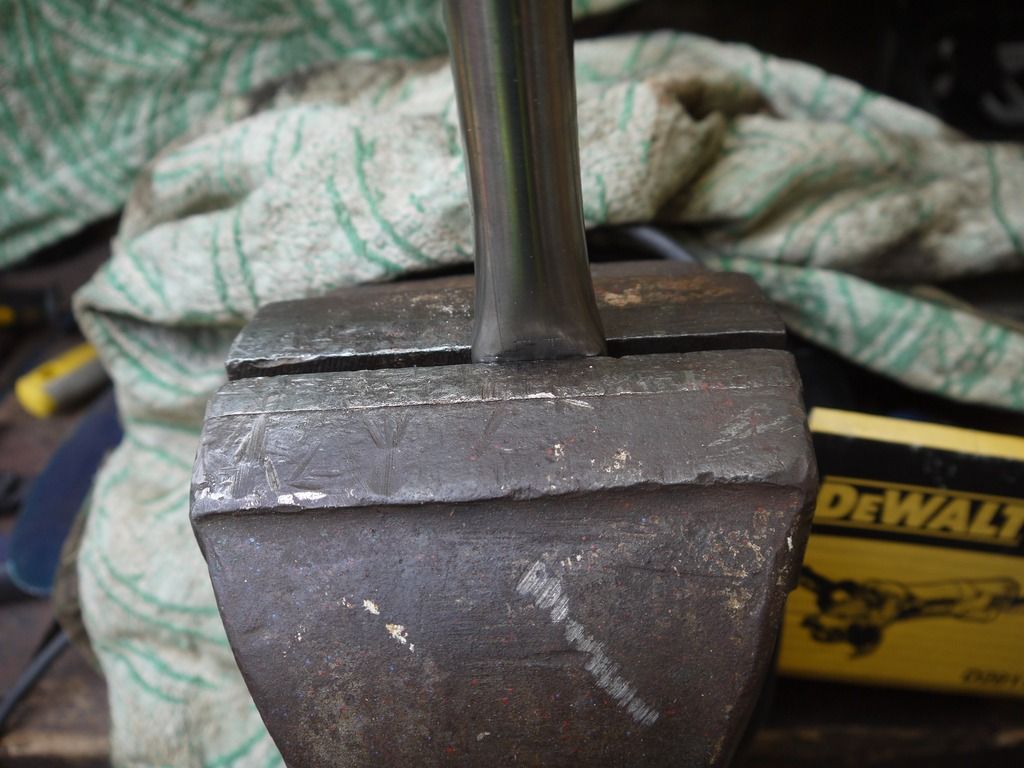 I think this will look quite good, Just need to figure out a neat way of fixing this to the roof 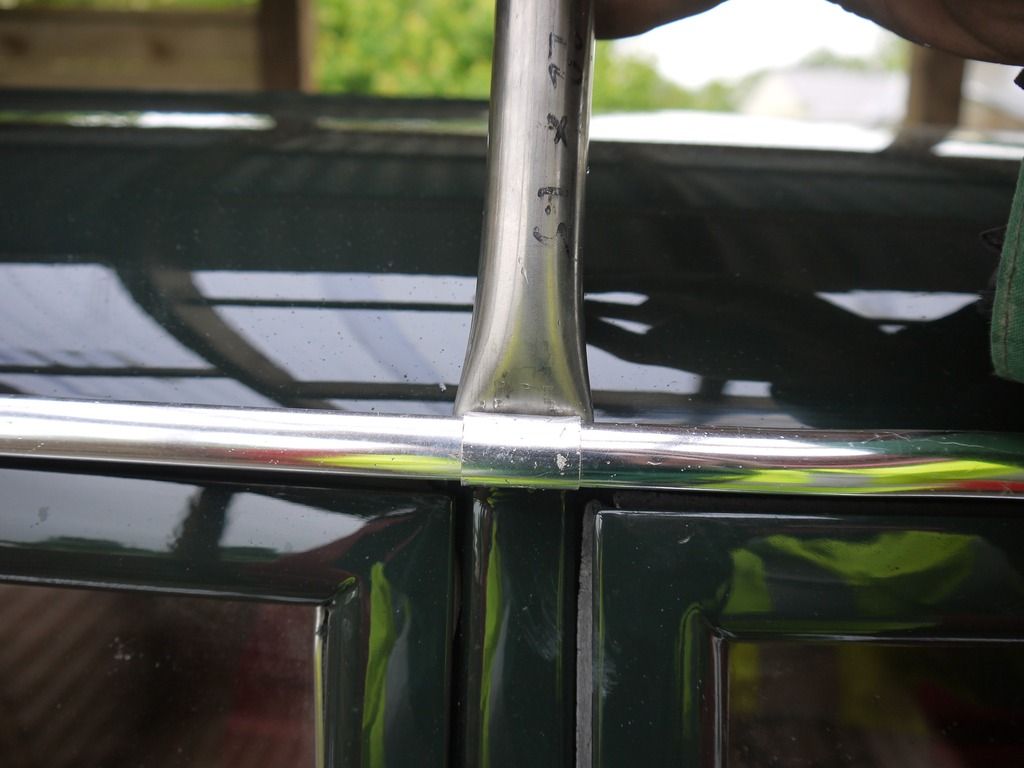
|
|
|

|
|
|
#2 |
|
New Member
Last Online: Dec 16th, 2023 21:31
Join Date: Sep 2016
Location: Conwy
|
Hi
Looks good, have you finished it yet? I'm going to be doing something similar, although have to finish restoring my Amazon estate first! What did you decide bracketry wise for clamping it to the roof? Cheers NJ |
|
|

|
|
|
#3 |
|
Premier Member
Last Online: Mar 18th, 2018 23:14
Join Date: Oct 2006
Location: North London
|
Very neat job indeed.
For the ends that sit in the guttering, you can get a rubber dip in a tin product. That would coat the ends and protect the paint perhaps? |
|
|

|
|
|
#4 |
|
Junior Member
Last Online: Aug 29th, 2018 23:03
Join Date: Sep 2015
Location: North Wales
|
the project was parked as the car required alot of work. I have been working on clamping the bars to the gutter.
Will update when I have made progress |
|
|

|
|
|
#5 |
|
Junior Member
Last Online: Aug 29th, 2018 23:03
Join Date: Sep 2015
Location: North Wales
|
I have been trying to get this started again but found myself getting frustrated and pretending to forget about out.
however, soon as a discovered i could use the bench grinder to shape the joints, it came together in no time. Its tacked together in the pics so need to finish and dress the welds. long way to got but a large step forward. 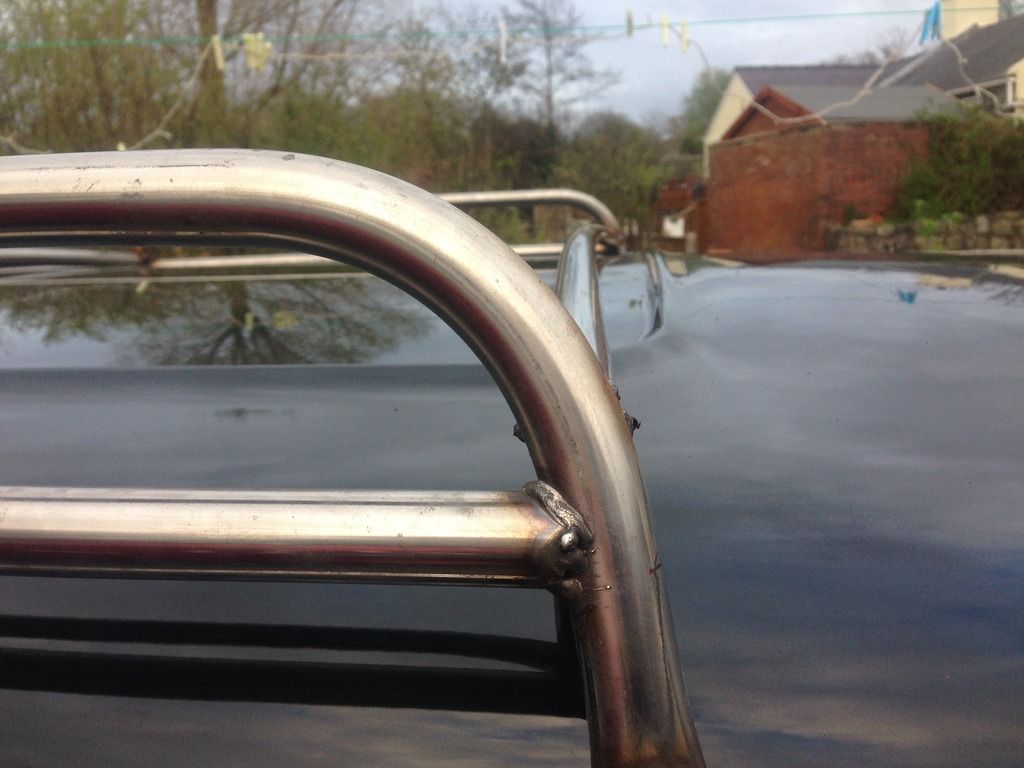 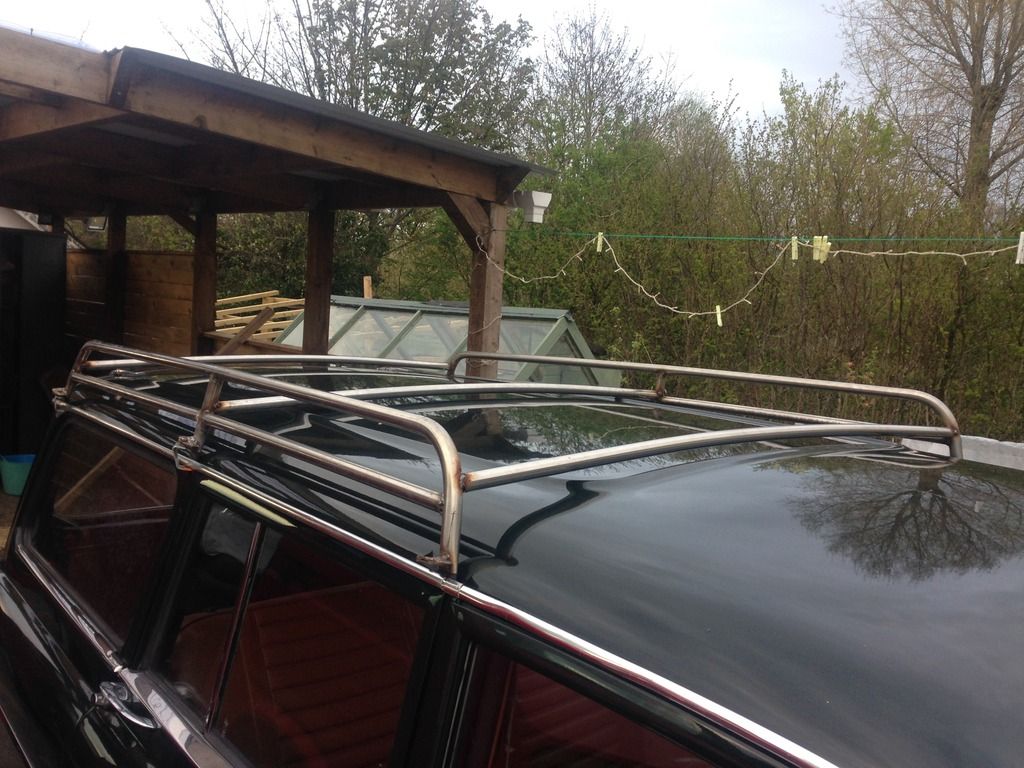 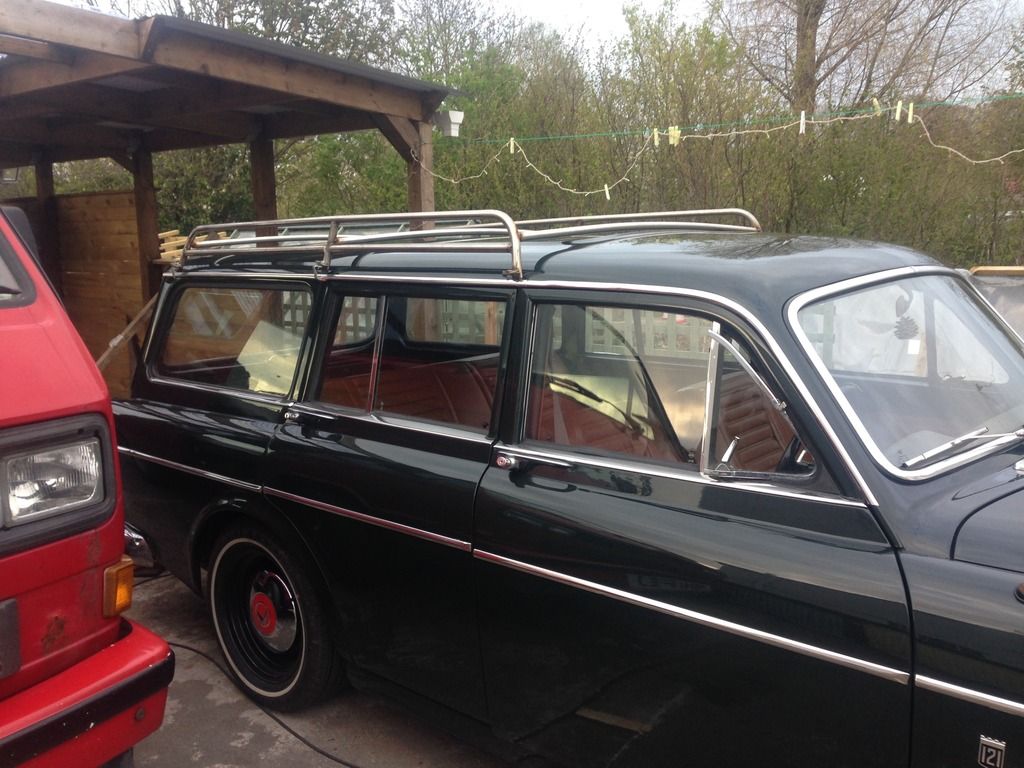
|
|
|

|
| The Following User Says Thank You to Palmer 221 For This Useful Post: |
|
|
#6 |
|
Member
Last Online: Nov 11th, 2023 13:34
Join Date: Jul 2016
Location: Brattleboro, VT
|
Very nice! Red mahogany slats might finish that off nicely?
|
|
|

|
|
|
#7 |
|
Junior Member
Last Online: Aug 29th, 2018 23:03
Join Date: Sep 2015
Location: North Wales
|
|
|
|

|
|
|
#8 |
|
Junior Member
Last Online: Aug 29th, 2018 23:03
Join Date: Sep 2015
Location: North Wales
|
|
|
|

|
| The Following User Says Thank You to Palmer 221 For This Useful Post: |
|
|
#9 |
|
Premier Member
Last Online: Today 11:51
Join Date: Jul 2007
Location: Connecticut, USA
|
Palmer;
That looks really sharp! I hope you are recording dimensions and details of the prototype, because the effort to engineer this one should be leveraged onto a few more... Cheers |
|
|

|
|
|
#10 |
|
Junior Member
Last Online: Aug 29th, 2018 23:03
Join Date: Sep 2015
Location: North Wales
|
Im glad you asked, I will create a drawing but probably when its finished.
|
|
|

|
 |
| Currently Active Users Viewing This Thread: 1 (0 members and 1 guests) | |
|
|