
|
|||||||
| XC90 '02'15 General Forum for the P2-platform XC90 model |
 Information
|
|
AUX solution (for older models up to 2007)Views : 13889 Replies : 39Users Viewing This Thread : |
 |
|
|
Thread Tools | Display Modes |
 Sep 7th, 2014, 09:36
|
#1 |
|
Volvo Ocean Race

Last Online: Apr 14th, 2019 11:45
Join Date: Aug 2014
Location: Slovenia / Serbia town Novi Sad
|
Hi guys few months ago I solved finaly how to made AUX input
as owners of older than 2007 XC models didnt have AUX input. This should apply to any 2003-2006 XC90 You will need experience soldering with small solder, you will need 1 simple Audio cable with 3,5mm plug for mobile phone, MP3 players or similar audio memory cards readers ect...(players). Cheapest solution as many modules on market prices are from 350 Euro up to 580 Eur. For listening music in XC90? Crazy. Here is good, cheapest, reliable and many months tested solution. Lets start.
__________________
XC90 2.5T AWD 2006 VOR edition with 197.000 km Update: 09.Febr.2019 from Sept. 2014 I made up to 305.000 km 
Last edited by Volvo Ocean Race; Sep 7th, 2014 at 10:17. Reason: This should apply to any 2003-2006 XC90 |

|

|
|
Sep 7th, 2014, 09:44
|
#2 |
|
Volvo Ocean Race
Last Online: Apr 14th, 2019 11:45
Join Date: Aug 2014
Location: Slovenia / Serbia town Novi Sad
|
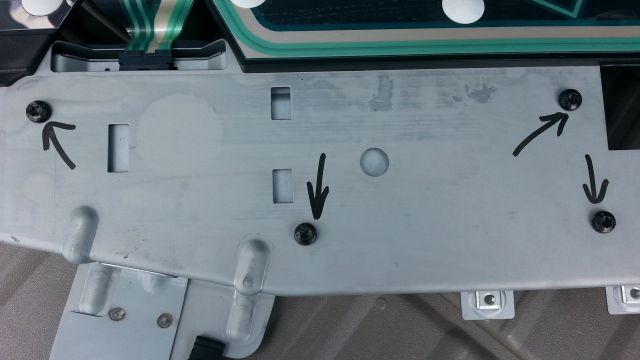
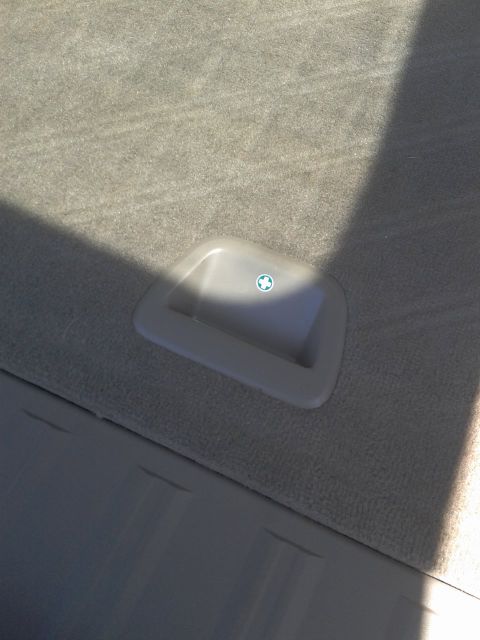 Lift this cover in trunk.  Release two belts. 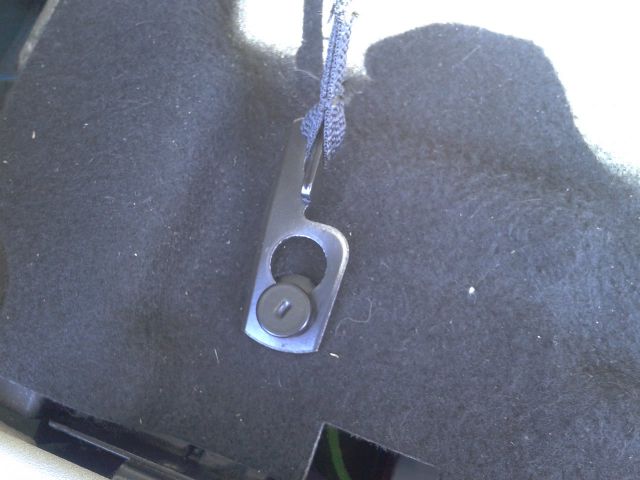  Than lift triangle up.  Than you can spot small black level push it and remove cover. 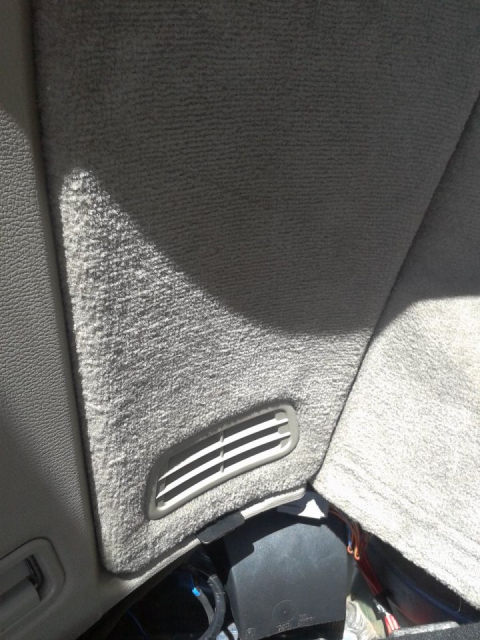 Ok this is for my car EU on the left side. 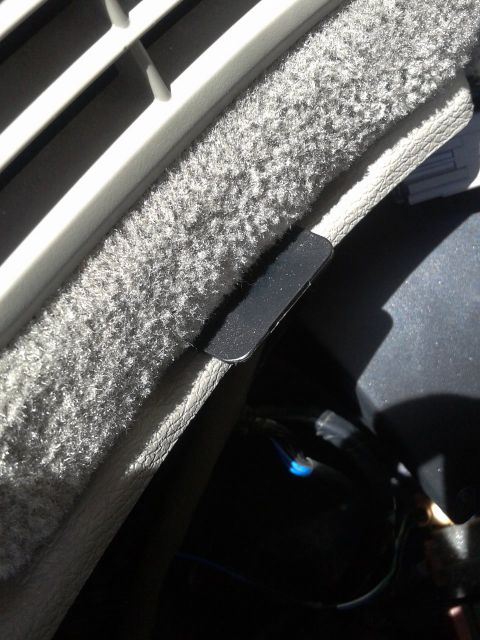 You can now spot REM module  Now remove FUSE nr. 6. 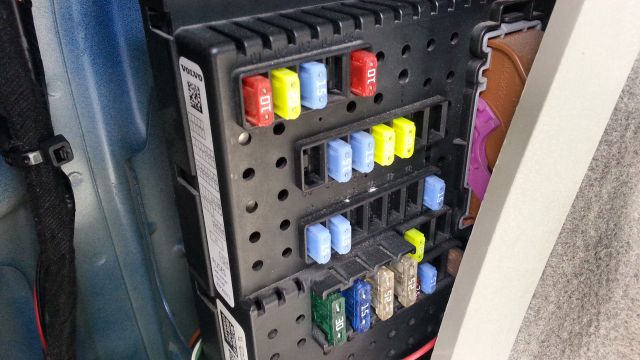 
__________________
XC90 2.5T AWD 2006 VOR edition with 197.000 km Update: 09.Febr.2019 from Sept. 2014 I made up to 305.000 km
|
|
|
|
|
Sep 7th, 2014, 09:46
|
#3 |
|
Volvo Ocean Race
Last Online: Apr 14th, 2019 11:45
Join Date: Aug 2014
Location: Slovenia / Serbia town Novi Sad
|
Than pull covers of speakers and just pull left side *no need also right one.
You will find under the roof 2 covers plastic one, please pull it out with small screwdriver, under you can find 2 torx. Simply pull out cover of radio GPS unit. 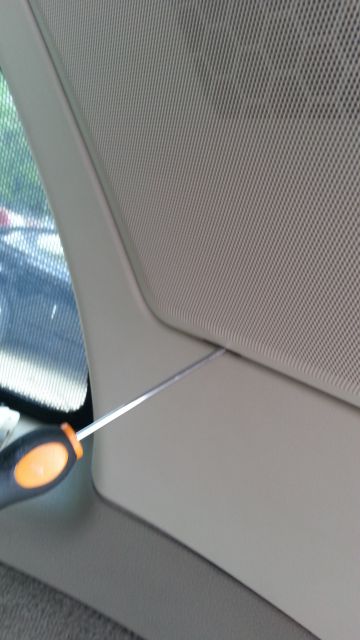 Remove connector of speakers. Push level down pull out connector. 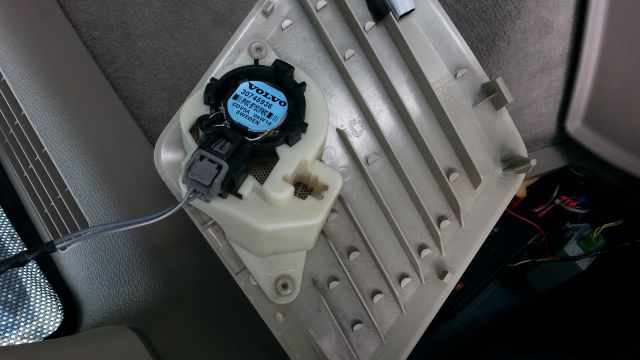 Second instruction starting with removing left cover column and roof cover of radio unit. When you remove last cover remove 2 plastic cover of plastic covering inside ceiling (module of radio and antennas) its 2 torx screw. Than you can pull left column side just PULL out no problems.  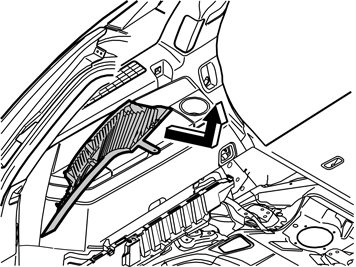 Remove the covers and the screws underneath for the rear headlining Carefully pry off the panel at the rear edge. Use a plastic weatherstrip tool Pull the rear edge of the panel downwards until the four clips on the top release If the car has lighting in the panel, disconnect the connector Pull the panel backwards to release it. Carefully pull off the D-post panel. Start at the top edge then pull down until the three clips on the inside release. Do not damage the panel Disconnect the connector on the D-post panel (if the car has a loudspeaker in the D-post, the connector is in the loudspeaker) Remove the panel by pulling upwards slightly and unhooking it from the side panel. Than take care before you pull everything out to remove all screws 3 pcs. cables and connectors especially optical orange one... Photo show exactly what to do. 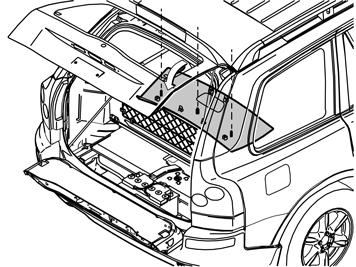
__________________
XC90 2.5T AWD 2006 VOR edition with 197.000 km Update: 09.Febr.2019 from Sept. 2014 I made up to 305.000 km
|
|
|
|
|
Sep 7th, 2014, 09:49
|
#4 |
|
Volvo Ocean Race
Last Online: Apr 14th, 2019 11:45
Join Date: Aug 2014
Location: Slovenia / Serbia town Novi Sad
|
Remove the covers from the rear headlining panel. Unscrew the screws from inside the panels.
Carefully pry off the headlining panel at the rear edge using a plastic weatherstrip tool. Grip the rear edge of the headlining panel. Pull the headlining panel down until all the clips on the inside release. Applies to cars with three rows of seats Disconnect the connector for the rear roof lighting. Pull the panel backwards. Carefully pull off the top edge of the right-hand D-post panel. Continue down until the three clips have released. For cars with D-post loudspeakers: disconnect the connectors for this loudspeaker. Remove the right-hand D-post panel by pulling upwards slightly and unhooking it from the side panel. You can spot complete unit. Very nice professional quality made in Japan of course by Mitsubishi. 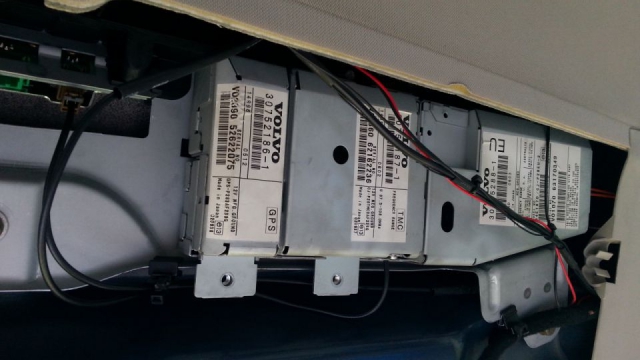 You can remove 2 modules left one is GPS middle one is TMC module but to remove it you need first to remove 2 screw and than middle module first than left GPS one as GPS have two strange holders on left side. Just pull it out firmly. Remove 3 screw holding complete unit be carefull to pull out brown antenna cable from connections of antennas in middle of console. 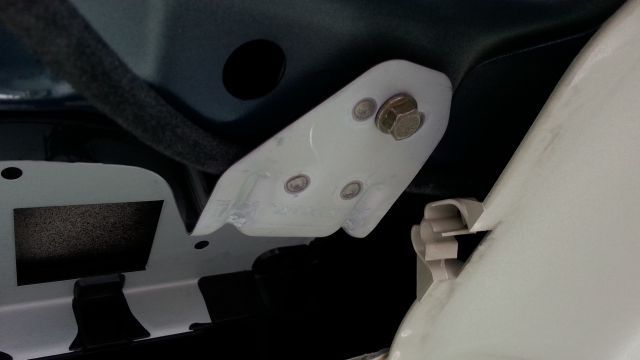 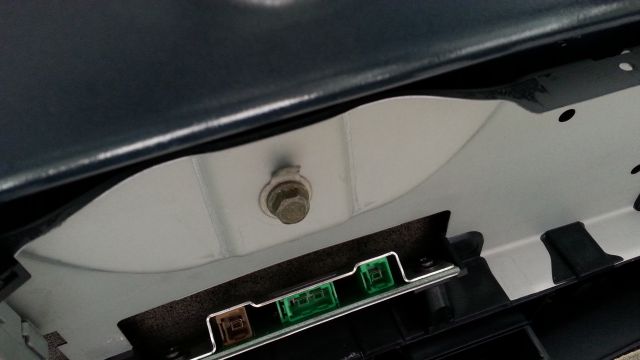 Remove plastic cable tie. 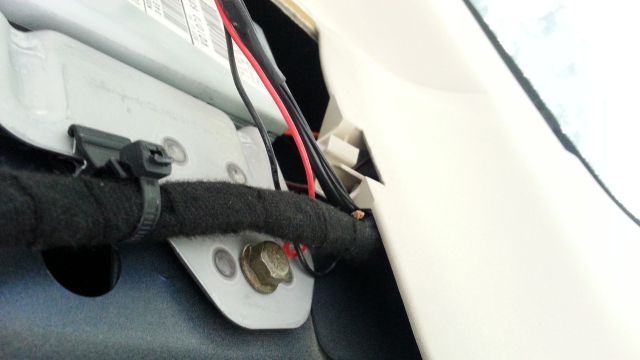
__________________
XC90 2.5T AWD 2006 VOR edition with 197.000 km Update: 09.Febr.2019 from Sept. 2014 I made up to 305.000 km
|
|
|
|
|
Sep 7th, 2014, 09:51
|
#5 |
|
Volvo Ocean Race
Last Online: Apr 14th, 2019 11:45
Join Date: Aug 2014
Location: Slovenia / Serbia town Novi Sad
|
Than you can spot ORANGE cable ATTENTION THIS IS OPTICAL not bend or kink
just push level on connector and firmly pull it out. The red one is power 12 V just pull it out. 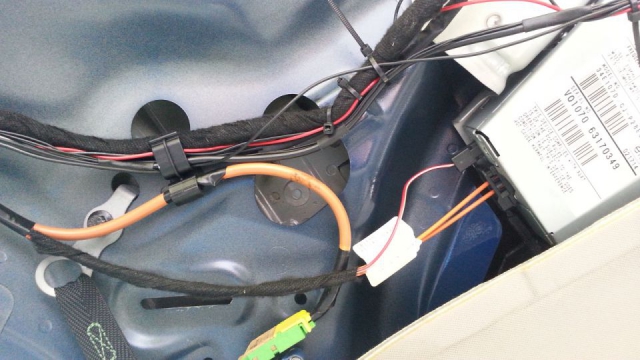 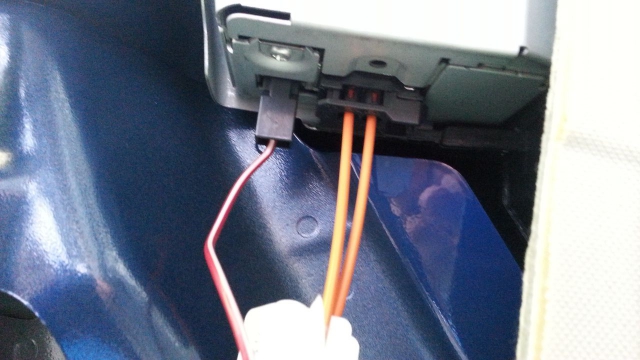 Take care when you pulling out antenna system that you dont touch Air bags and pull cables of aribags on the left side. 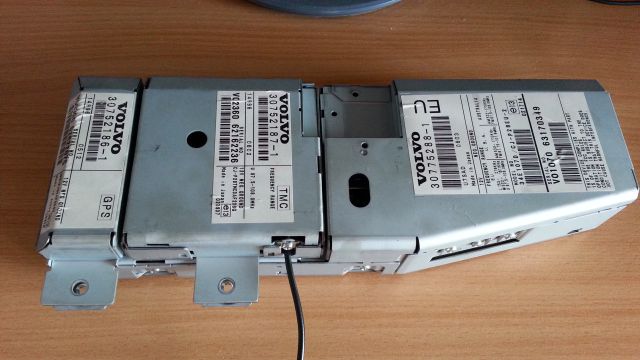  Pull out both modules. TMC and GPS. 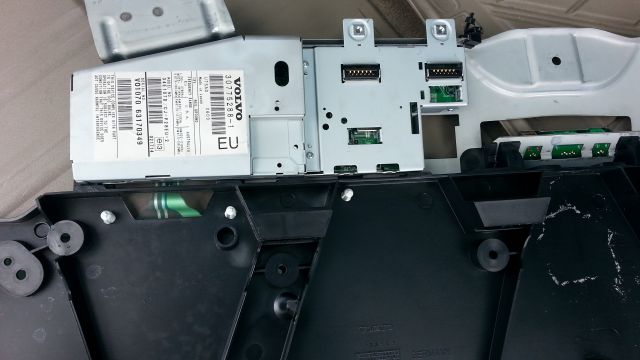 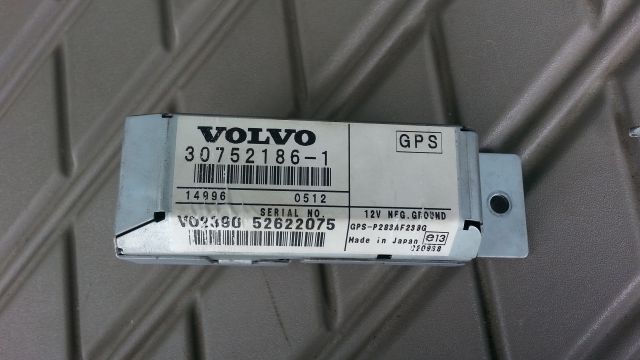 This one is SAT antenna module. 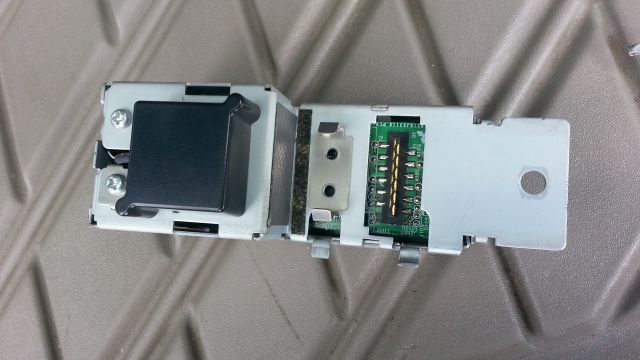
__________________
XC90 2.5T AWD 2006 VOR edition with 197.000 km Update: 09.Febr.2019 from Sept. 2014 I made up to 305.000 km
Last edited by Volvo Ocean Race; Sep 7th, 2014 at 09:54. |
|
|
|
|
Sep 7th, 2014, 09:57
|
#6 |
|
Volvo Ocean Race
Last Online: Apr 14th, 2019 11:45
Join Date: Aug 2014
Location: Slovenia / Serbia town Novi Sad
|
Than remove this marked torx to release complete unit from antenna board and support.
 BEFORE REMOVING ATTENTION !!! PULL OUT antenna flat cable FIRST. Pull black part of connector. NOT FOR FLAT CABLE !!! NOOOOOO !!! 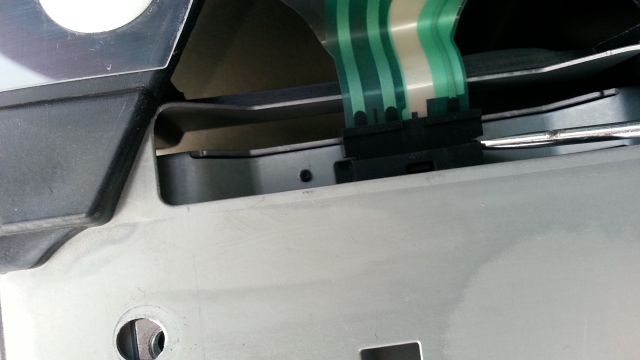 Than remove all screws around box only the 3 holding together inside power transistors NOT. You can saw 3 screw one by other...near number 2. sticking together. DONT REMOVE IT. 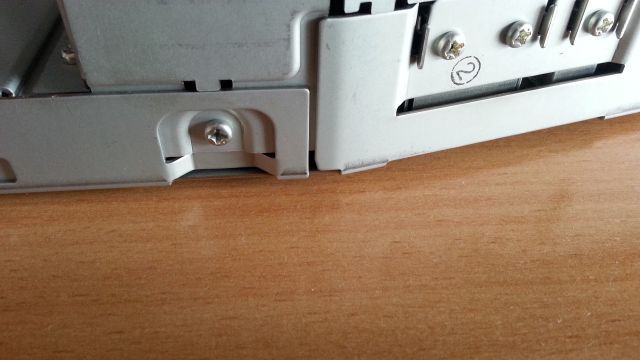 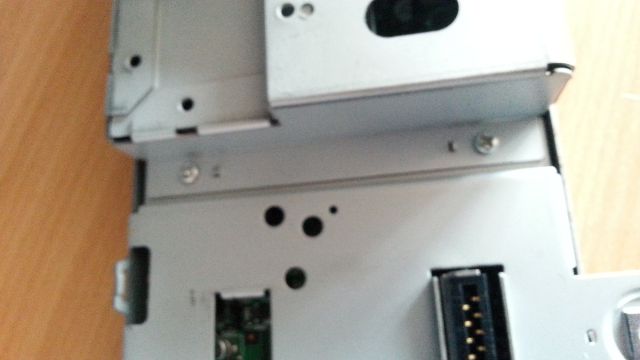  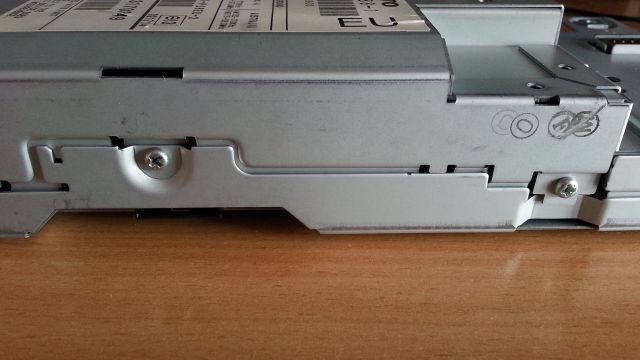 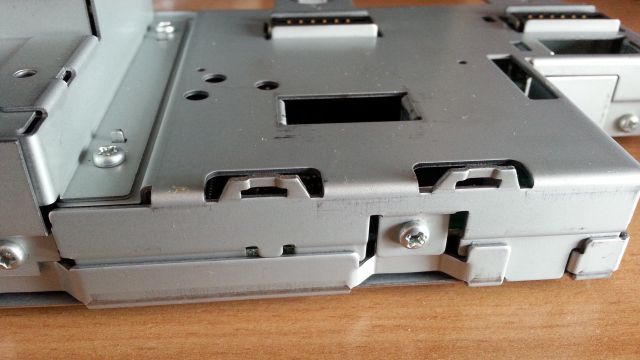 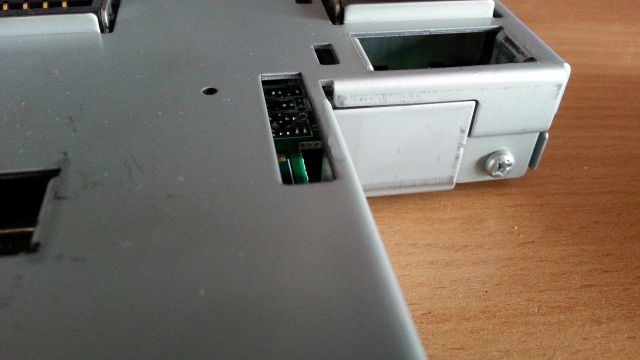 
__________________
XC90 2.5T AWD 2006 VOR edition with 197.000 km Update: 09.Febr.2019 from Sept. 2014 I made up to 305.000 km
Last edited by Volvo Ocean Race; Sep 7th, 2014 at 09:59. |
|
|
|
|
Sep 7th, 2014, 10:01
|
#7 |
|
Volvo Ocean Race
Last Online: Apr 14th, 2019 11:45
Join Date: Aug 2014
Location: Slovenia / Serbia town Novi Sad
|
Than slightly push up with screwdriver cover UP.DO NOT push screwd.too deep inside.
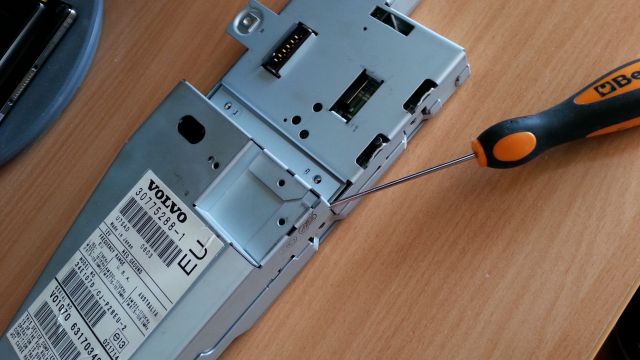 Voila Radio unit is open. VEry high quality components used for Volvo. Nice.   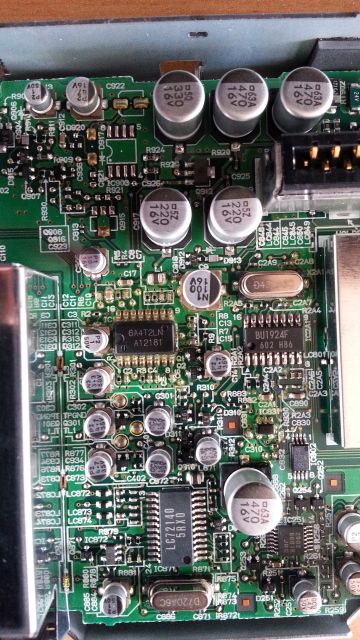 NOW CUT SMALL LINE ON BOARD marked with WHITE DOT from R9 going under the Electrolytic Condensator. THis to prevent mixing of Radio signal with AUX one later. If you dont cut you will have background sound of radio. Tested and confirmed. Cut this slightly with some small screwdriver or scisors...not so deep. 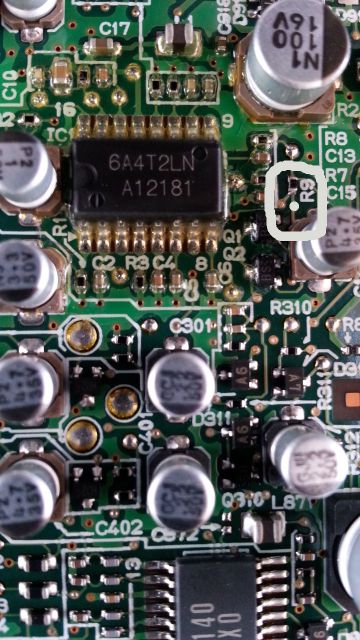 Here marked with RED circle. 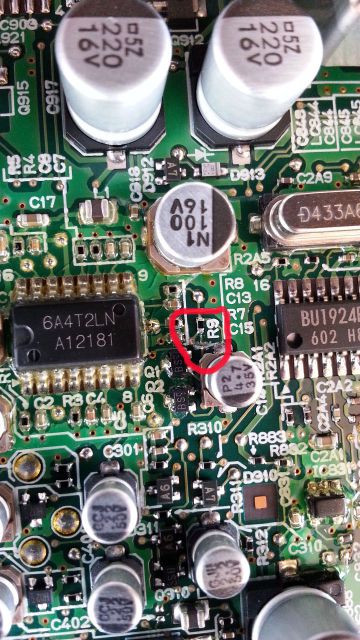 Check with zoom lens if small line is cut. 
__________________
XC90 2.5T AWD 2006 VOR edition with 197.000 km Update: 09.Febr.2019 from Sept. 2014 I made up to 305.000 km
Last edited by Volvo Ocean Race; Sep 7th, 2014 at 10:04. |
|
|
|
|
Sep 7th, 2014, 10:05
|
#8 |
|
Volvo Ocean Race
Last Online: Apr 14th, 2019 11:45
Join Date: Aug 2014
Location: Slovenia / Serbia town Novi Sad
|
You can use Female on one side 2 wires Cinch audio cable. On other side cut cinch and prepare
L and R audio signal wire to be soledered on board. Ground together. 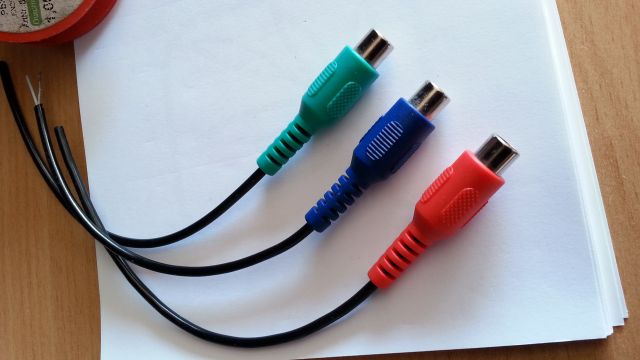  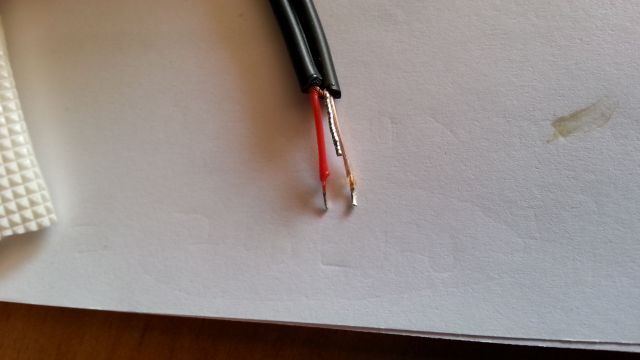
__________________
XC90 2.5T AWD 2006 VOR edition with 197.000 km Update: 09.Febr.2019 from Sept. 2014 I made up to 305.000 km
|
|
|
|
|
Sep 7th, 2014, 10:09
|
#9 |
|
Volvo Ocean Race
Last Online: Apr 14th, 2019 11:45
Join Date: Aug 2014
Location: Slovenia / Serbia town Novi Sad
|
Now first put some tube for isolation of ground to not touch nothing in any case and sold first ground as photo show on this BIG POINT near this 2 Electrolytic Condensators.
C301 and C 872 Some boards are not the same !!! Please check if the board is the same like mine. 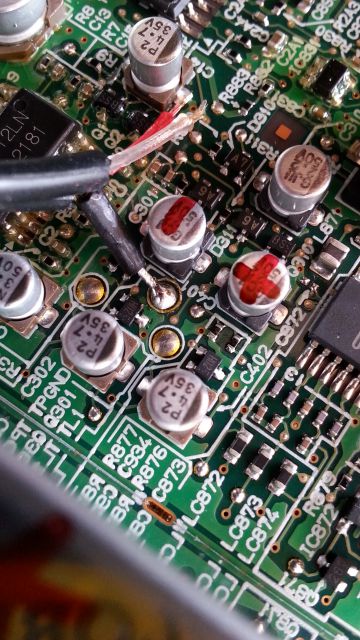 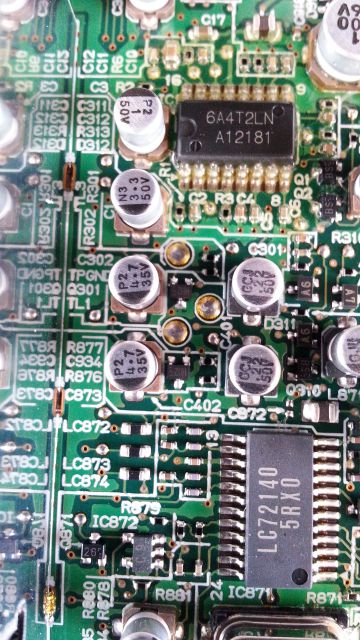 Than solder ON + under the 2 Electr. Cond. on the up side L signal and R signal wire. If you see Electrolityc Condensators you can spot BLACK mark on one part (this is - negative) and other not marked is + positive (where you need to sold signal wire.) Maybe my red marking + - on top will disturbe you. DOnt look this RED markings I just mark it to know which parts are. Photo show exactly that on the right side is + to solder one by one wire. Take care to have small soldering head to not touch or destroy other small elements and not overheating nothing.  What we are going to do? Just solder Left and Right Audio signal with Ground to board. So simple. Cut R9 line (not resistor) on board to stop AM radio signal going through. Nothing Else. 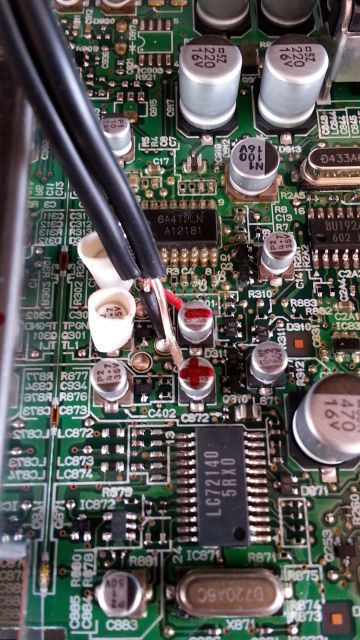
__________________
XC90 2.5T AWD 2006 VOR edition with 197.000 km Update: 09.Febr.2019 from Sept. 2014 I made up to 305.000 km
|
|
|
|
| The Following 2 Users Say Thank You to Volvo Ocean Race For This Useful Post: |
|
Sep 7th, 2014, 10:11
|
#10 |
|
Volvo Ocean Race
Last Online: Apr 14th, 2019 11:45
Join Date: Aug 2014
Location: Slovenia / Serbia town Novi Sad
|
Use only small head of Weller or any soldering.
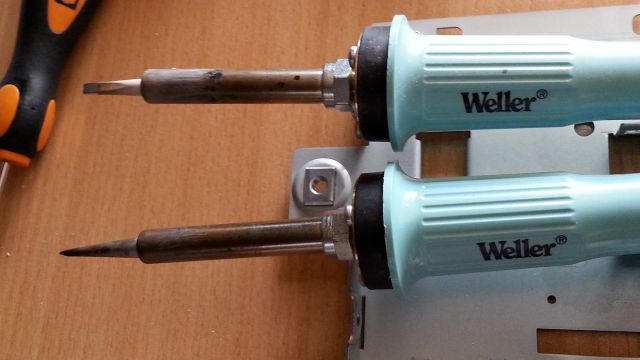  im suggesting before you place / start soldering wires on board use a little bit solder on spots as this board is covered by tiny nail polish against moisture. Touch all points with a little solder wire and than solder wires. Tested.
__________________
XC90 2.5T AWD 2006 VOR edition with 197.000 km Update: 09.Febr.2019 from Sept. 2014 I made up to 305.000 km
|
|
|
|
|
| Currently Active Users Viewing This Thread: 1 (0 members and 1 guests) | |
|
|


 Linear Mode

