
|
|||||||
| S40 / V40 '96-'04 General Forum for the Volvo S40 and V40 (Classic) Series from 1995-2004. |
 Information
|
|
GUIDE : Changing the rear gear linkage bushesViews : 13825 Replies : 21Users Viewing This Thread : |
 |
|
|
Thread Tools | Display Modes |
 Aug 29th, 2007, 09:24
|
#1 |
|
Senior Member
Last Online: Oct 20th, 2013 20:24
Join Date: Aug 2007
Location: Derbyshire
|
This is a follow-on from changing the front bushes on the gear linkage.
Step 1 - There are another two plastic bushes and two O rings as well as an intermediate bushing. The part numbers are : Bushing 30871696 (£1.80 each) you need two of these O-ring 30872293 (0.80 each) you need two of these Bushing 30871712 (£2.75 each) just one of these This will set you back £9.34 including VAT This is substantially more expensive than the front bushing and for me made very little difference so I suggest you check this for excessive wear before replacing. Picture 1 shows the two bushes for either end Picture 2 shows the two O-rings Picture 3 shows the middle bush Picture 4 shows the centre bush being squeezed to give you an idea of the material, just soft rubber 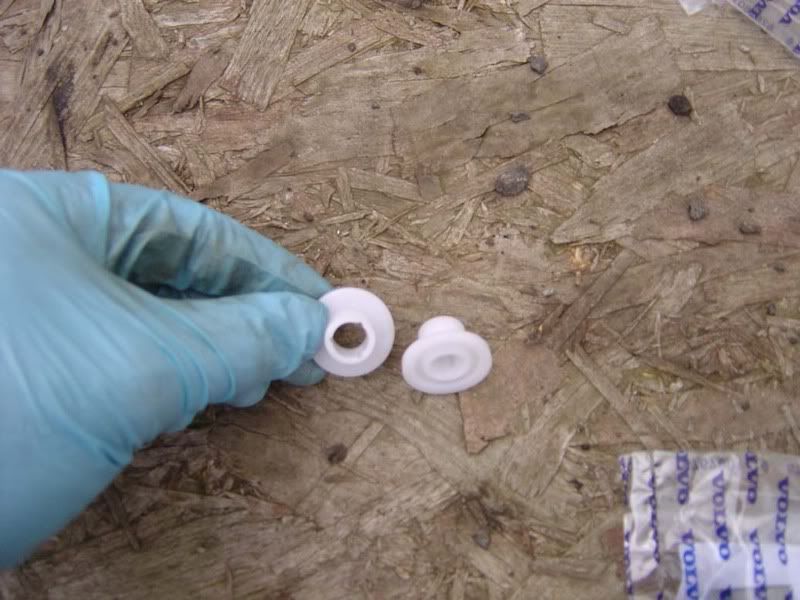 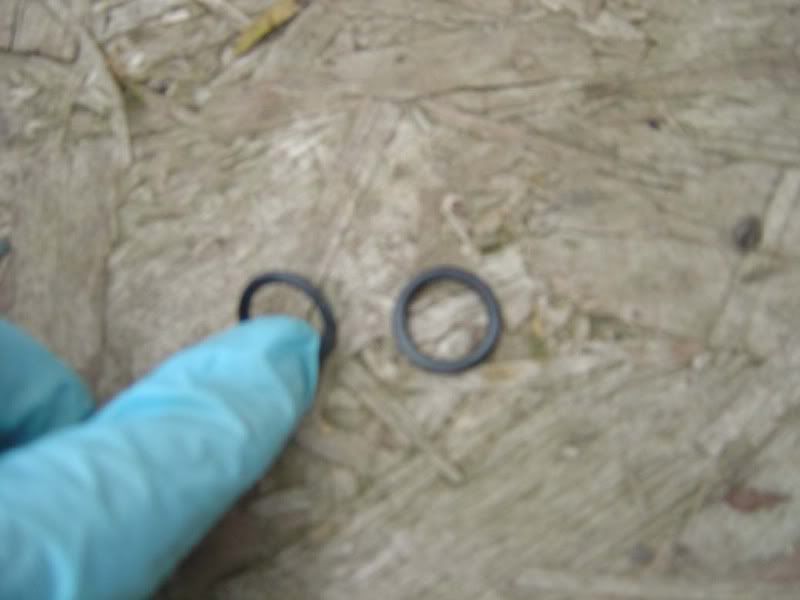 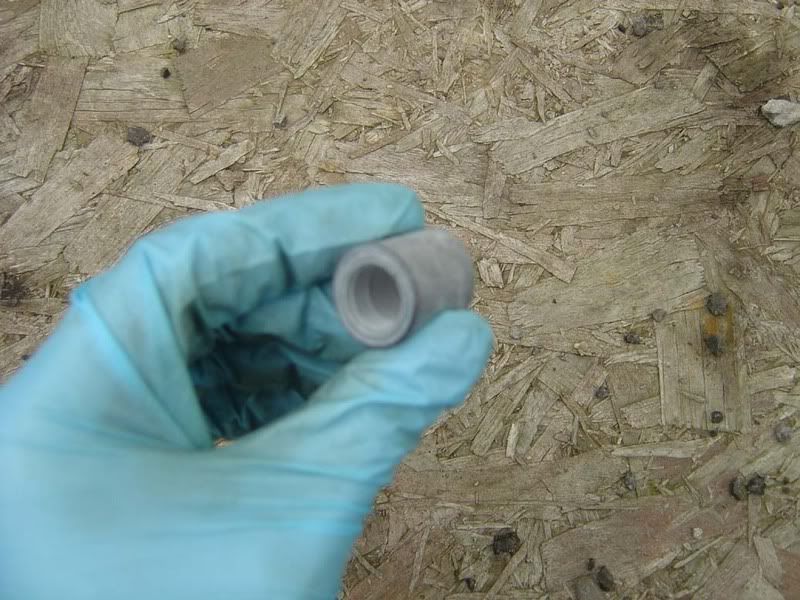 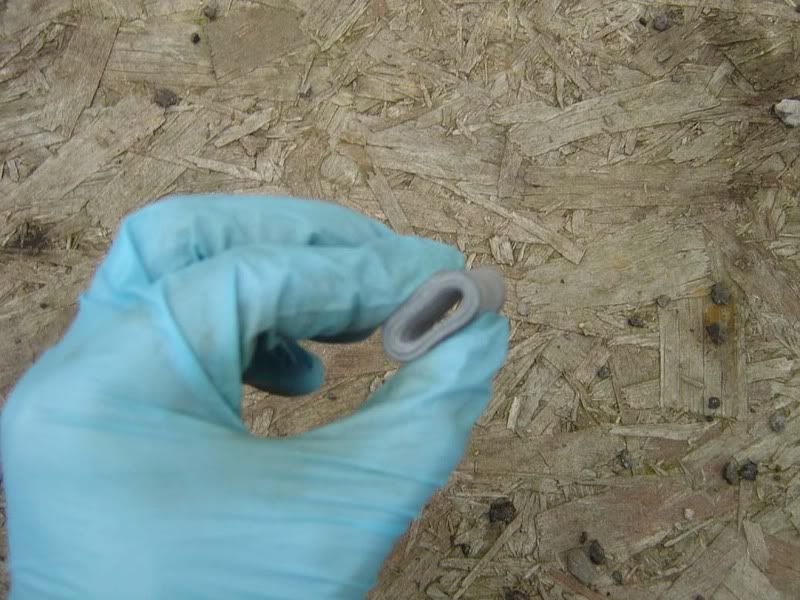
__________________
Click here for guides |

|

|
| The Following 2 Users Say Thank You to JSeaman For This Useful Post: |
|
Aug 29th, 2007, 09:25
|
#2 |
|
Senior Member
Last Online: Oct 20th, 2013 20:24
Join Date: Aug 2007
Location: Derbyshire
|
Step 2 - As before jack the car up nice and high
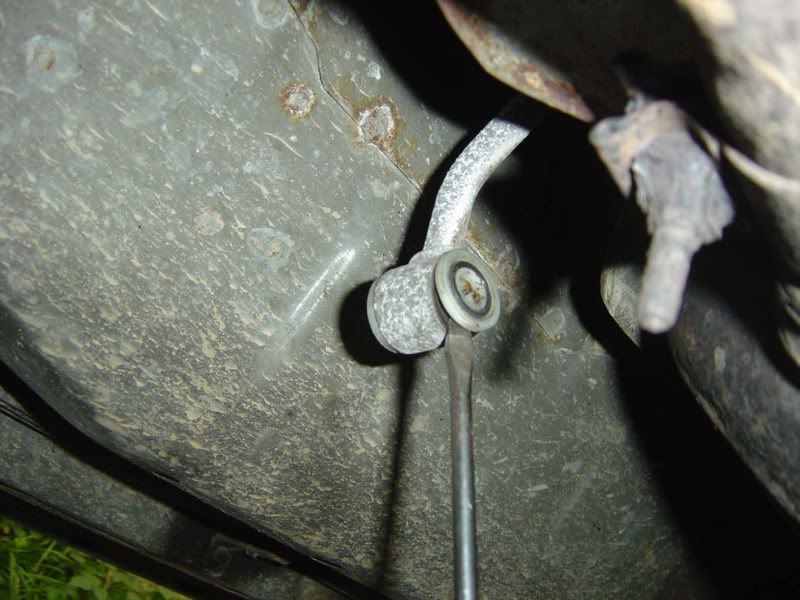
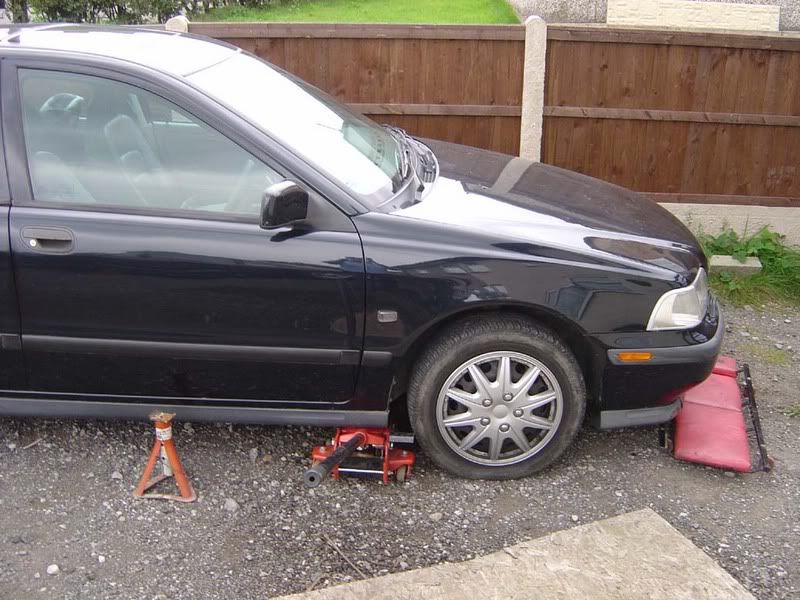 Step 3 - Support with an axle stand as shown 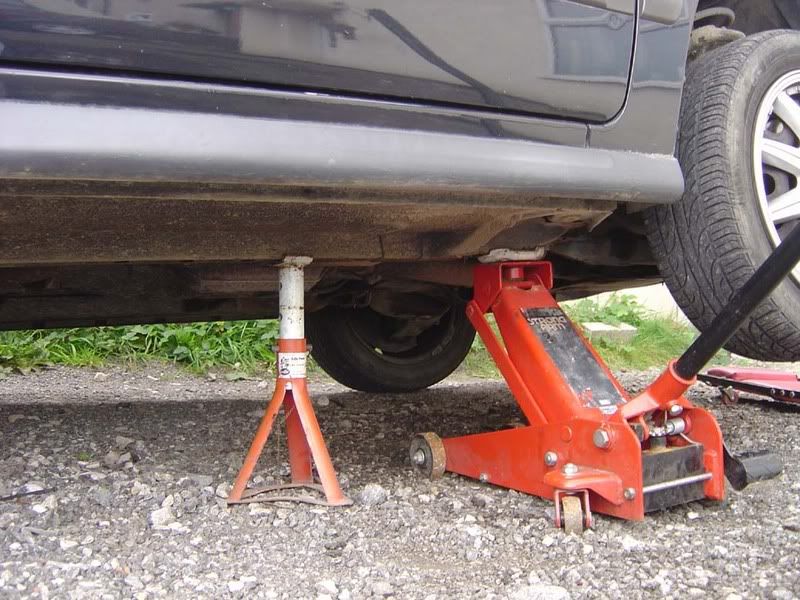 Step 4 - Look under the car where the gear lever comes down to its linkage and locate the bush we are interested in 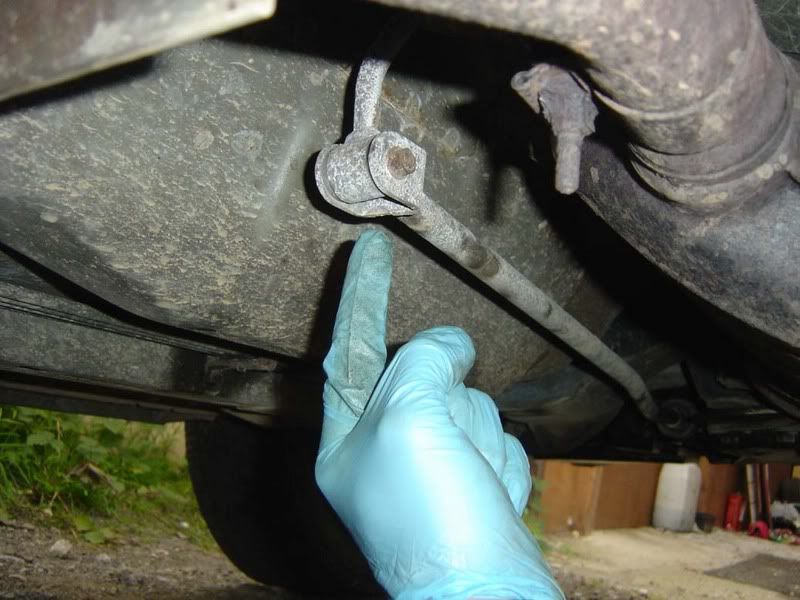 Step 5 - This is another twin 11mm affair so using spanners/sockets remove the nut 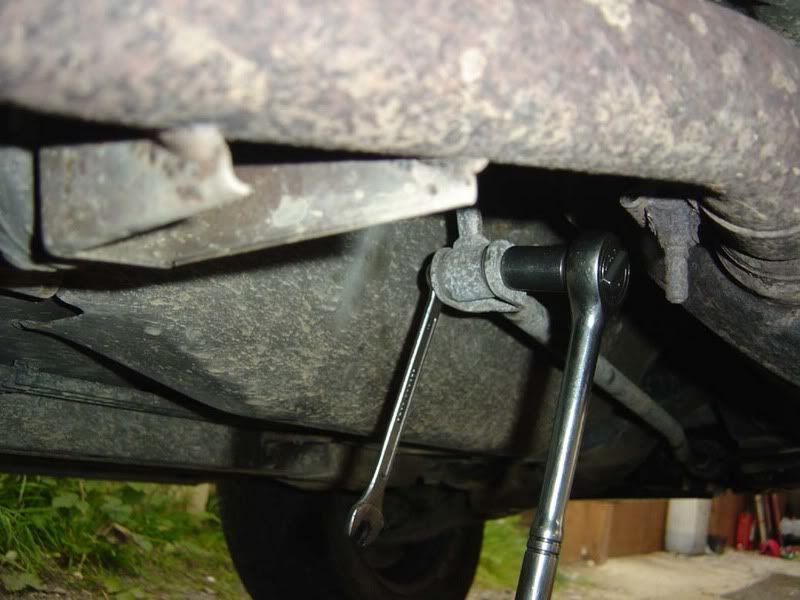
__________________
Click here for guides |
|
|
|
| The Following User Says Thank You to JSeaman For This Useful Post: |
|
Aug 29th, 2007, 09:26
|
#3 |
|
Senior Member
Last Online: Oct 20th, 2013 20:24
Join Date: Aug 2007
Location: Derbyshire
|
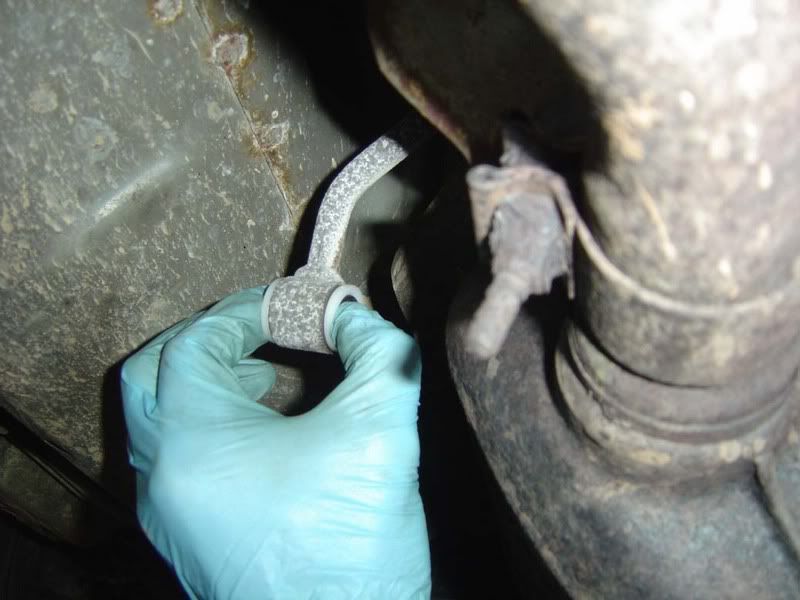
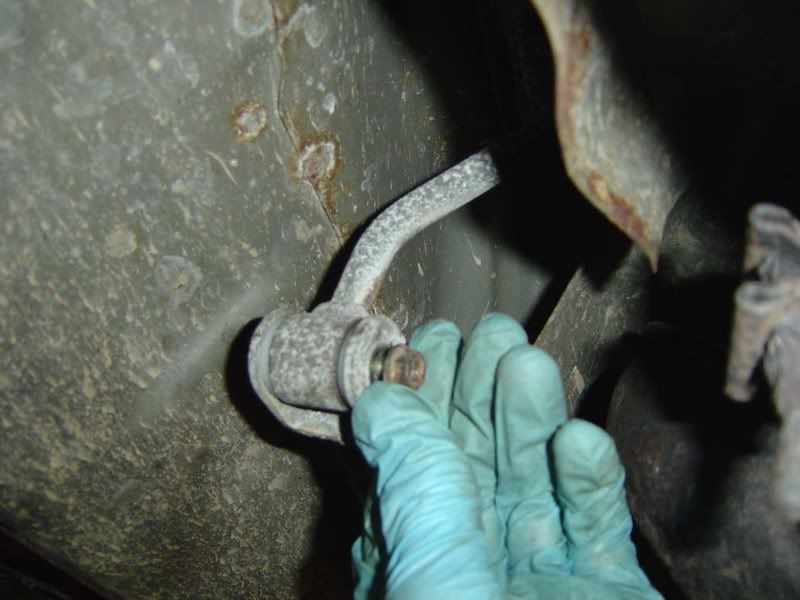
Step 6 - Now remove the bolt from the bushing
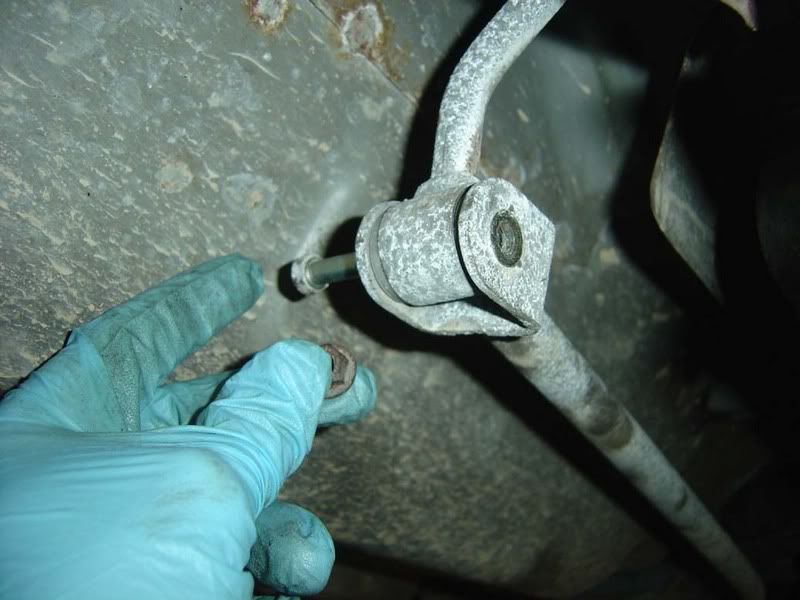 Step 7 - You should be able to ease the linkage away from the bush now, a bit of a wiggle from side to side will make this slide down nicely 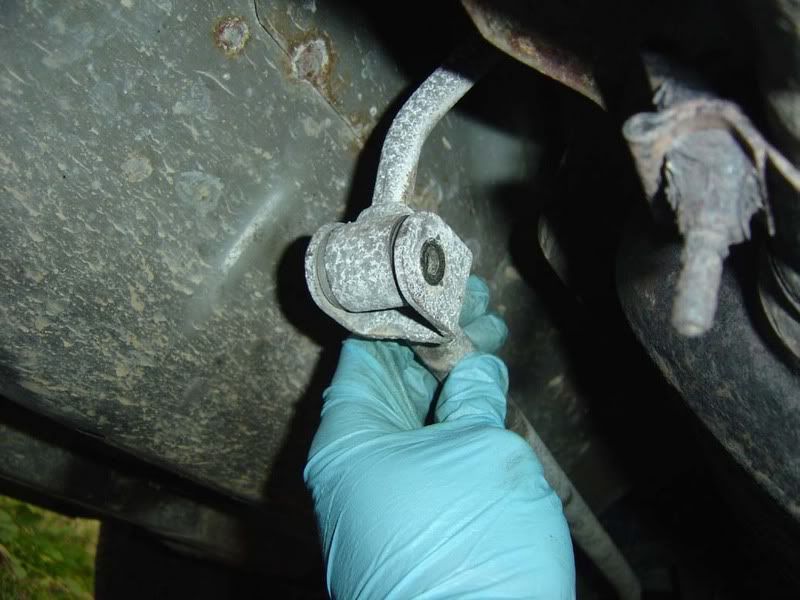 Step 8 - You now get a good view of the existing end bush and the o ring in place 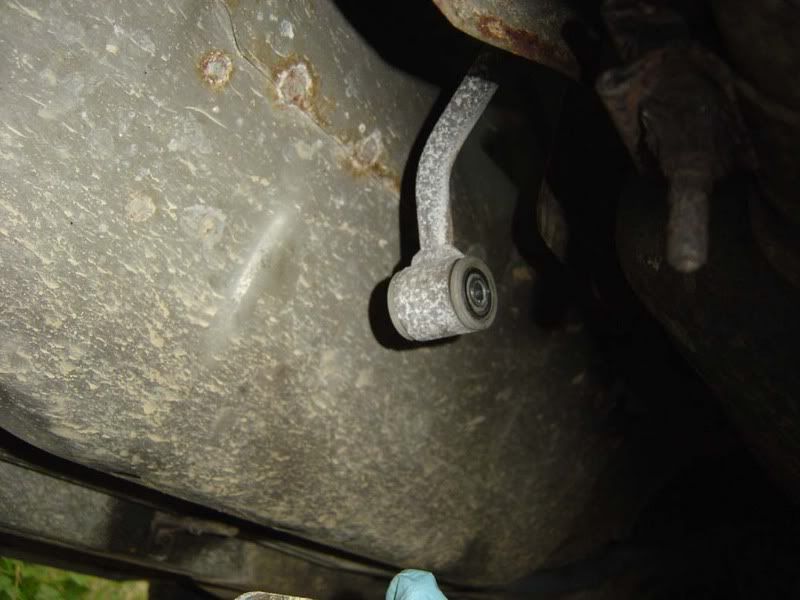 Step 9 - Push the little metal rod out, it should provide little resistance. You can use the a screwdriver or the bolt you removed to push it all the way out 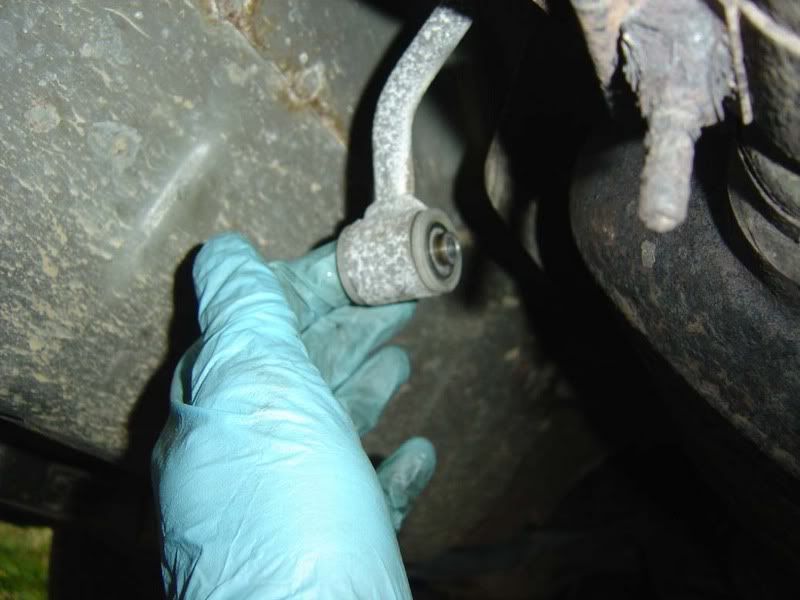
__________________
Click here for guides |
|
|
|
| The Following User Says Thank You to JSeaman For This Useful Post: |
|
Aug 29th, 2007, 09:27
|
#4 |
|
Senior Member
Last Online: Oct 20th, 2013 20:24
Join Date: Aug 2007
Location: Derbyshire
|
Step 10 - Use a flatblade screwdriver to ease the bushing out. There isn't much force needed and you can do this with your fingernails if you have any
 Step 11 - Once again with the flatblade screwdriver, run it around the rubber bushing to make sure it's not stuck to the metal casing  Step 12 - Now work round the outside of the rubber pushing the bush out a little at a time 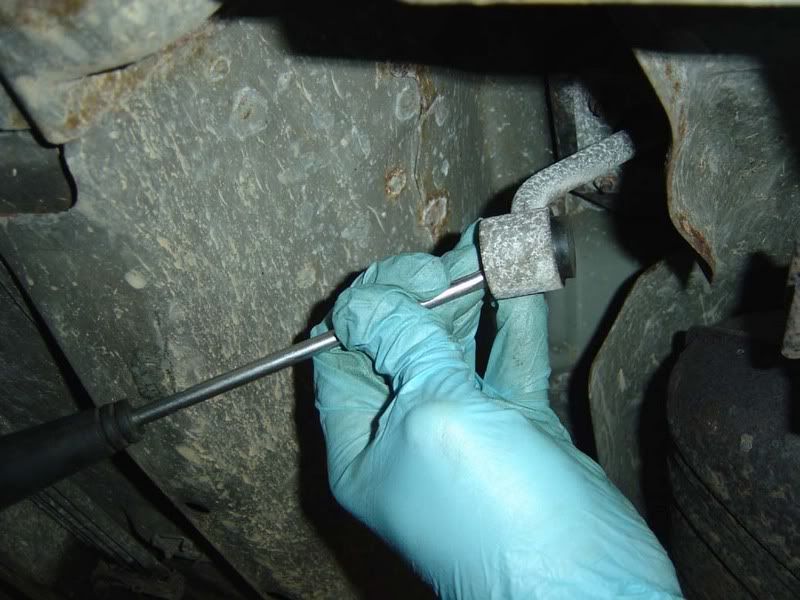 Step 13 - This is the old bushing all removed. Apart from a little dirt it isn't too bad, the metal rod has got some surface rust but nothing too severe. Compare it to the shiny new kit in picture 2 and you get an idea of how it has worn. 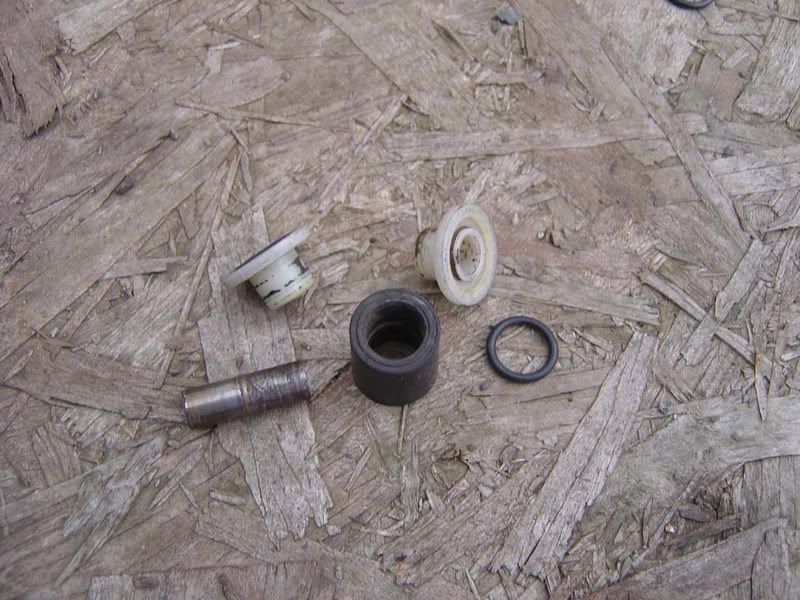 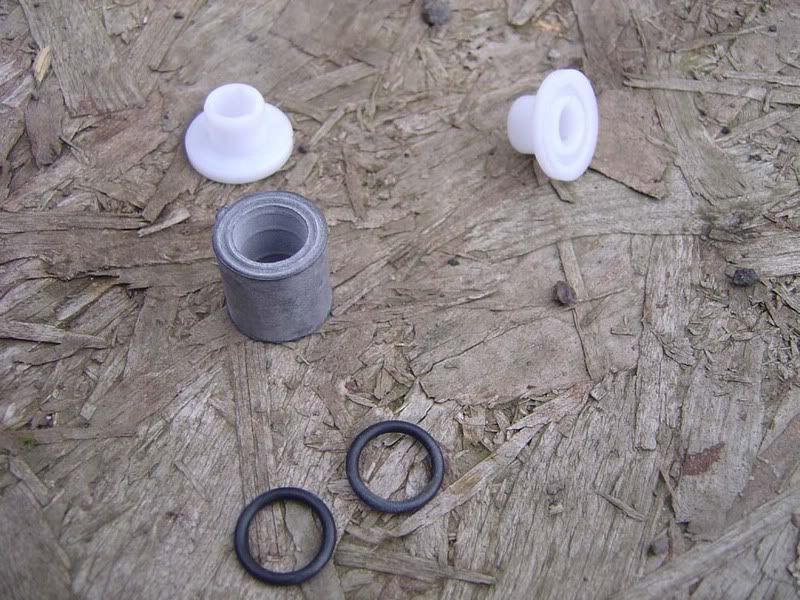
__________________
Click here for guides |
|
|
|
| The Following User Says Thank You to JSeaman For This Useful Post: |
|
Aug 29th, 2007, 09:28
|
#5 |
|
Senior Member
Last Online: Oct 20th, 2013 20:24
Join Date: Aug 2007
Location: Derbyshire
|
Step 14 - Push the middle rubber bush into the gear stick base, it should slide in easily
 Step 15 - When fitted it should be flush on both sides as shown here 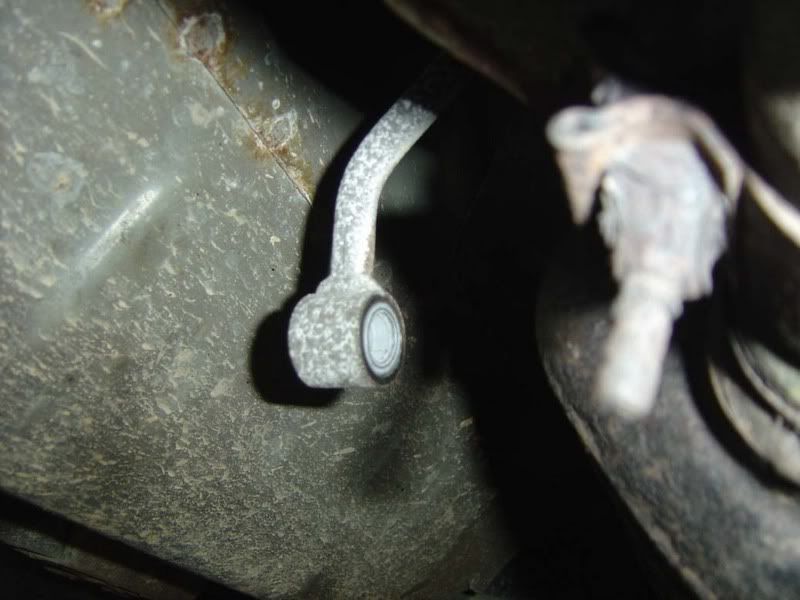 Step 16 - Onto your new kit now, place the O rings in the grooves of the outer plastic bushes 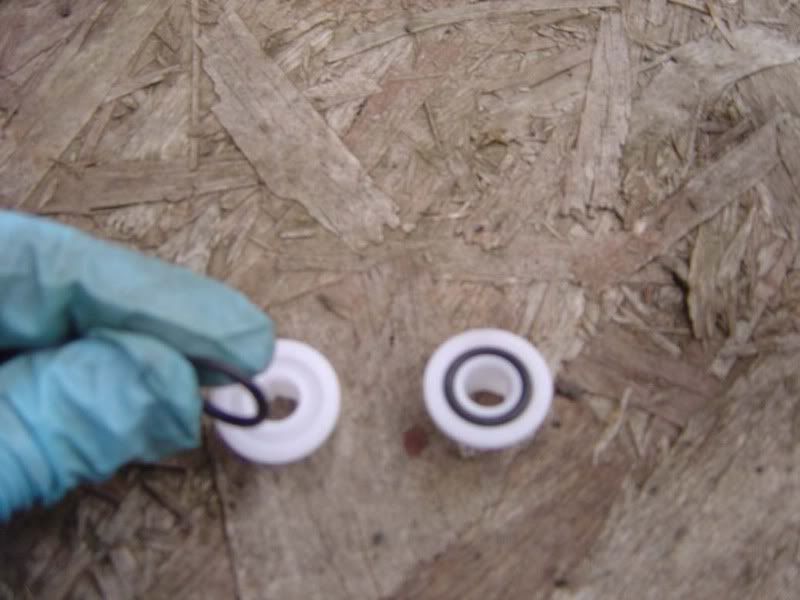 Step 17 - Insert the bushes into the base of the lever with our intermediate bush 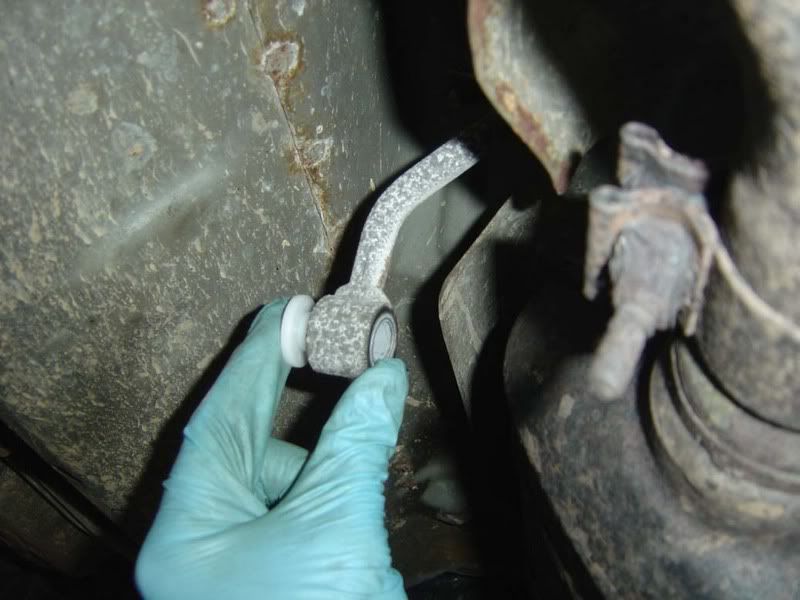 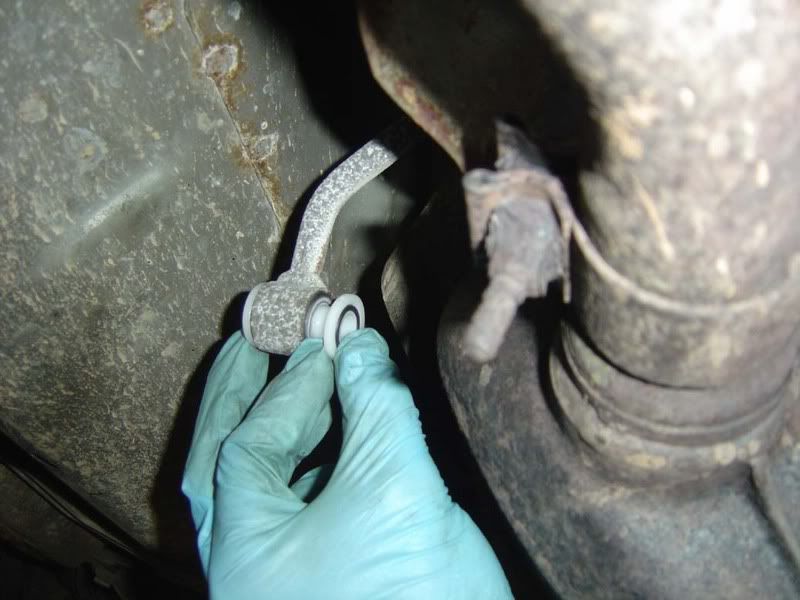
__________________
Click here for guides |
|
|
|
| The Following User Says Thank You to JSeaman For This Useful Post: |
|
Aug 29th, 2007, 09:29
|
#6 |
|
Senior Member
Last Online: Oct 20th, 2013 20:24
Join Date: Aug 2007
Location: Derbyshire
|
Step 18 - Give a little squeeze to make sure everything's slotted together properly
 Step 19 - The metal rod needed a little cleaning up, some fine emery paper or (preferably) wire wool does the trick 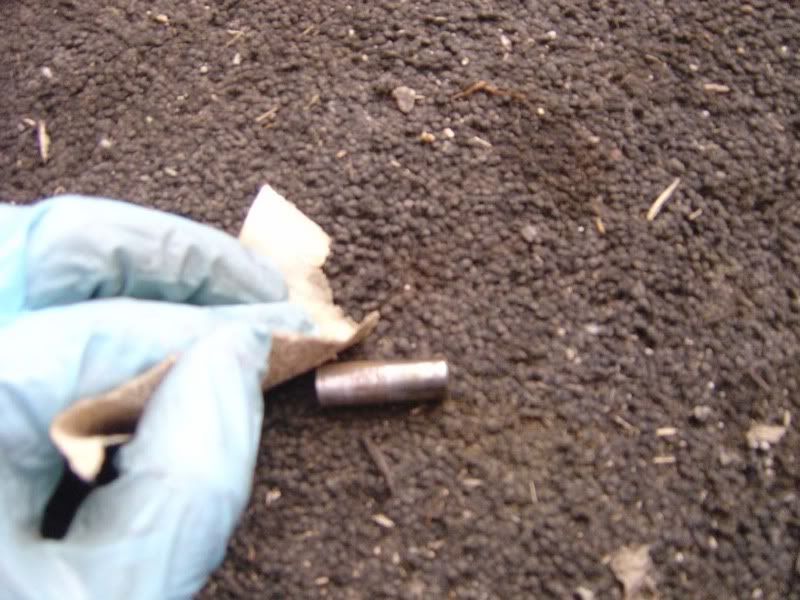 Step 20 - Once cleaned up, insert the rod into the shifter 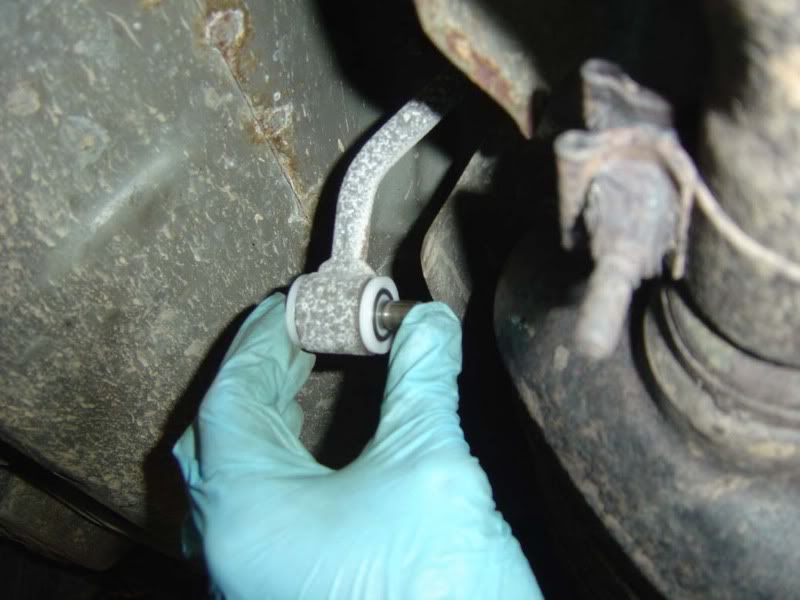 Step 21 - Now refit the rest of the linkage, again wiggle this a little and it should line up nice and easily 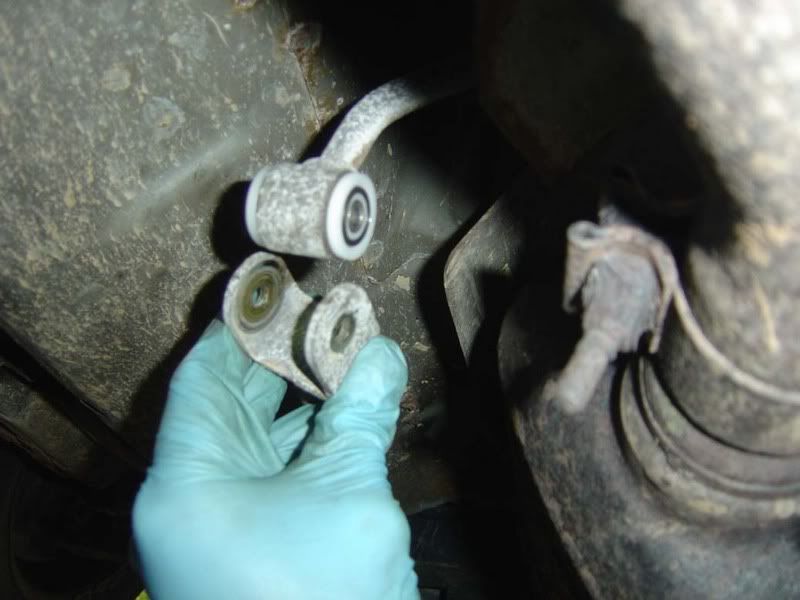
__________________
Click here for guides |
|
|
|
| The Following User Says Thank You to JSeaman For This Useful Post: |
|
Aug 29th, 2007, 09:29
|
#7 |
|
Senior Member
Last Online: Oct 20th, 2013 20:24
Join Date: Aug 2007
Location: Derbyshire
|
Step 22 - Insert the bolt back through the newly built bushing
 Step 23 - Refit and tighten the nut up As mentioned at the start of the guide, this made little difference for my car (A slightly more 'notchy' feel to the gears but just as much play in the gearstick itself) but that's not to say it isn't needed on yours. I suggest you inspect the bush before spending your money, I don't expect you'll do any damage by removing the bushings and then putting them back together if you don't find any play. If I could do it again I'd remove the bushes and see if the metal rod wiggles in them (Like it did in the guide for the front bushes) NOTE : In the first guide I suggested that the ebay kits weren't worthwhile, I'd like to correct that now. My metal rod showed some sign of wear here (although admittedly not much) and so it's better to replace it than reuse. Also, with the price of these bushes being ~£10 it has cost me £15 from Volvo so for another five pounds you could replace both metal rods.
__________________
Click here for guides |
|
|
|
| The Following User Says Thank You to JSeaman For This Useful Post: |
|
Aug 29th, 2007, 11:42
|
#8 |
|
Member
Last Online: Apr 4th, 2015 08:24
Join Date: Nov 2006
Location: Somewhere
|
Although I own an 855 T5, I've just purchased a Saxo VTR for the lady and found to have the same problem - you could play a tune on the exhaust pipe with the gear linkage when you touch the gearknob.
This gives me an excellent understanding of what the problem is! 
|
|
|
|
|
Aug 29th, 2007, 11:43
|
#9 |
|
Senior Member
Last Online: Oct 20th, 2013 20:24
Join Date: Aug 2007
Location: Derbyshire
|
 Glad to be of use Glad to be of use
__________________
Click here for guides |
|
|
|
|
Aug 29th, 2007, 13:36
|
#10 |
|
New Member
Last Online: Mar 13th, 2008 11:57
Join Date: Feb 2007
Location: Walsall
|
great post with the detail posted here even I'm considering having a go
|
|
|
|
|
| Currently Active Users Viewing This Thread: 1 (0 members and 1 guests) | |
|
|


 Linear Mode

